Rosemary and Beer Soda bread

Makes 1 loaf

Something delicious to eat with your summer soups and salads

Ingredients

225g wholemeal flour
225g plain flour
1½ teaspoons salt
2 teaspoons of bicarb of soda
45g butter
2 teaspoons of finely chopped rosemary
100 mls milk
225 mls beer

Method

  1. Preheat oven to 190 degrees; lightly flour a baking sheet
  2. Thoroughly combine the dry ingredients ensuring no lumps of bicarb remain.
  3. Rub in the butter
  4. Add the liquids and the rosemary to make a soft dough. Note the quantities of liquid will be subject to change depending on your flours.
  5. Shape the dough into a round and place it on the baking sheet, cut a deep cross in the top and bake for 40 mins until risen and brown.
  6. Cool slightly and serve

Mediterranean Mixed vegetable tray bake with sausages

Serves 4

This recipe is perfect for an easy, healthy summer supper after a busy day.

Ingredients

  • 1 aubergine
  • 2 courgettes
  • 1 red pepper
  • 1 yellow pepper
  • 5 large tomatoes of various colours
  • 4 cloves of garlic
  • 15 mls olive oil
  • 2  teaspoons chopped rosemary
  • 2  teaspoons of sugar
  • A generous pinch of salt
  • Fresh-ground black pepper
  • 30 mls Balsamic vinegar
  • 8 good quality pork sausages
  • A small handful of fresh basil, chopped finely

Method

  1. Preheat oven to 180 degrees (fan assisted).
  2. Cut up the aubergine, peppers, tomatoes and courgettes into 2cm cubes and add them to a large roasting tin to make a layer roughly 3 chunks of veg deep. The size of the tray is important: too big and your vegetables will stew, too small and they will burn.
  3. Finely mince the garlic and sprinkle it on top along with the oil, vinegar, sugar, salt and black pepper.
  4. Roast for 30 minutes, stirring occasionally when you see the vegetables in the top layer begin to caramelize.
  5. After 30 minutes clear a space in the middle of the tray (the vegetables should be softening and oozing juice) and lay the sausages along with an extra drizzle of oil if necessary.
  6. Cook for a further 25 minutes until sausages are golden brown.
  7. To serve, set the sausages aside and mix the finely-chopped basil through the vegetables and season to taste. Pile the veg into individual bowls and lay your sausages on top. Garnish with any remaining basil and serve with lots of crusty buttered bread.

Sausage and mushroom pasta with spinach

August 2013

A fantastically comforting and delicious dish ready in just 20 minutes. Works just as well with veggie sausages too.  Serves 2

Ingredients

4 sausages, cooked and sliced into bite-sized chunks
200g dry pasta, spaghetti or tagliatelle is ideal
200g mushrooms, sliced
half a teaspoon of dried chilli flakes
2 cloves of garlic
a small glass of dry white wine
three tablespoons of crème fraîche
2 large handfuls of fresh spinach
a small bunch of parsley, finely chopped.
A small squeeze of lemon

Method

  1. Place a large saucepan of water on to boil.
  2. Fry your mushroom slices in a deep frying pan until tender, add the chilli garlic and a generous grind of pepper.
  3. Plunge your pasta into the boiling water and cook according to packet instructions.
  4. Add the wine to the mushrooms and cook for 3 minutes on a medium heat to evaporate the harsh alcohol.
  5. Reduce the heat and add the crème fraîche and sausages to the mushrooms.
  6. Drain the pasta and add the spinach, parsley and lemon juice to the sauce. Check the seasoning, adding salt and more pepper if necessary.
  7. Mix the sauce into the pasta and serve with a sprinkling of cheese.

Roasted Red Pepper and Tomato Soup with Thyme

September 2013

This delicious warming soup is full of goodness and bursting with flavour. Serves 6

Ingredients

500g tomatoes
3 orange red or yellow peppers
2 tablespoons of olive oil
1 large onion
2 carrots
25g of butter
I small bunch of thyme, leaves picked from stalks and finely chopped

Method

  1. Preheat your oven to 180 degrees.
  2. Place the tomatoes in a large pan and cook them gently until they burst and cook down into mush, this should take around 30 minutes.
  3. While the tomatoes are cooking, half the peppers, remove the seeds and place them face down in a roasting tin. Drizzle with oil and season with salt and pepper and place in the oven for 15 minutes or until the skins are blackened and coming away from the flesh. Remove from the oven and leave to cool slightly. Remove the skins and set aside.  
  4. Put the tomato mush through a moulie or, if you don’t have one. Push the tomato mush through a sieve to remove most of the seeds and skins and leave you with a delicious tomato liquid which you should put to one side.
  5. Finely chop the onion and grate the carrot and sweat them in a large pan with the butter.
  6. When the vegetables are becoming soft, add the peppers, tomato liquid and thyme.
  7. Simmer gently for 30 minutes. Season to taste and serve with a dollop of yoghurt and some basil or thyme leaves. 


Redcurrant Jelly

This is one of the easiest preserves to set given the high quantity of pectin in the redcurrants. You will need rather a lot of redcurrants to make a decent-seized batch however. In my experience, a pound of fruit makes roughly 2 jars of jelly at the end of the process.

Ingredients

Redcurrants
White sugar

You will also need clean jars

Method

  1. Pick over and wash the redcurrants making sure they are clean and bug free then place them in a large heavy based pan. A jam pan is ideal but if not just a nice big saucepan will do.
  2. Add a tablespoon of water to the pan and simmer the redcurrants gently until they are tender and bursting.
  3. Strain the redcurrants through a jelly bag without squeezing. This will take a few but the jelly will need no attention at this point so you can go off and do other things. If you don’t have a jelly bag you can either use a clean tea towel stretched and secured over a bowl, or a fine sieve.
  4.  Once you have collected the juice you need to measure it back into your large jam pan. For each pint of juice add a pound and a quarter of sugar.
  5. Bring the juice and sugar gradually to the boil stirring continuously until all the sugar is dissolved.
  6. Place your clean jars and their lids into a 100 degree oven to sterilise.
  7. While your jelly is cooking it will produce a foamy scum which will rise to the top. Skim this off with a large metal spoon.
  8. Simmer until setting point is reached. My preferred method of determining this is to drop a small amount of jelly on a plate and push it with a fingernail. If it has reached setting point the surface will wrinkle.
  9. When setting point is reached, use a ladle to transfer your jelly into your clean hot jars. Place the lids on and screw them on tightly using a tea towel to avoid burning your fingers.
  10. Leave your jelly to cool at room temperature; if you’re using jars with “safety buttons” you should notice that when the jelly is cool the buttons will have been pulled down by the vacuum you have formed by putting the lids on the hot jars. Your jelly should now last at least until Christmas and if you’ve made too much it makes a great Christmas present.

Toad in the Hole

September 2013

This is a truly comforting and classic dish, serve with lashings of gravy and your favourite vegetables. Serves 3

Ingredients

6 sausages
2 sprigs of rosemary
1 tablespoon of sunflower oil
150g plain flour
1 teaspoon of baking powder
Freshly ground black pepper
Half teaspoon salt
2 eggs
200 mils milk

Method

  1. Preheat your oven to 200 degrees
  2. Place your sausages in a high-sided baking tray along with 1 tablespoon of oil and the rosemary sprigs and place in the oven for about 25 minutes or until lightly browned. The size of your baking tray is important; it needs to fit your sausages with a little space between them. The one I used was 20cm by 20cm. It is also better if your baking tray is heavy-based since it will hold the heat better and ensure a better rise.
  3. While the sausages are cooking, make the batter. Sift together the flour salt and baking powder then add a good twist of freshly ground black pepper.
  4. Crack in the two eggs and mix thoroughly. Add the milk little by little, mixing constantly until you have a smooth thick batter.
  5. When the sausages are brown, remove the rosemary and quickly pour over the batter and return the pan to the oven. The batter should sizzle when added to the tray so take care not to get spattered with oil.
  6. Bake for 35 minutes or until browned, risen and crisp. Enjoy it with lashings of gravy and your favourite vegetables. 

Preserving at Home

What to do with the September gluts to make them last all the way through winter.

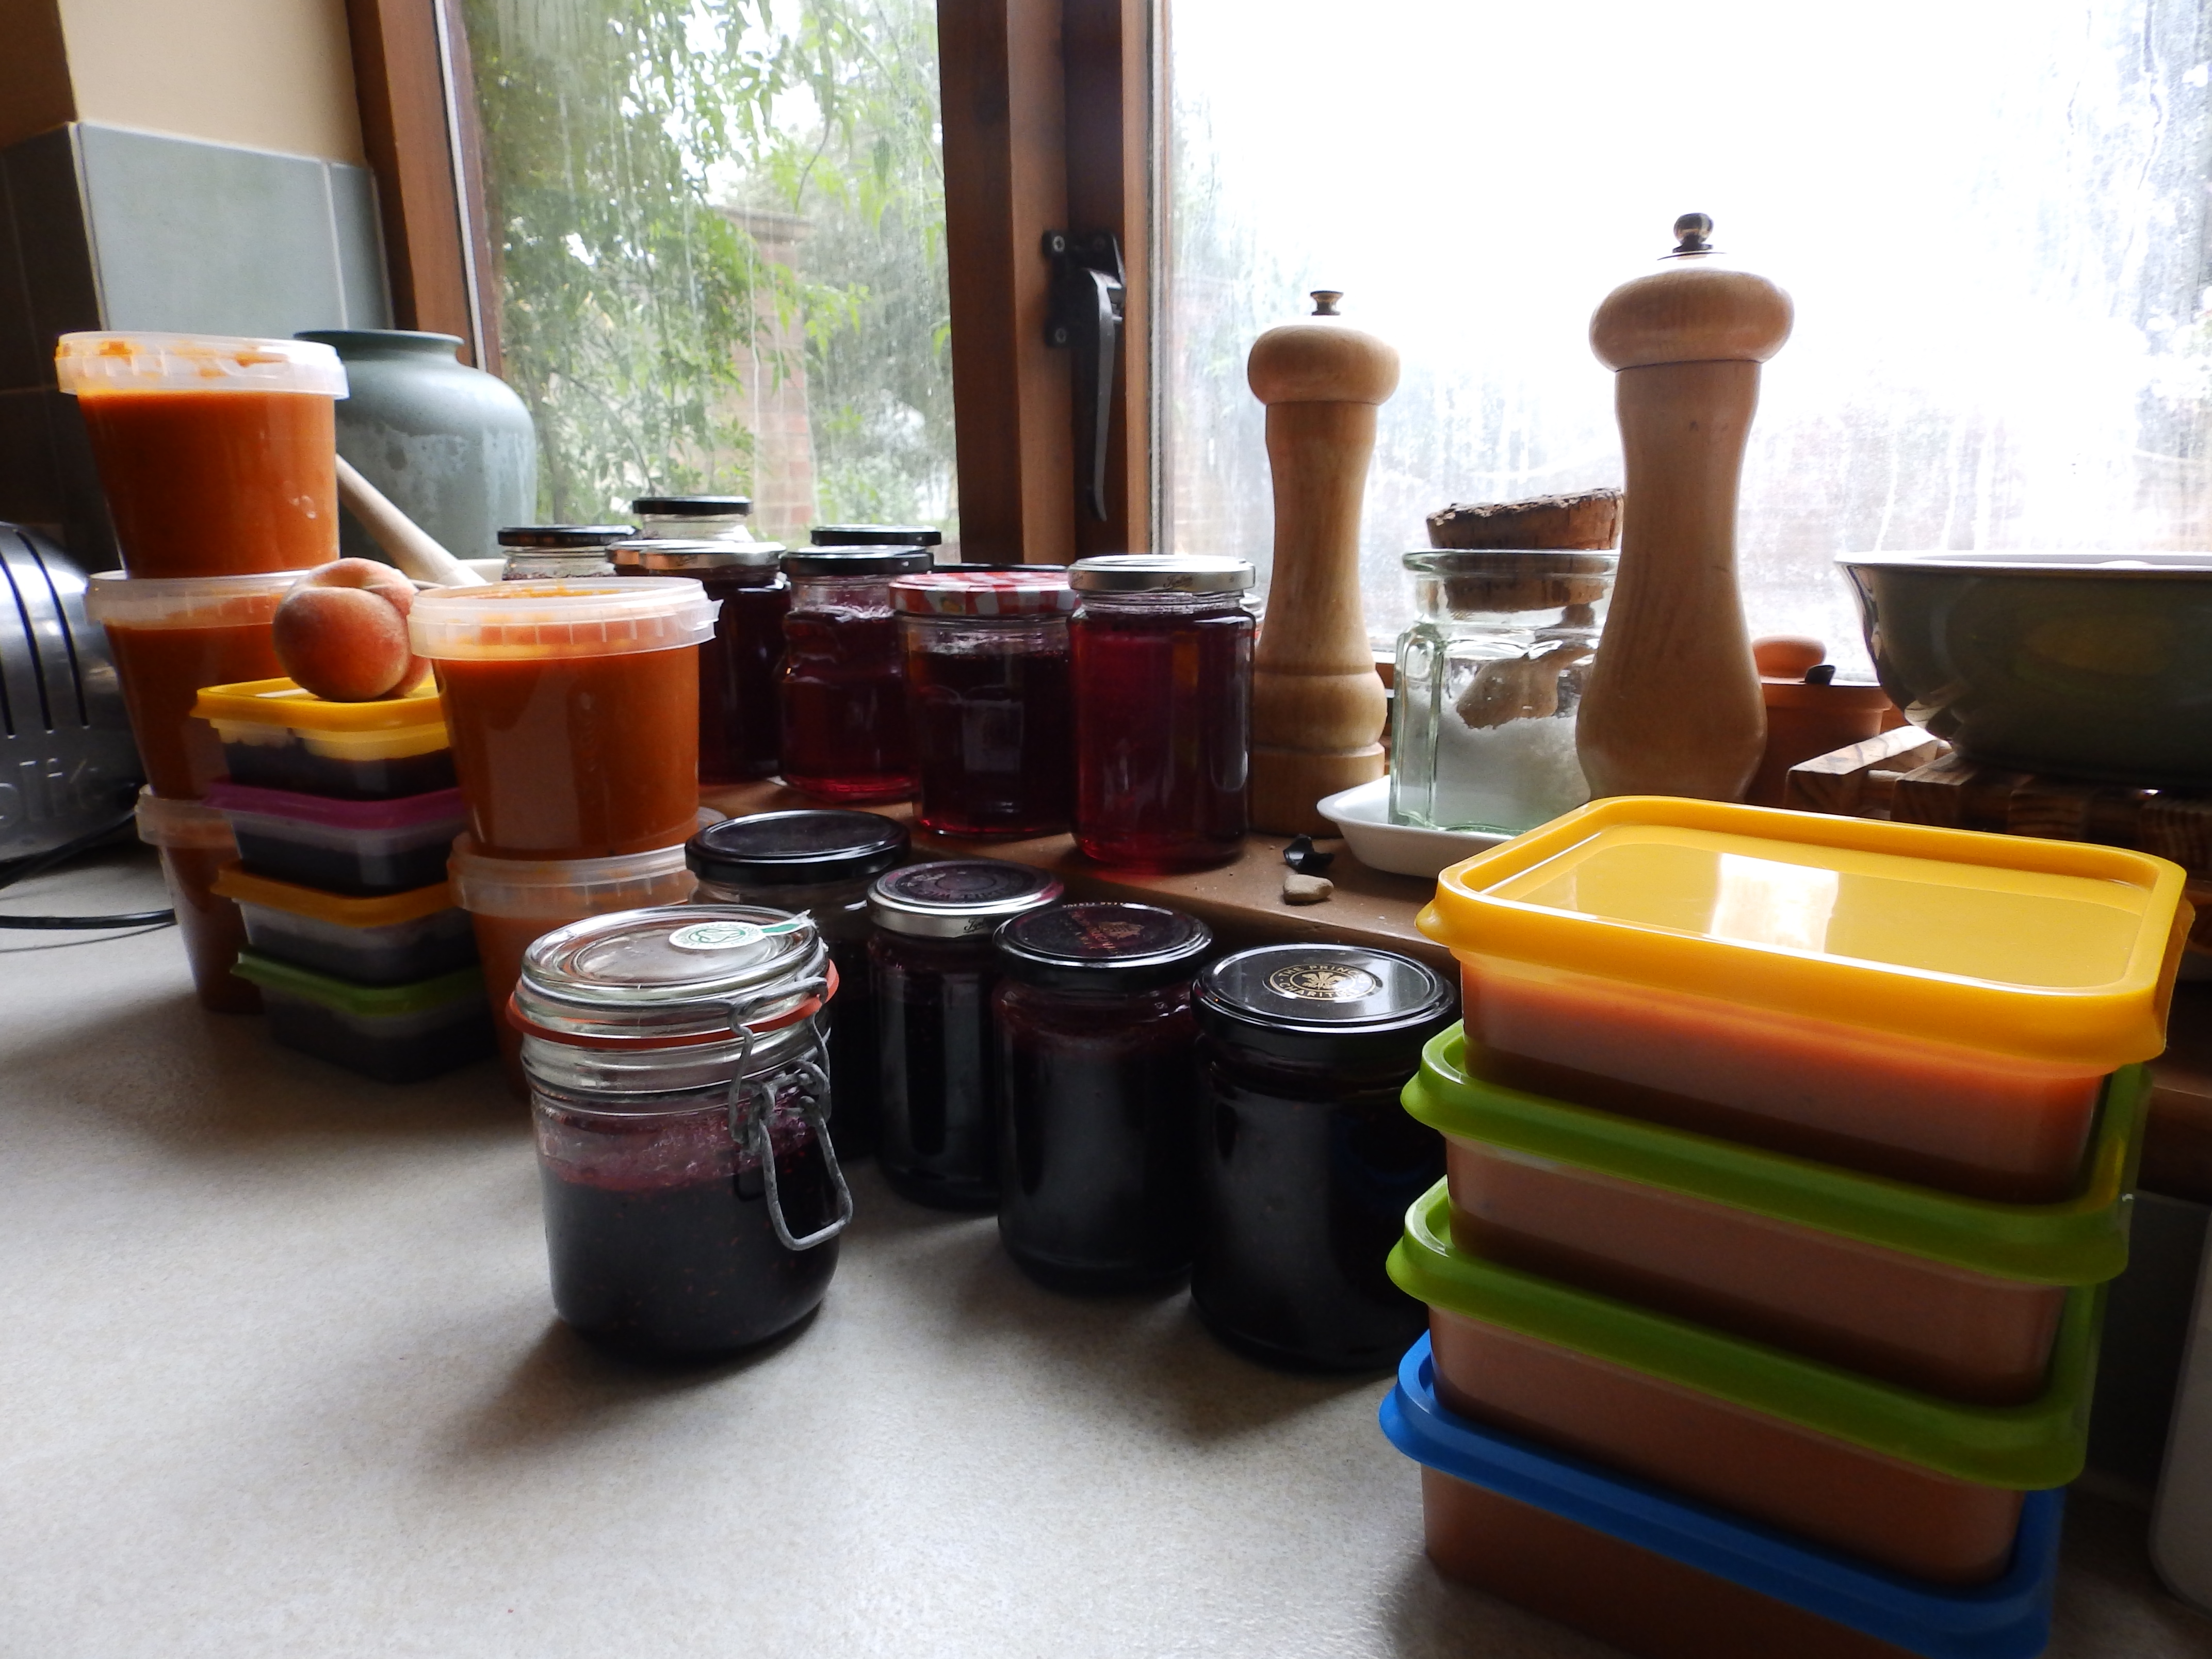
Returning home to bring in the harvest seems like an old-fashioned notion but in my family it is still very much the done thing.  My dad is a little too gifted at growing for domestic uses given I was confronted with the following: a bucket of tomatoes, a bucket of peppers, a bucket of insect covered redcurrants and 2 pounds each of raspberries and blackcurrants.

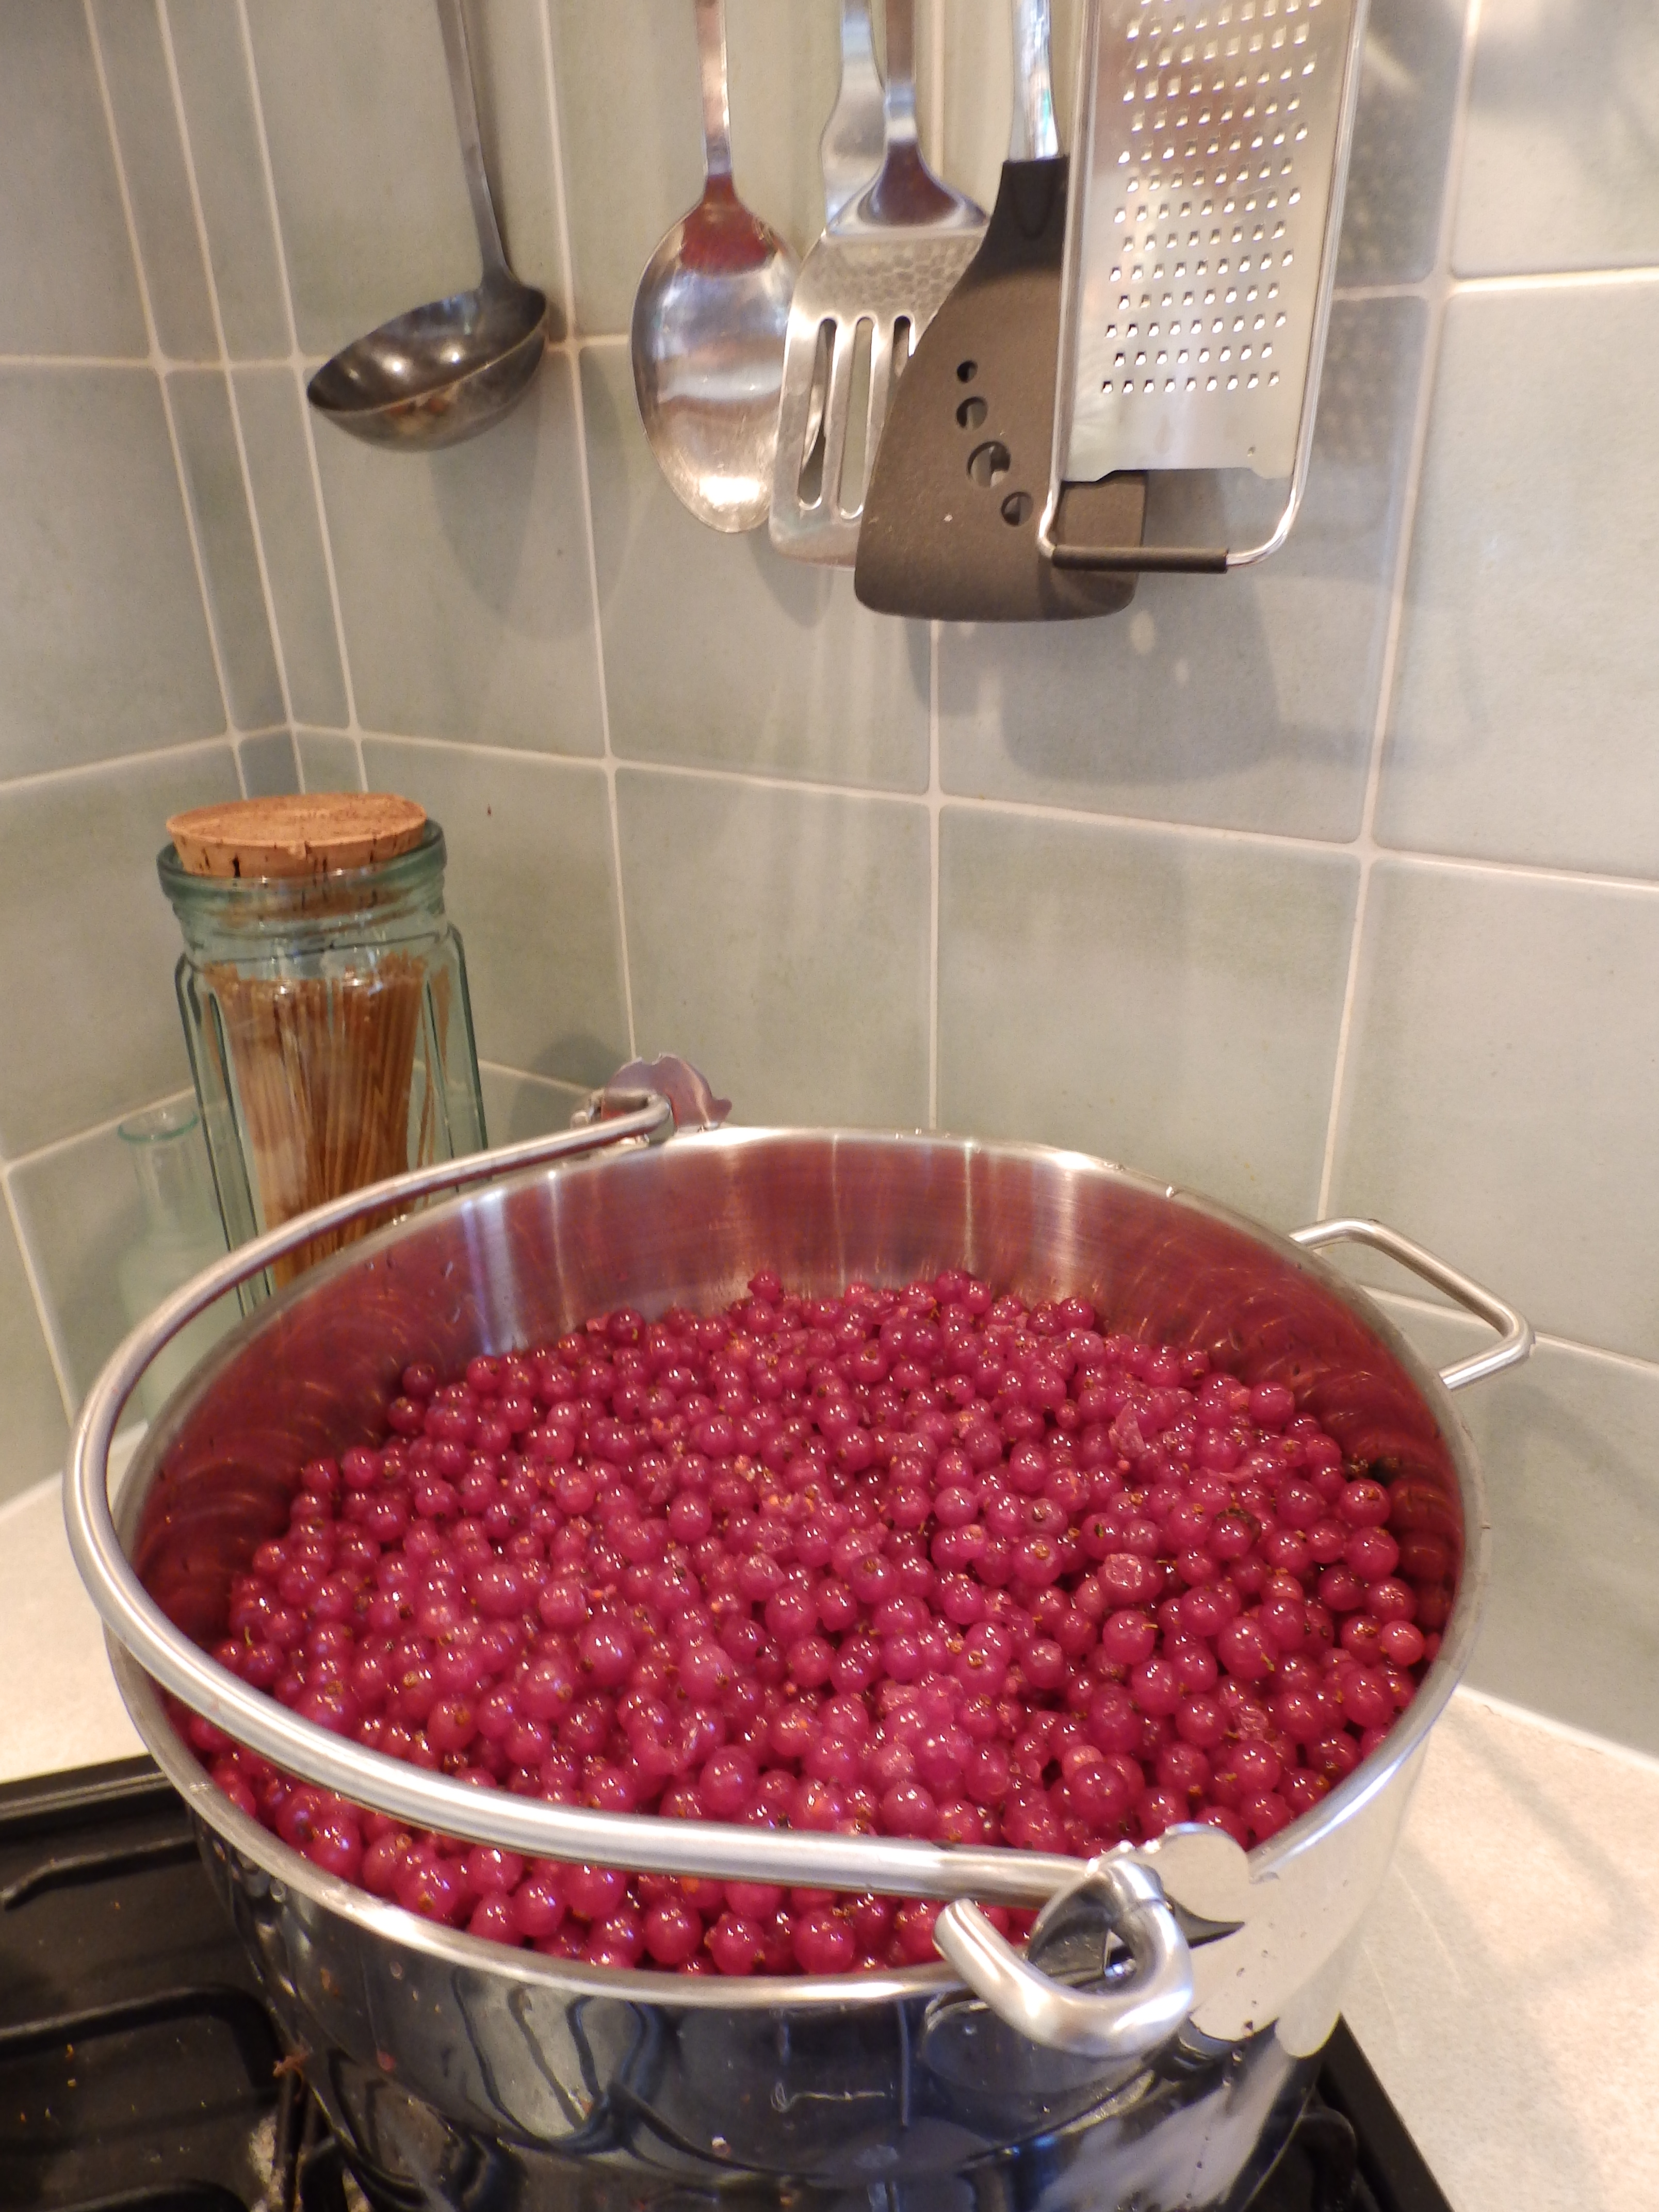
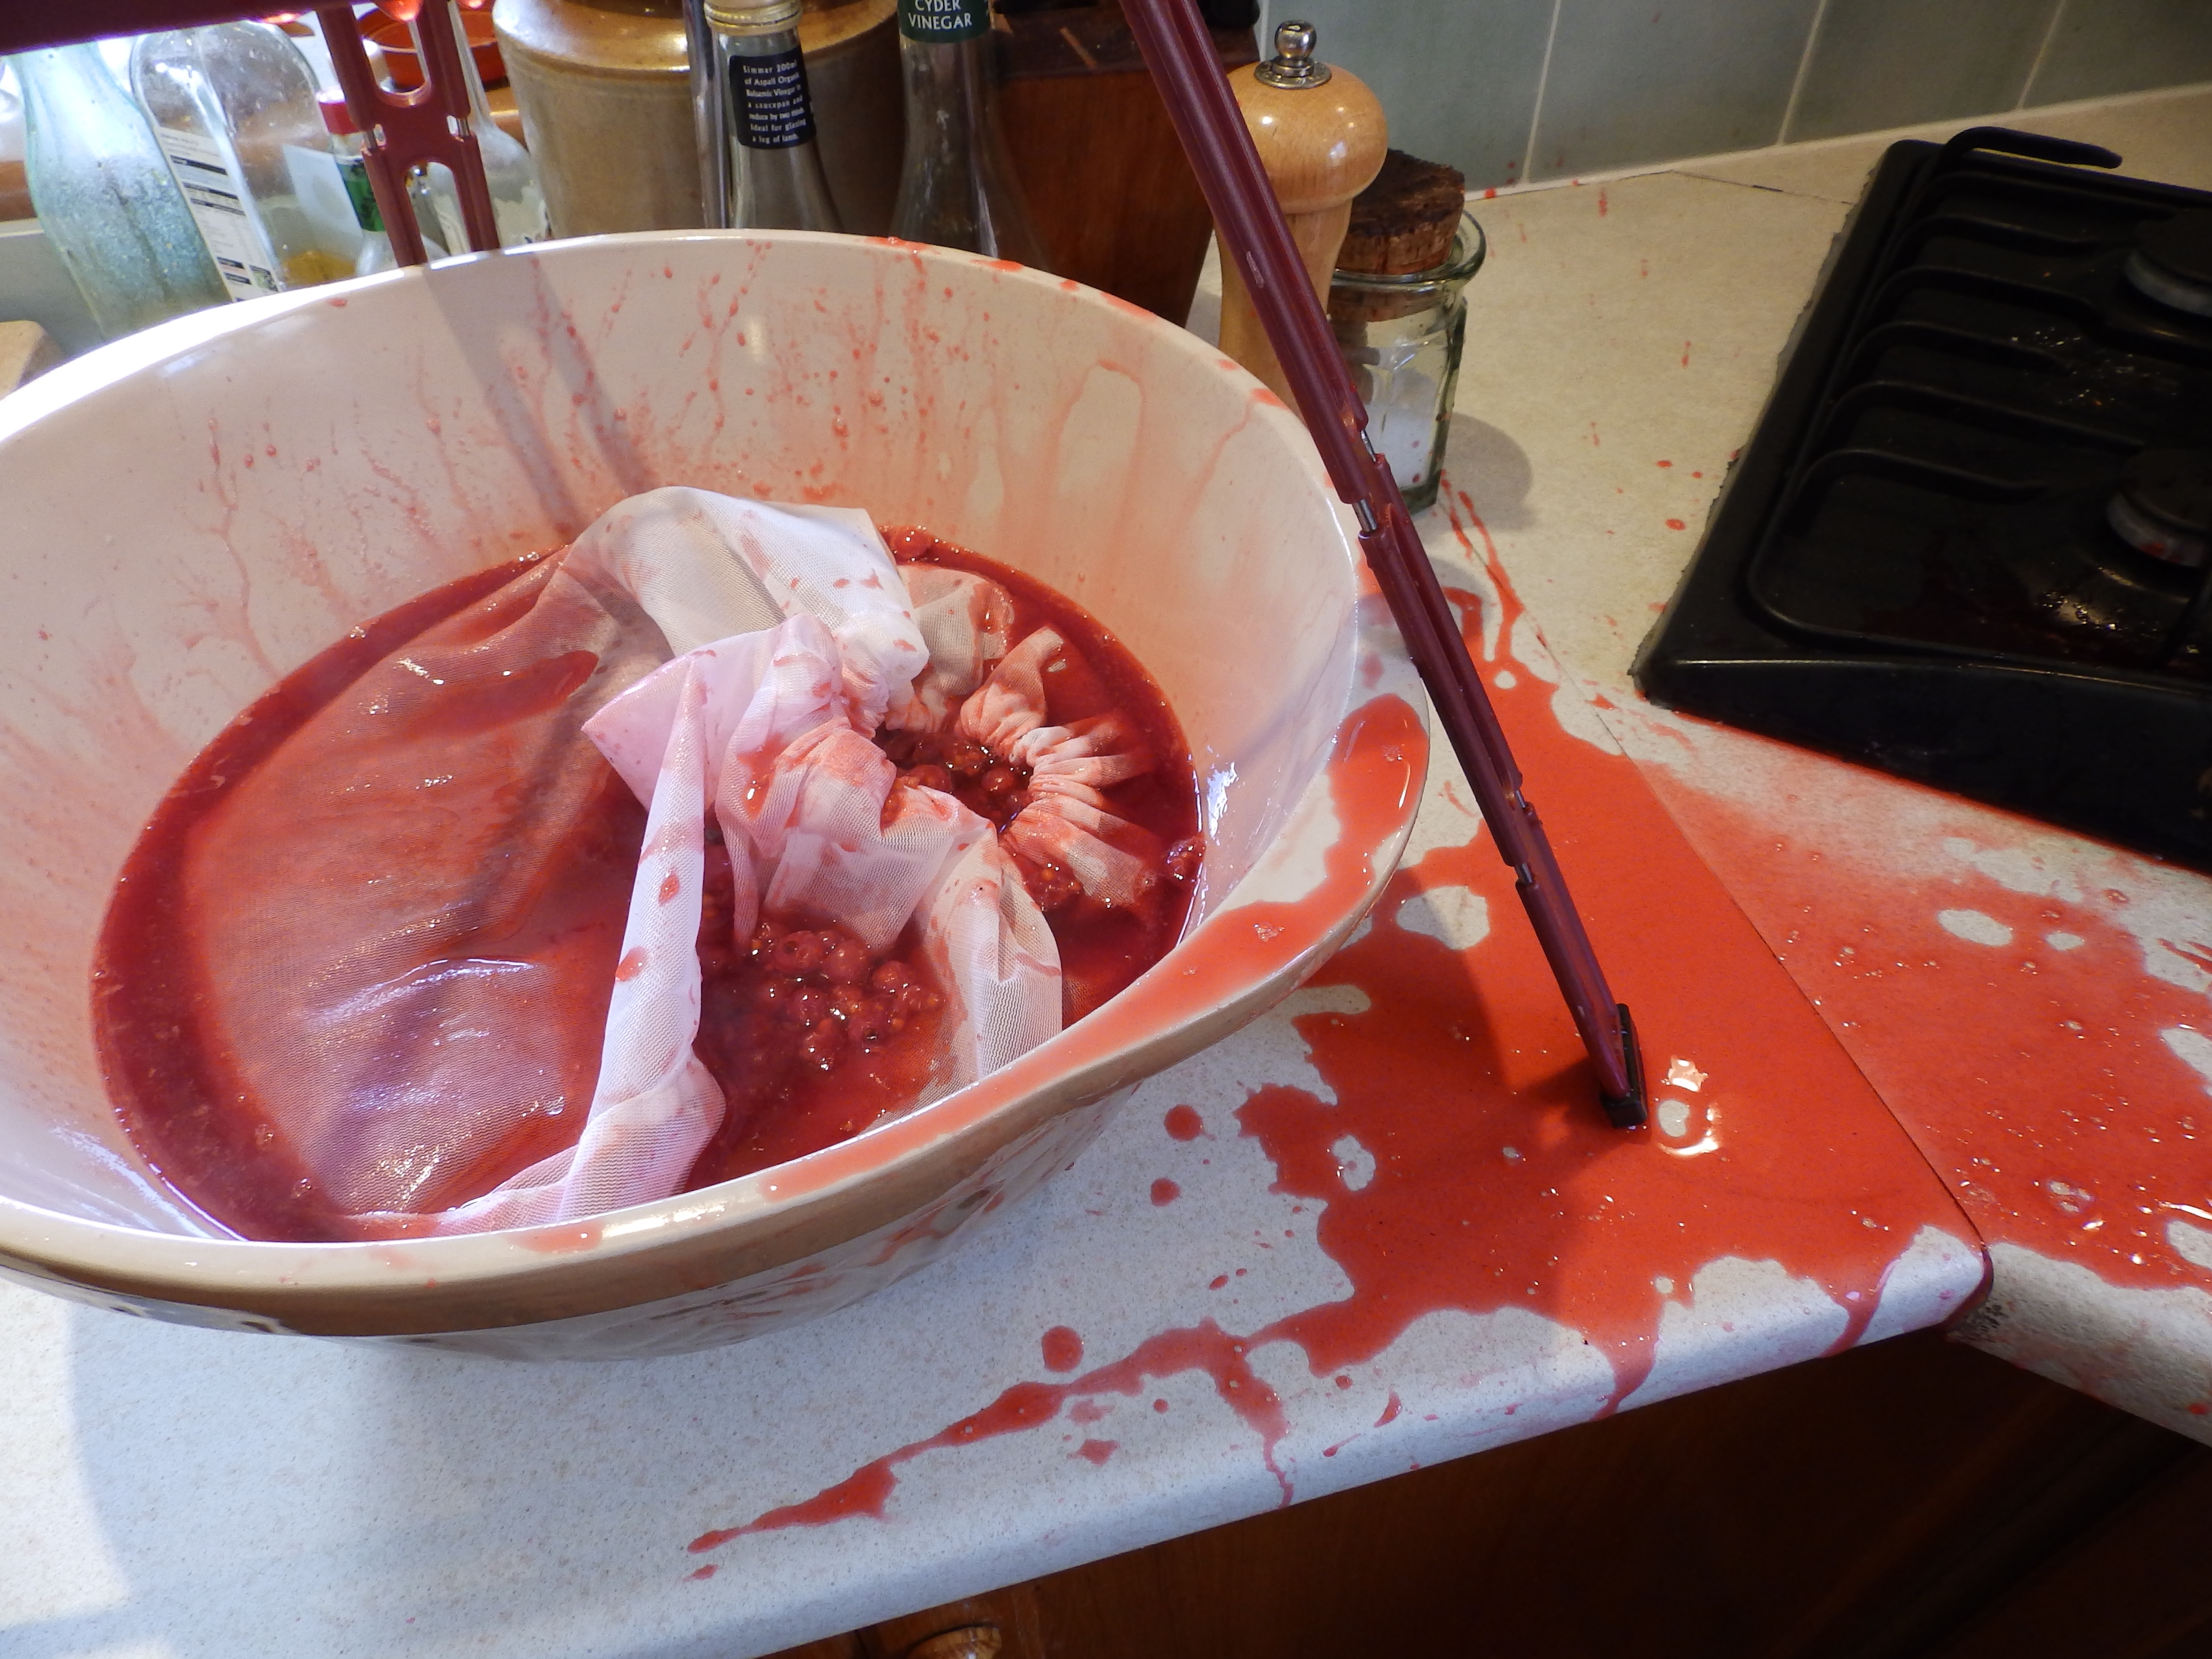
Given the bucket of redcurrants I figured that redcurrant jelly was a must. The recipe I used is here (http://goo.gl/9bHlMf) however I would have to recommend against buying a Kilner jelly strainer if you are considering investing in one. It was poorly designed and resulted in something that looked like the vegetarian equivalent of the Texas chainsaw massacre. Definitely make sure your jelly bag is well secured before adding the redcurrants.

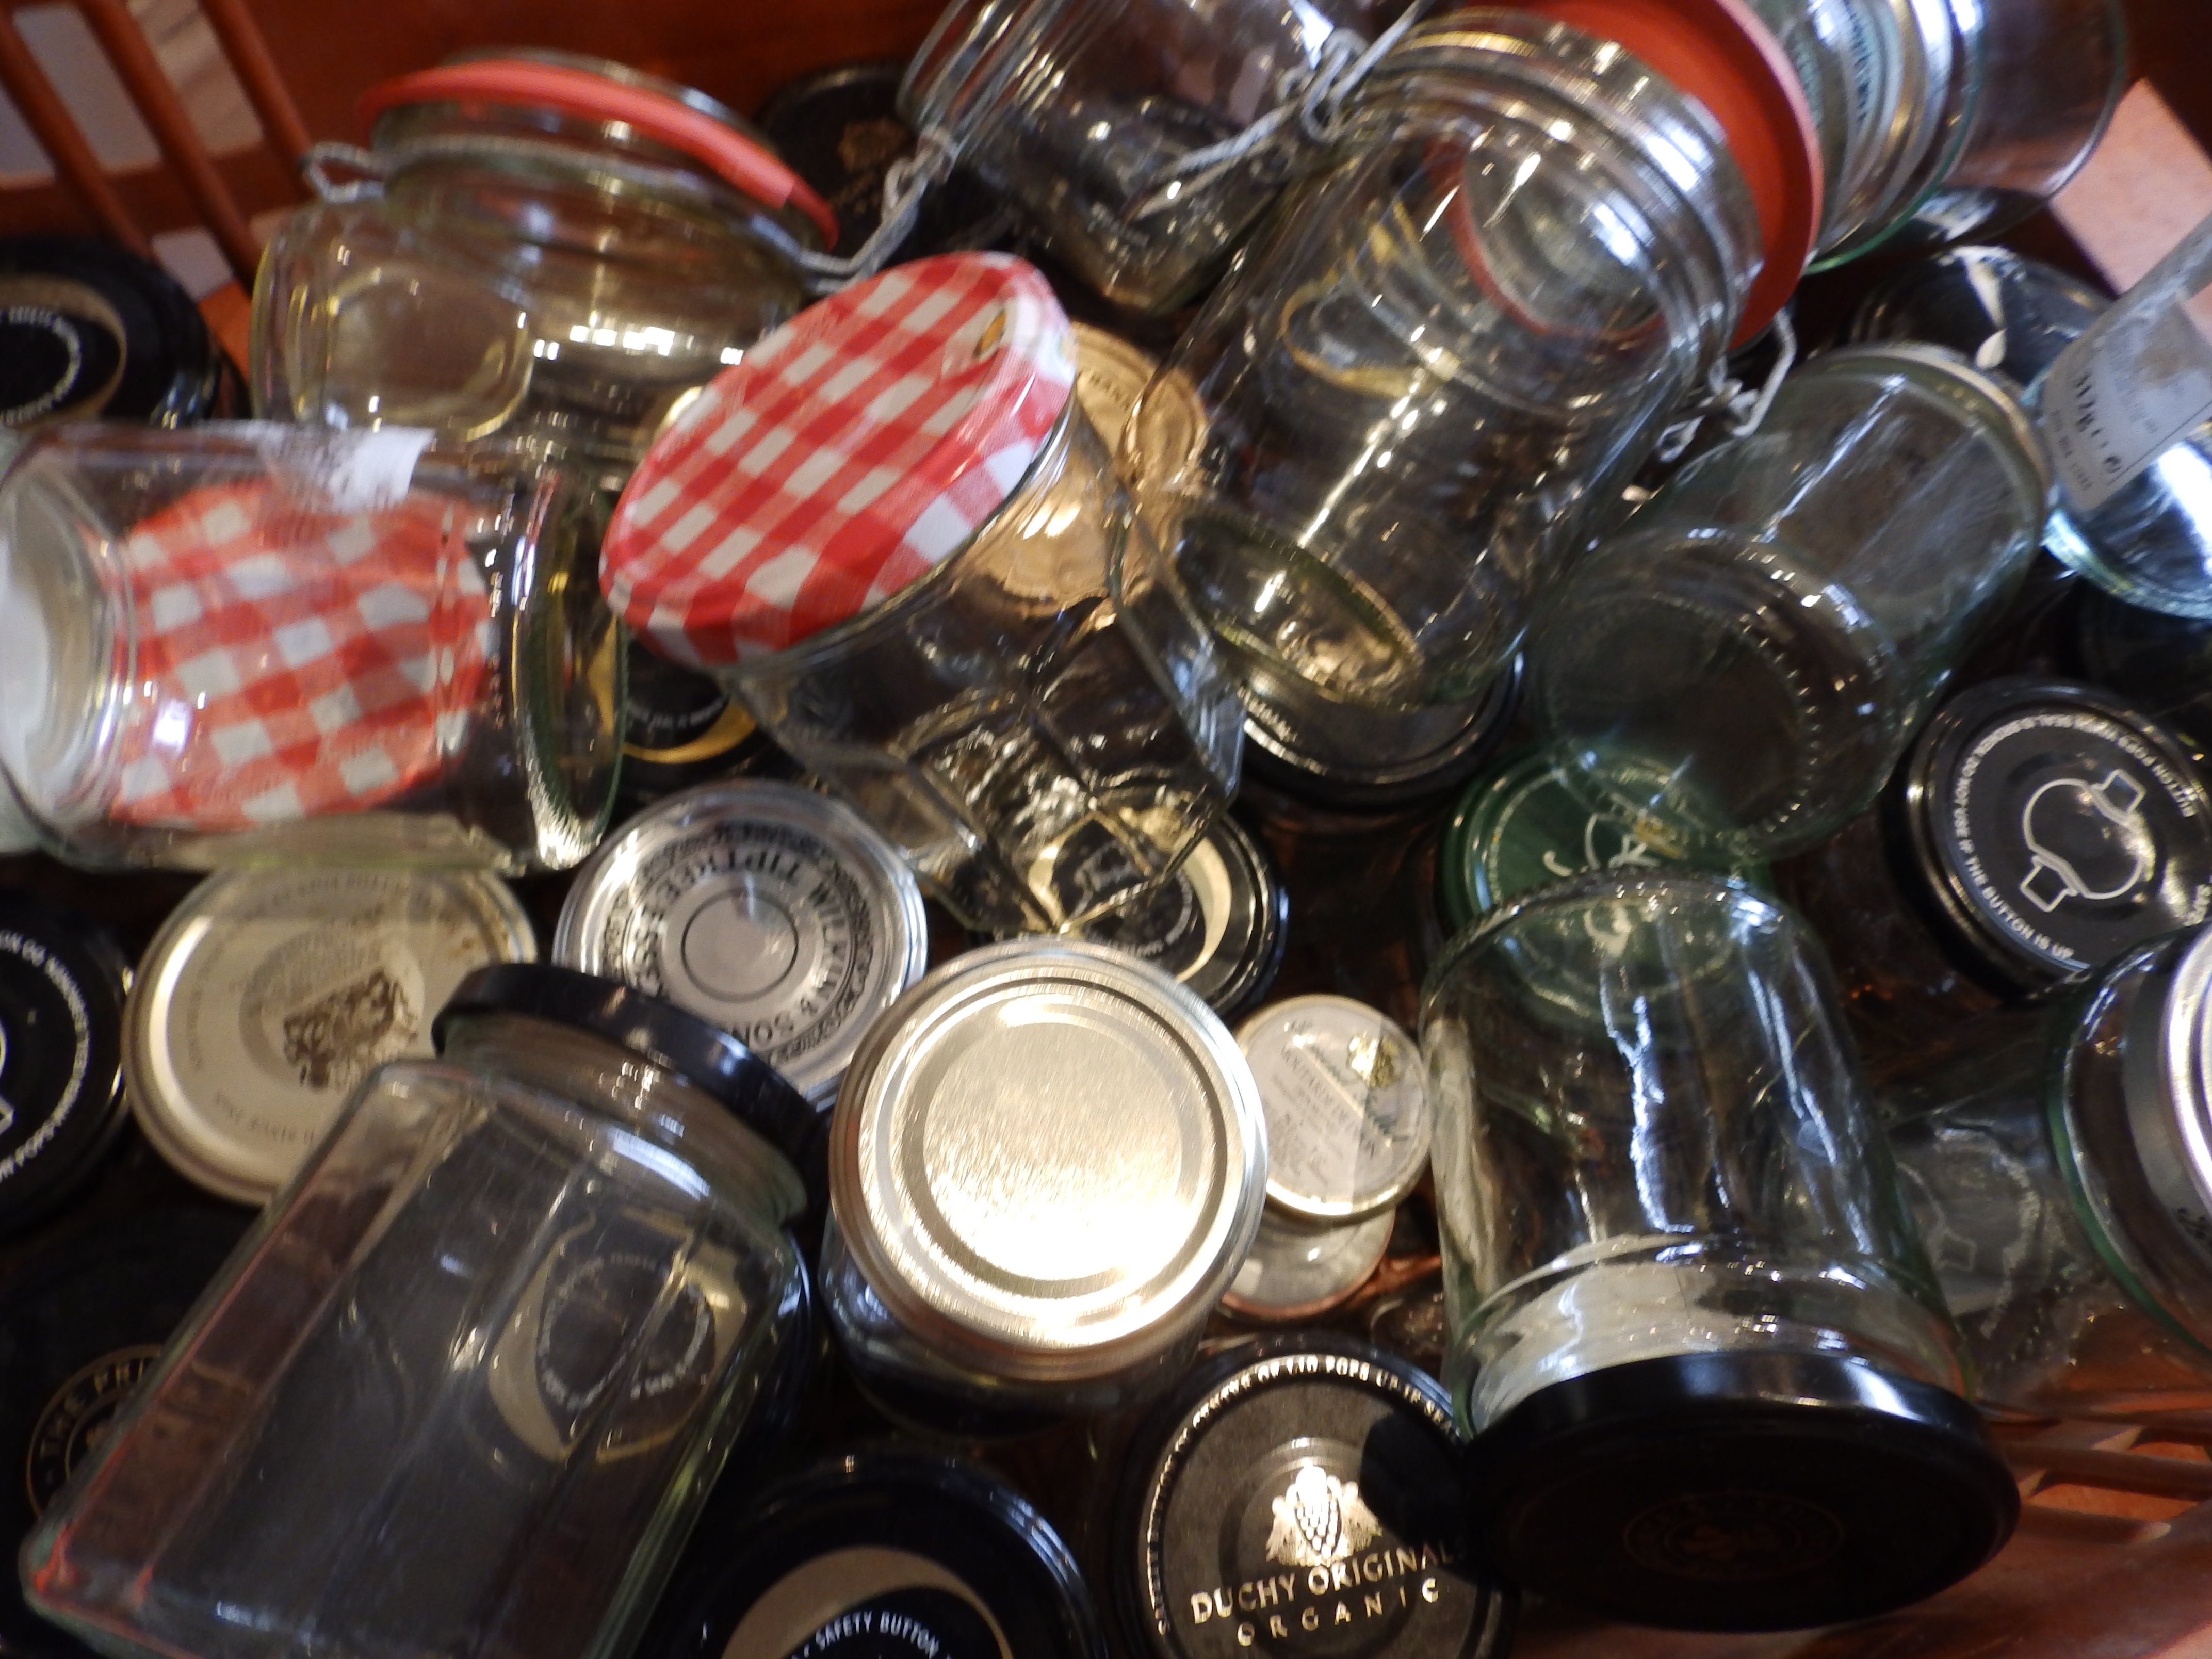
I decided to turn the raspberries and blackcurrants into both coulis and jam. The jam recipe can be found here (http://goo.gl/MNbWYE) and it was utterly delicious. If you haven’t made jam before or are nervous of it then I would recommend this jam as a good starting point. It sets relatively easily because of the high levels of pectin in the fruit. Also, my rule for jam is that I would rather have great tasting jam that is a little runny than some perfectly set jam that tastes vile because it is burnt. Runny jam doesn’t last so long but if it tastes good it won’t need to. We collect jars all year so we have some for jam making season but if you don’t it might be worth looking for some on www.freecycle.org or in pound shops before you splash out on expensive ones from a shop.

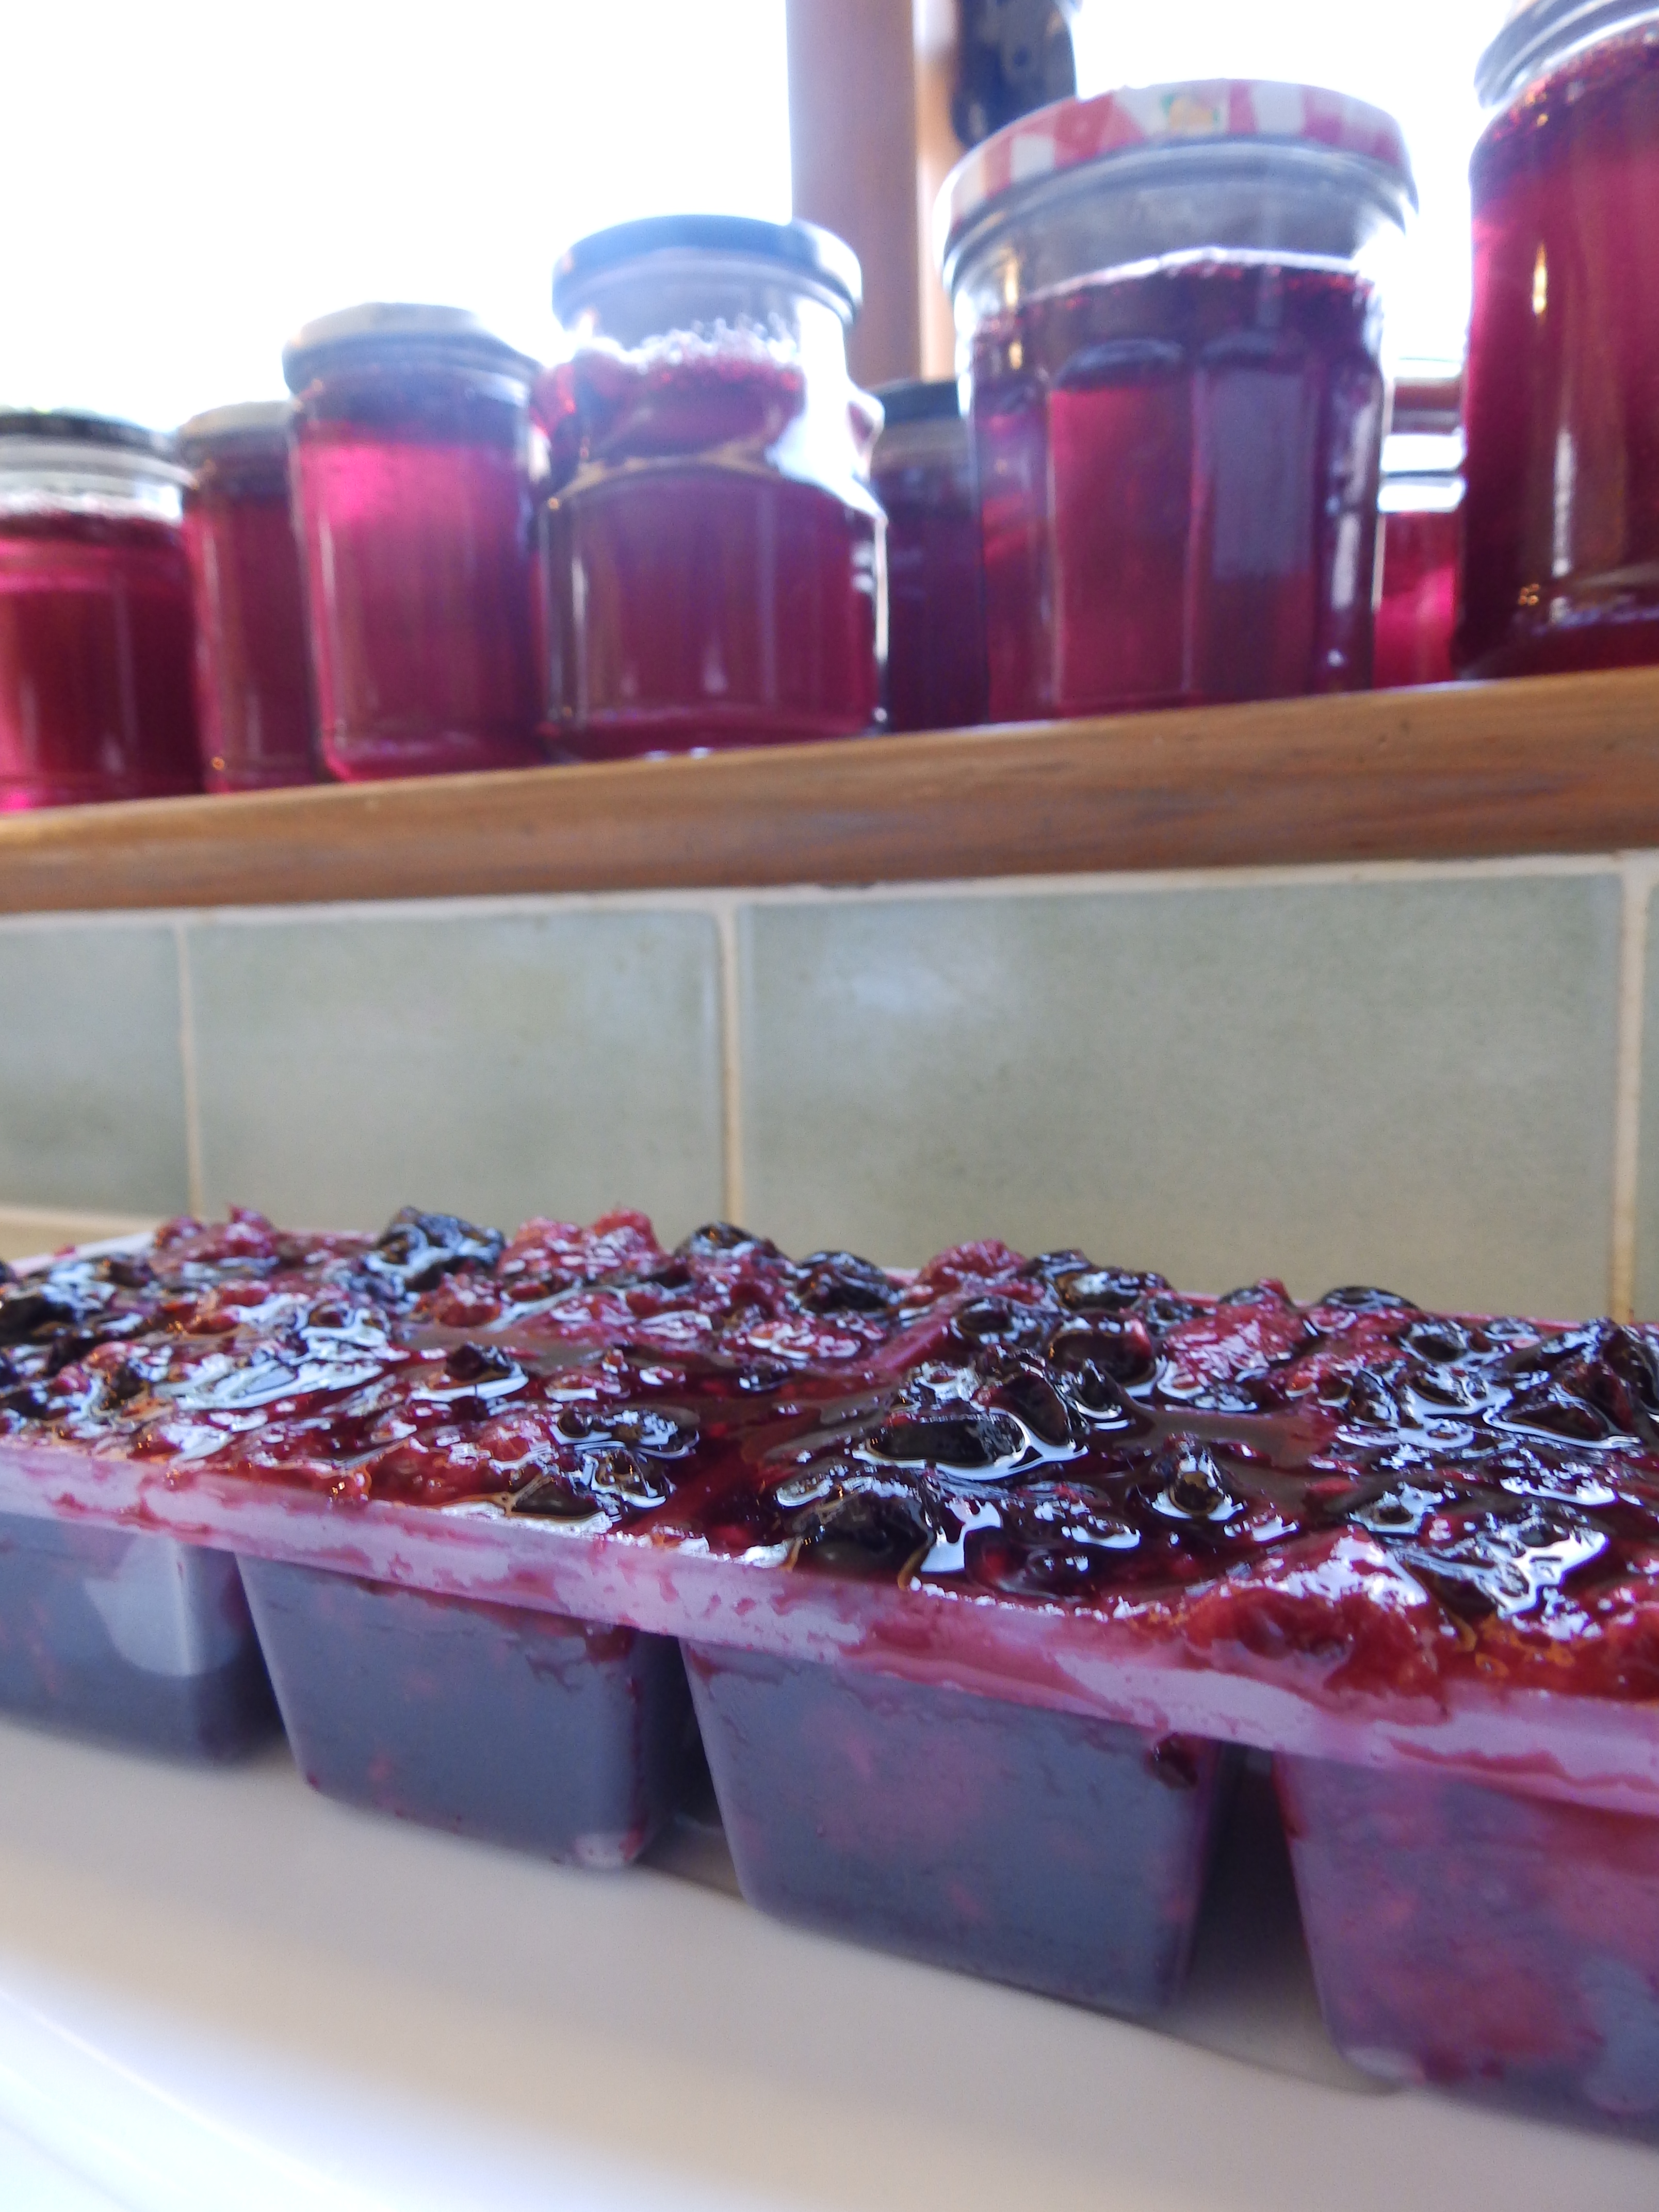
The coulis I made was simply a pound each of blackcurrants and raspberries plus 400g of sugar. This was just bought gently to the boil and then left it to cool. I then ladled it into containers for freezing.  I also froze some in individual ice cube trays. These are the perfect size to drop into some plain yoghurt for a fruity treat.  This also might be a good idea if you have young children and you want to get them eating healthier yoghurt with less sugar and additives.

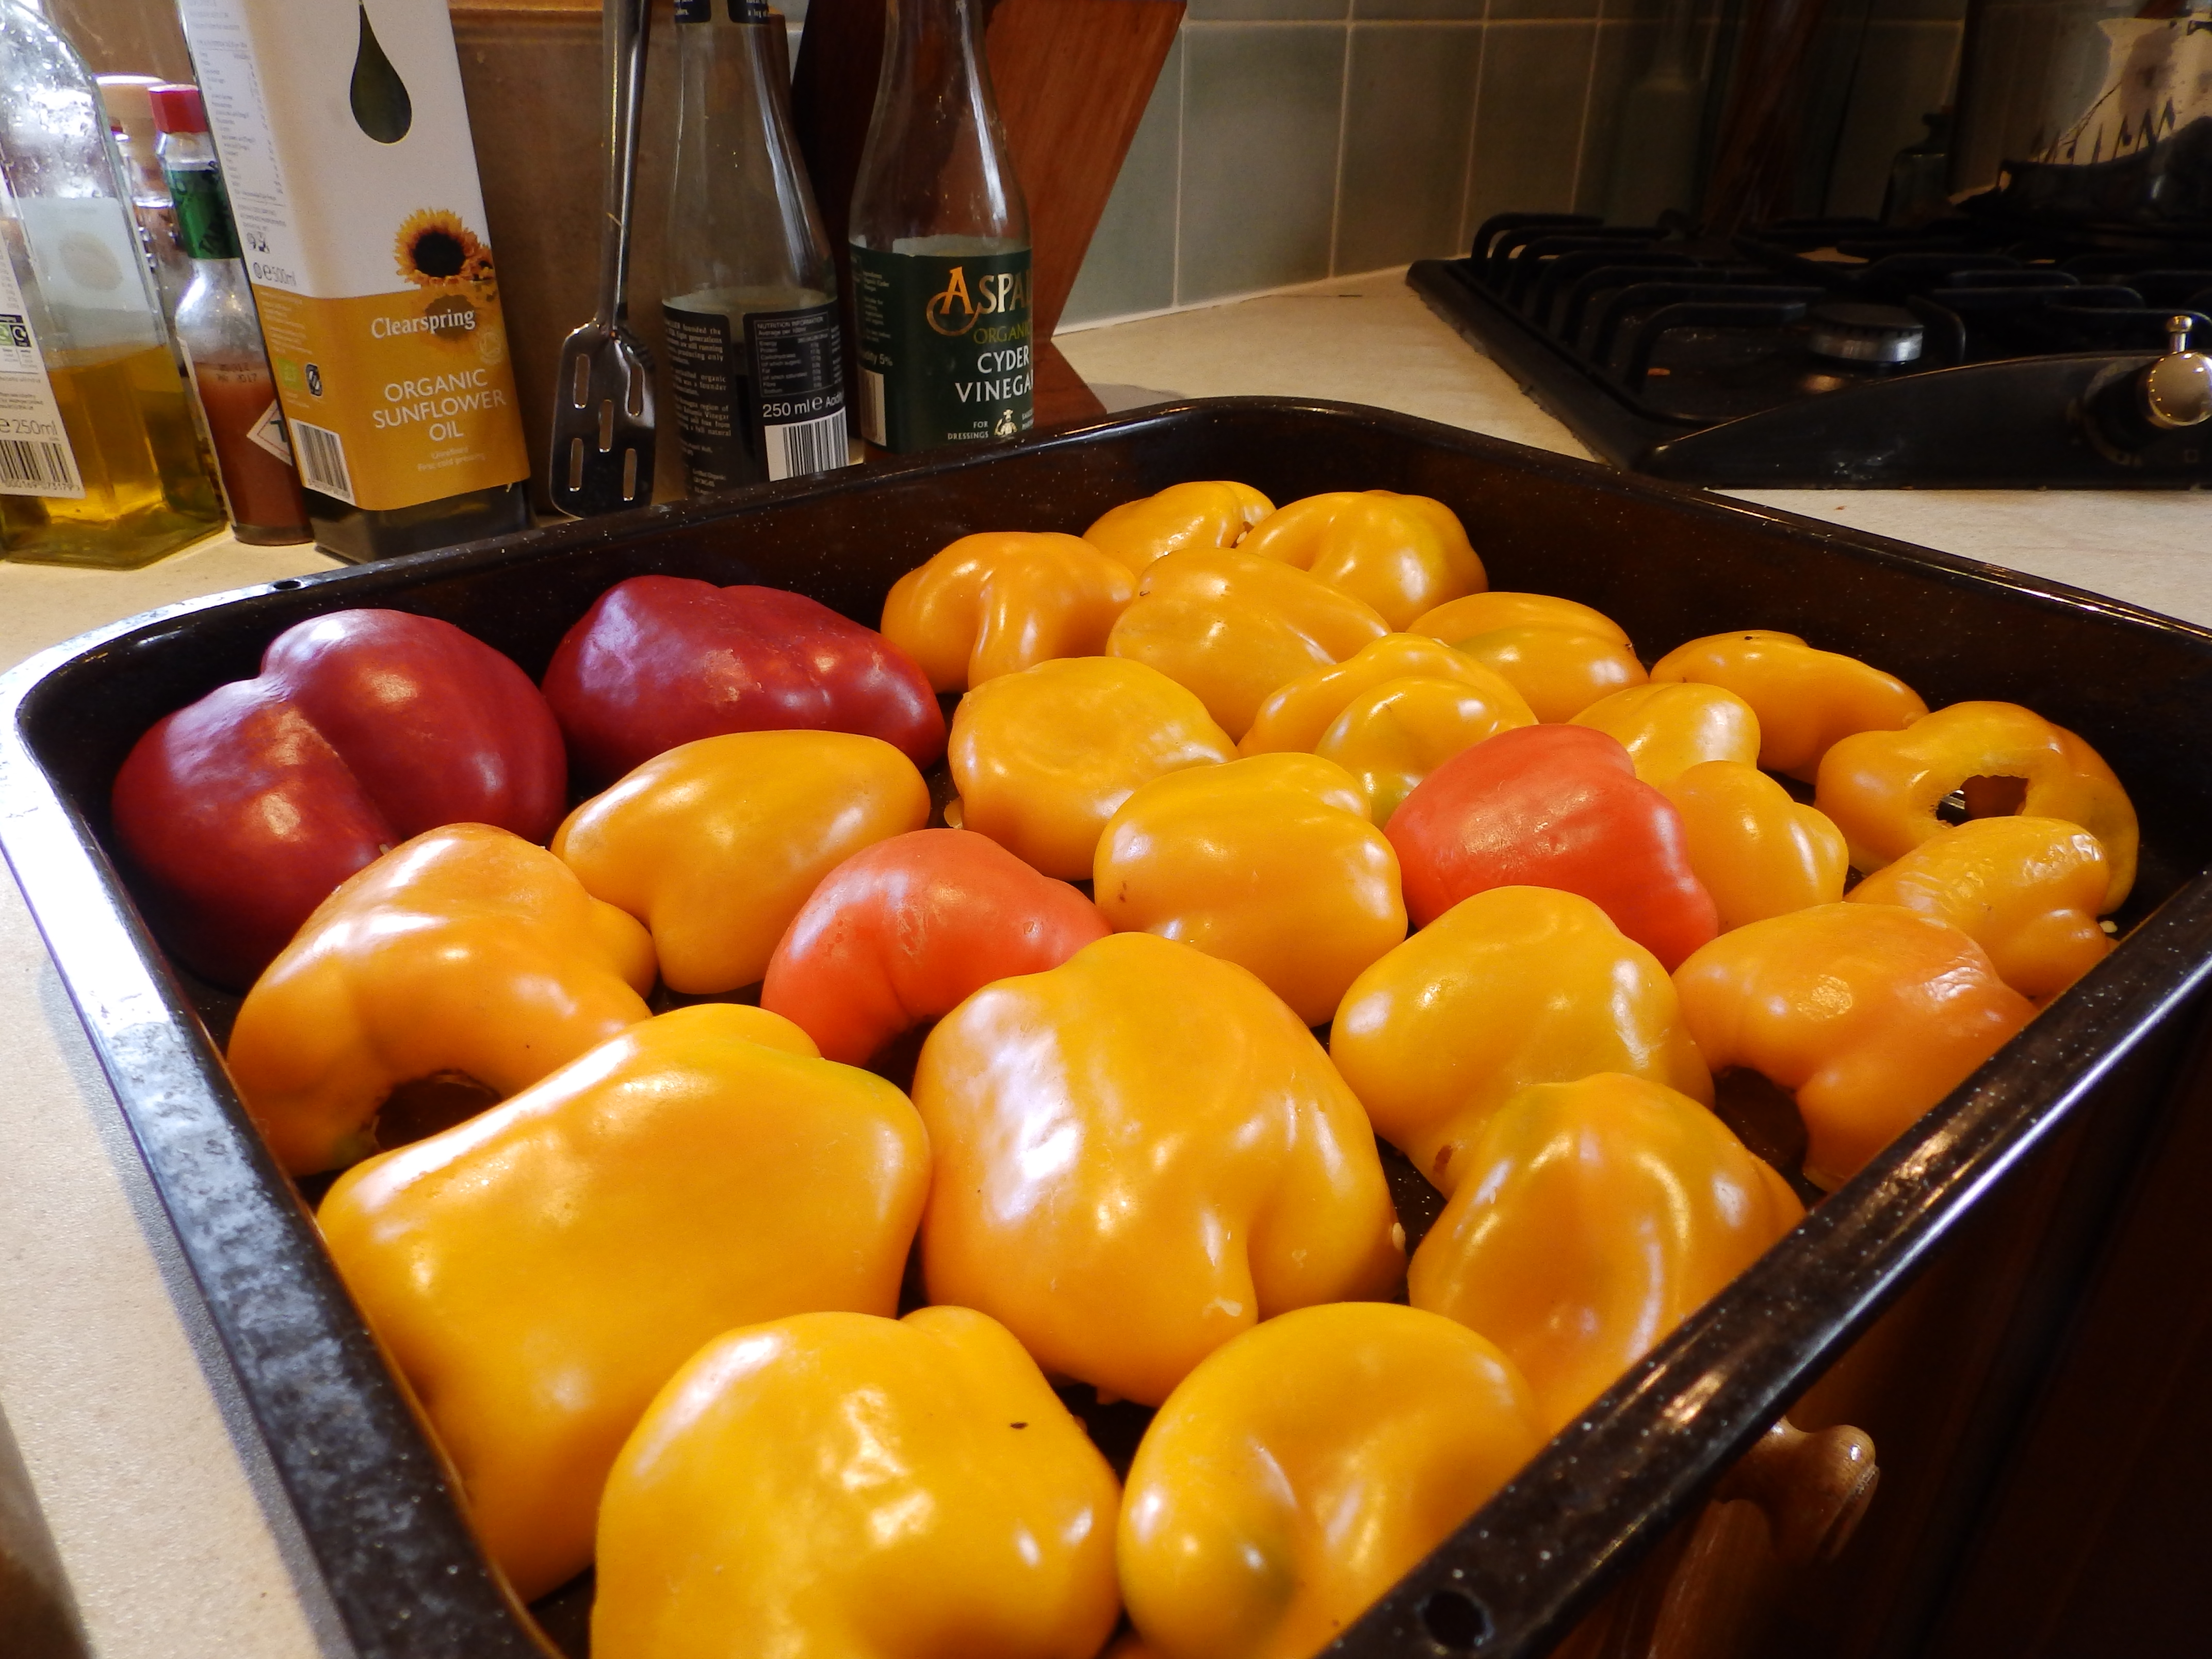
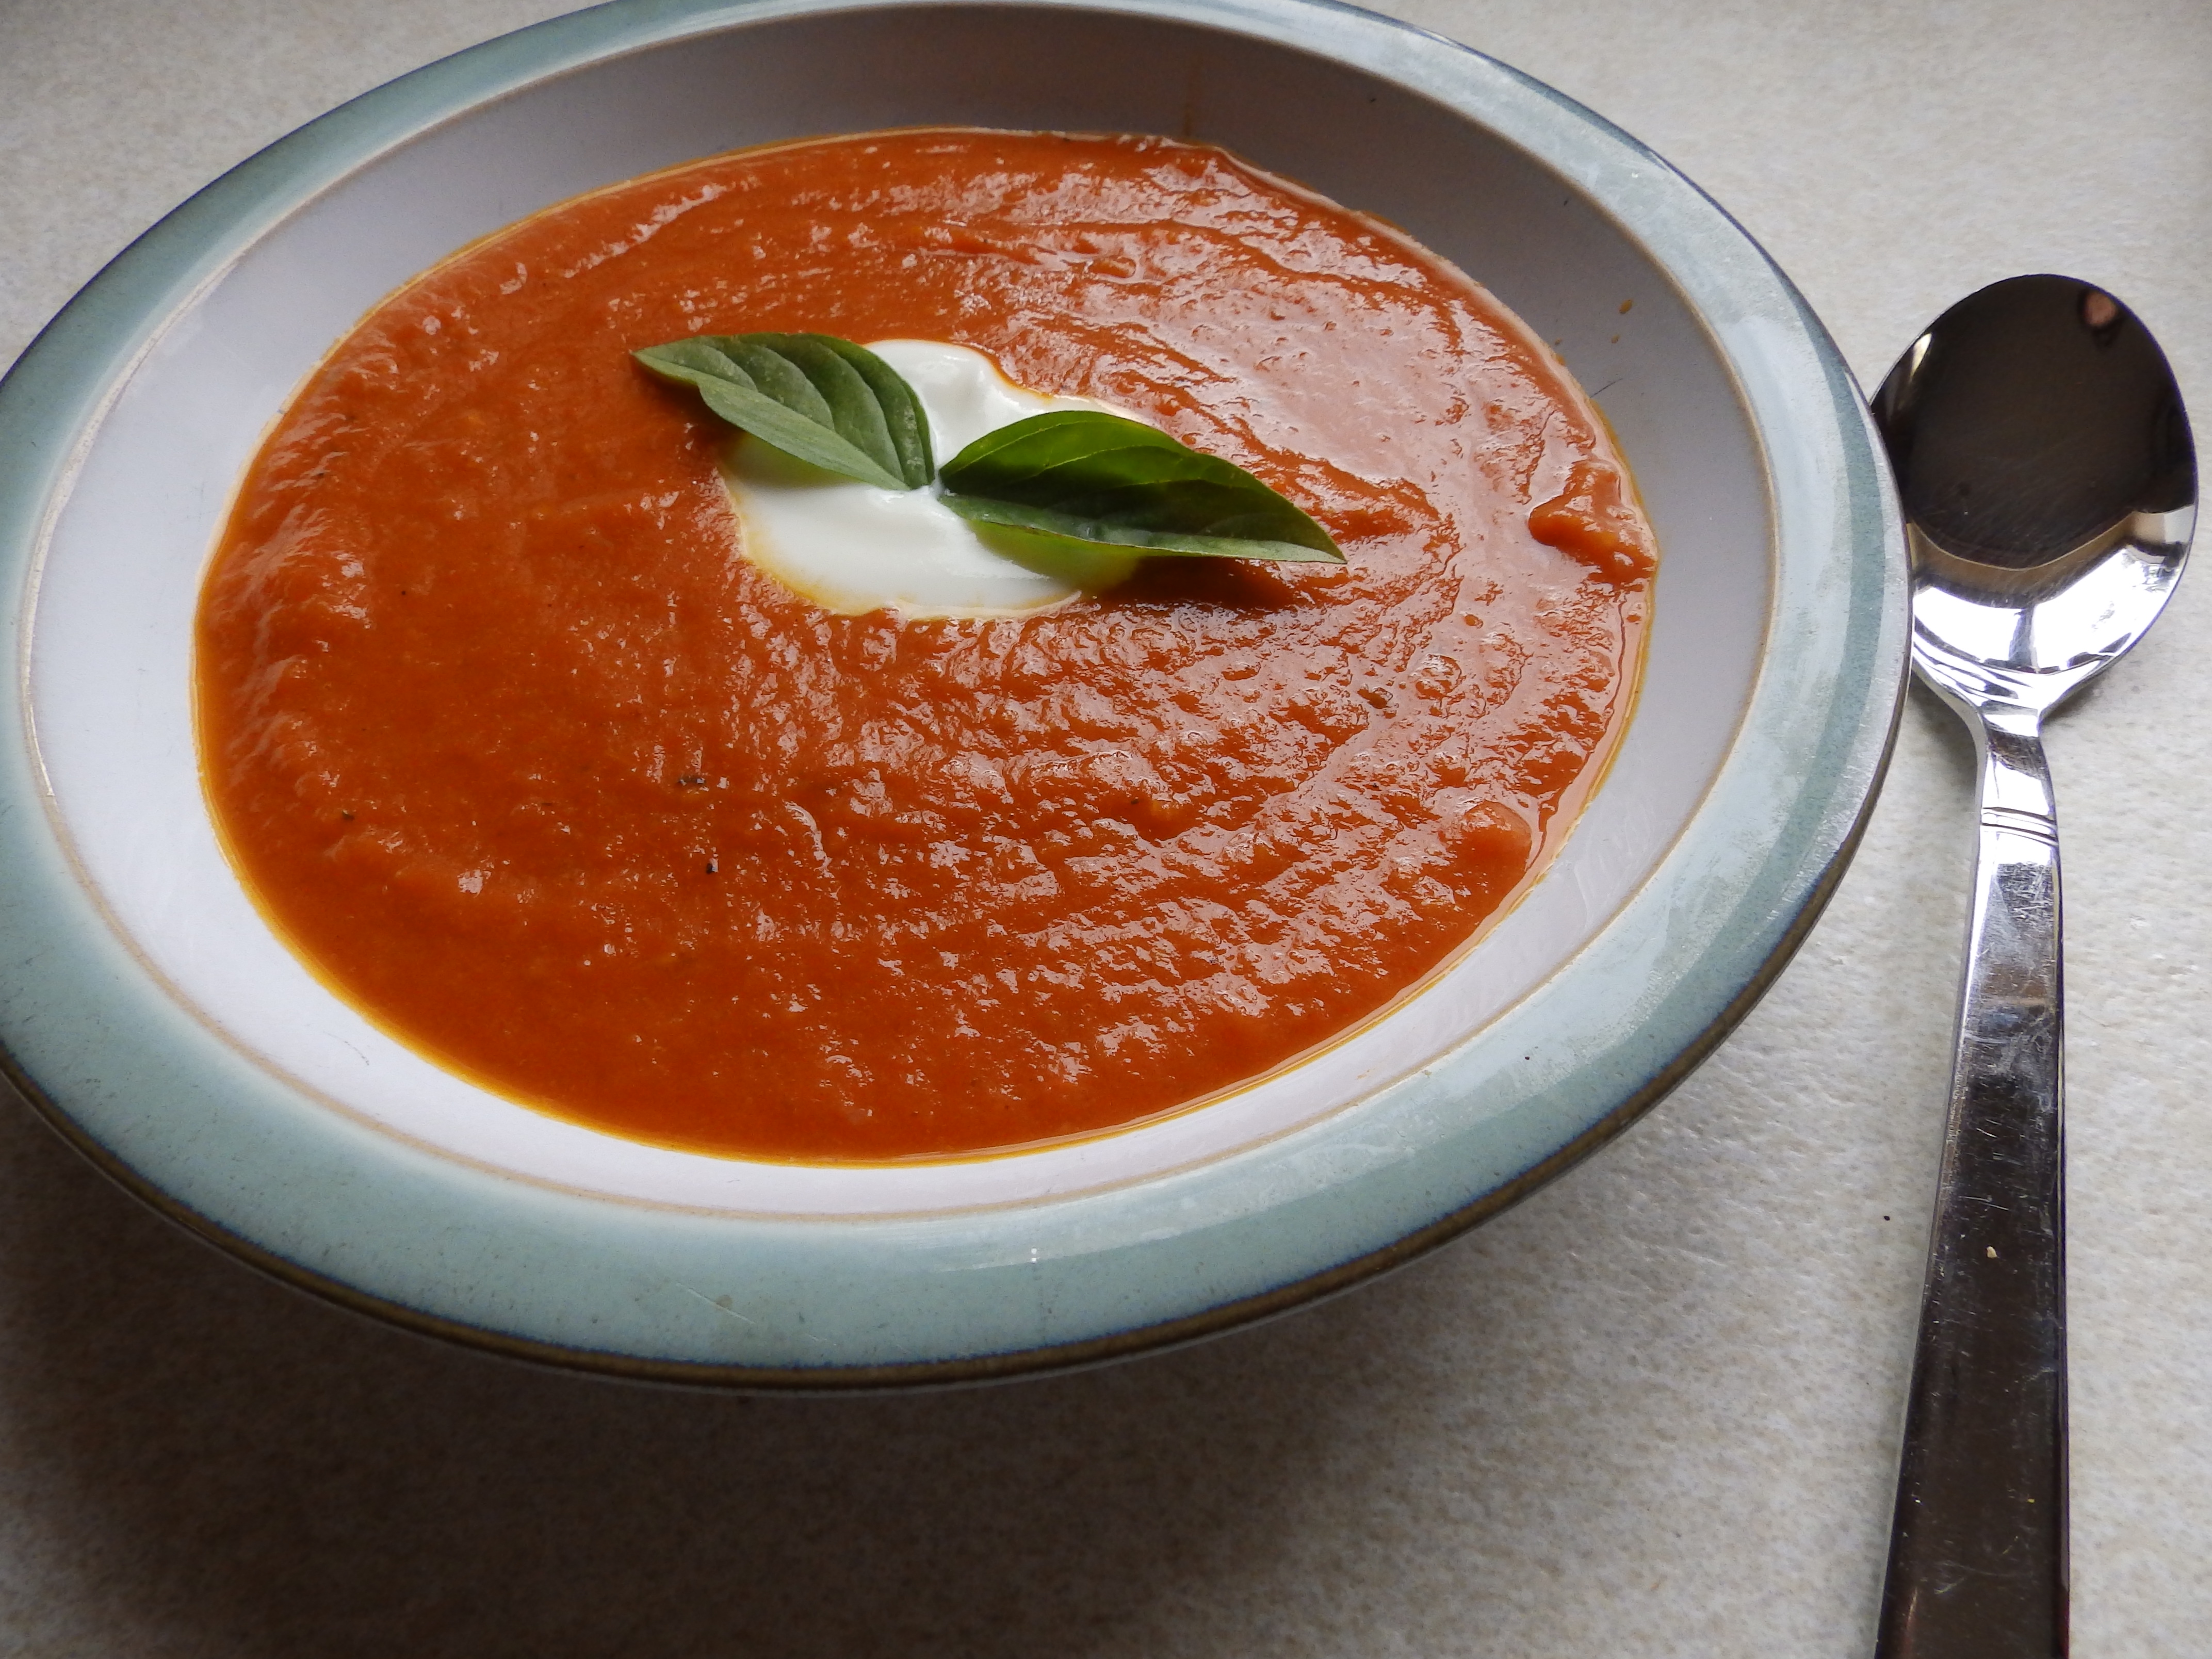
With the buckets of tomatoes and peppers I made a delicious soup with the roasted peppers and tomatoes. The recipe can be found here (http://goo.gl/6Em55v ). I froze most of this huge batch of soup since it is nice, with winter fast approaching, to have some healthy, vitamin rich soup to tide you over, especially since tomatoes and peppers remind me so much of summer.  Though gathering this amount of produce is hard work, it’s definitely well worth doing. It is satisfyingly thrifty and most of all delicious!

Blackcurrant and Raspberry Jam

September 2013

I don’t know why I don’t see this combination more often since it really is delicious.  In my experience, a pound of fruit makes roughly 2 jars of jelly at the end of the process.

Ingredients

1 pound of Blackcurrants
1 pound of Raspberries
2 pounds of white sugar

You will also need clean jars

Method

  1. Pick over and wash the blackcurrants and raspberries making sure they are clean and bug free then place them in a large heavy based pan. A jam pan is ideal but if not just a nice big saucepan will do.
  2. Add a tablespoon of water to the pan and simmer the berries gently until they are tender and beginning to burst.
  3. Add the sugar stirring continuously until all the sugar is dissolved.
  4. Place your clean jars and their lids into a 100 degree oven to sterilise.
  5. While your jam is cooking it may produce a foamy scum which will rise to the top. Skim this off with a large metal spoon.
  6. Simmer until setting point is reached. My preferred method of determining this is to drop a small amount of jam on a plate and push it with a fingernail. If it has reached setting point the surface will wrinkle.
  7. When setting point is reached, use a ladle your jam into your clean hot jars. Place the lids on and screw them on tightly using a tea towel to avoid burning your fingers.
  8. Leave your jam to cool at room temperature; if you’re using jars with “safety buttons” you should notice that when the jelly is cool the buttons will have been pulled down by the vacuum you have formed by putting the lids on the hot jars. Your jam should last at least 6 months but will probably last much longer.  

Creamy Courgette and Bacon Carbonara.

September 2013

I wasn’t a fan of carbonara until I tried this recipe; the courgette and rosemary really freshens the dish up. Serves 2.

Ingredients

200g spaghetti
4 rashers of bacon
2 medium courgettes
a good pinch of black pepper
a sprig of rosemary
2 cloves of garlic, finely chopped
1 egg yolk
100g crème fraîche
1 good handful of parmesan or other hard cheese

Method

  1. Place a large pan of water on to boil for your pasta.

  2. Chop the bacon and fry it in a large frying pan until beginning to crisp and colour.
  3. While the bacon is frying, dice the courgettes into 1.5cm cubes discarding the middle of the courgettes if they are beginning to become fluffy and full of seeds.
  4. Add the courgettes to the bacon and continue to fry on a medium heat. When the courgettes are beginning to soften (after about 4 minutes) add the pasta to the water which should now be boiling.
  5. Finely chop the rosemary, discarding the woody stalks and add it to the courgettes and bacon along with the garlic and black pepper.
  6. Mix the egg yolk with the crème fraîche and 3 quarters of the cheese.
  7. When the pasta is tender, drain it, reserving a little of the cooking water. Add the pasta immediately to the courgette and bacon and remove the pan from the heat.
  8. Mix in the egg and cheese mixture, adding a little of the pasta’s cooking water until you have a smooth and shiny sauce that coats the pasta. Serve immediately sprinkled with the remainder of the cheese. 

September Stew with Parsley Dumplings

With the winds getting colder and the nights drawing in, it’s good to have something seasonal and comforting to eat in the evening.

Serves 4.

Ingredients

For the stew

500g stewing steak, cubed
1 tablespoon sunflower oil
1 large onion
3 medium carrots
1 medium courgette
1 large potato
1 heaped tablespoon of plain flour
2 bay leaves
1 teaspoon of yeast extract  (marmite)
1 teaspoon Worcester sauce

For the dumplings

100g self-raising flour
50g suet
1 tablespoon of chopped parsley
pinch of salt
pepper
5 tablespoons of water

Method

  1. Fry the stewing steak off with the oil in a pan large enough to hold all the meat in a single layer. This stage is the most important because here we are caramelising the sugars in the meat and building up flavour.
  2. While the mead it browning, chop your onion.
  3. When the meat is well browned and any liquid it has released has evaporated add the onion and continue to fry on a medium heat.
  4. Chop the rest of your vegetables and add them to the pan when the onion is starting to become tender.
  5. Sprinkle the flour on top of the meat and vegetables and stir it through. At this point brown crusty deliciousness will be beginning to form on the base of your pan. Add enough boiling water to just cover your meat and veg and use a wooden spoon to scrape the delicious residue from the bottom of your pan.
  6. Add the bay leaves, yeast extract and Worcester sauce and cook for about an hour and a half. Your stew is ready when the meat is tender and soft.
  7. Meanwhile, make the dumplings. Add the dry ingredients and parsley to a bowl and mix in the water to a soft dough.  Set aside until required.
  8. When your stew is 15 minutes from serving, roll your dumpling mix into balls roughly 2cm in diameter and drop them onto the surface of the stew leaving room between them for expansion. Put a lid on your pan and cook for 15 minutes.
  9. Serve either on its own or with a big chunk of bread. This is not a dainty dish but it tastes like a hug in a bowl!