A place of my own

I have moved house again and finally gotten my garden back together.

I suppose I should begin this blog with an apology, I have been away a long time and my garden has taken a bit of a back seat with one thing and another.

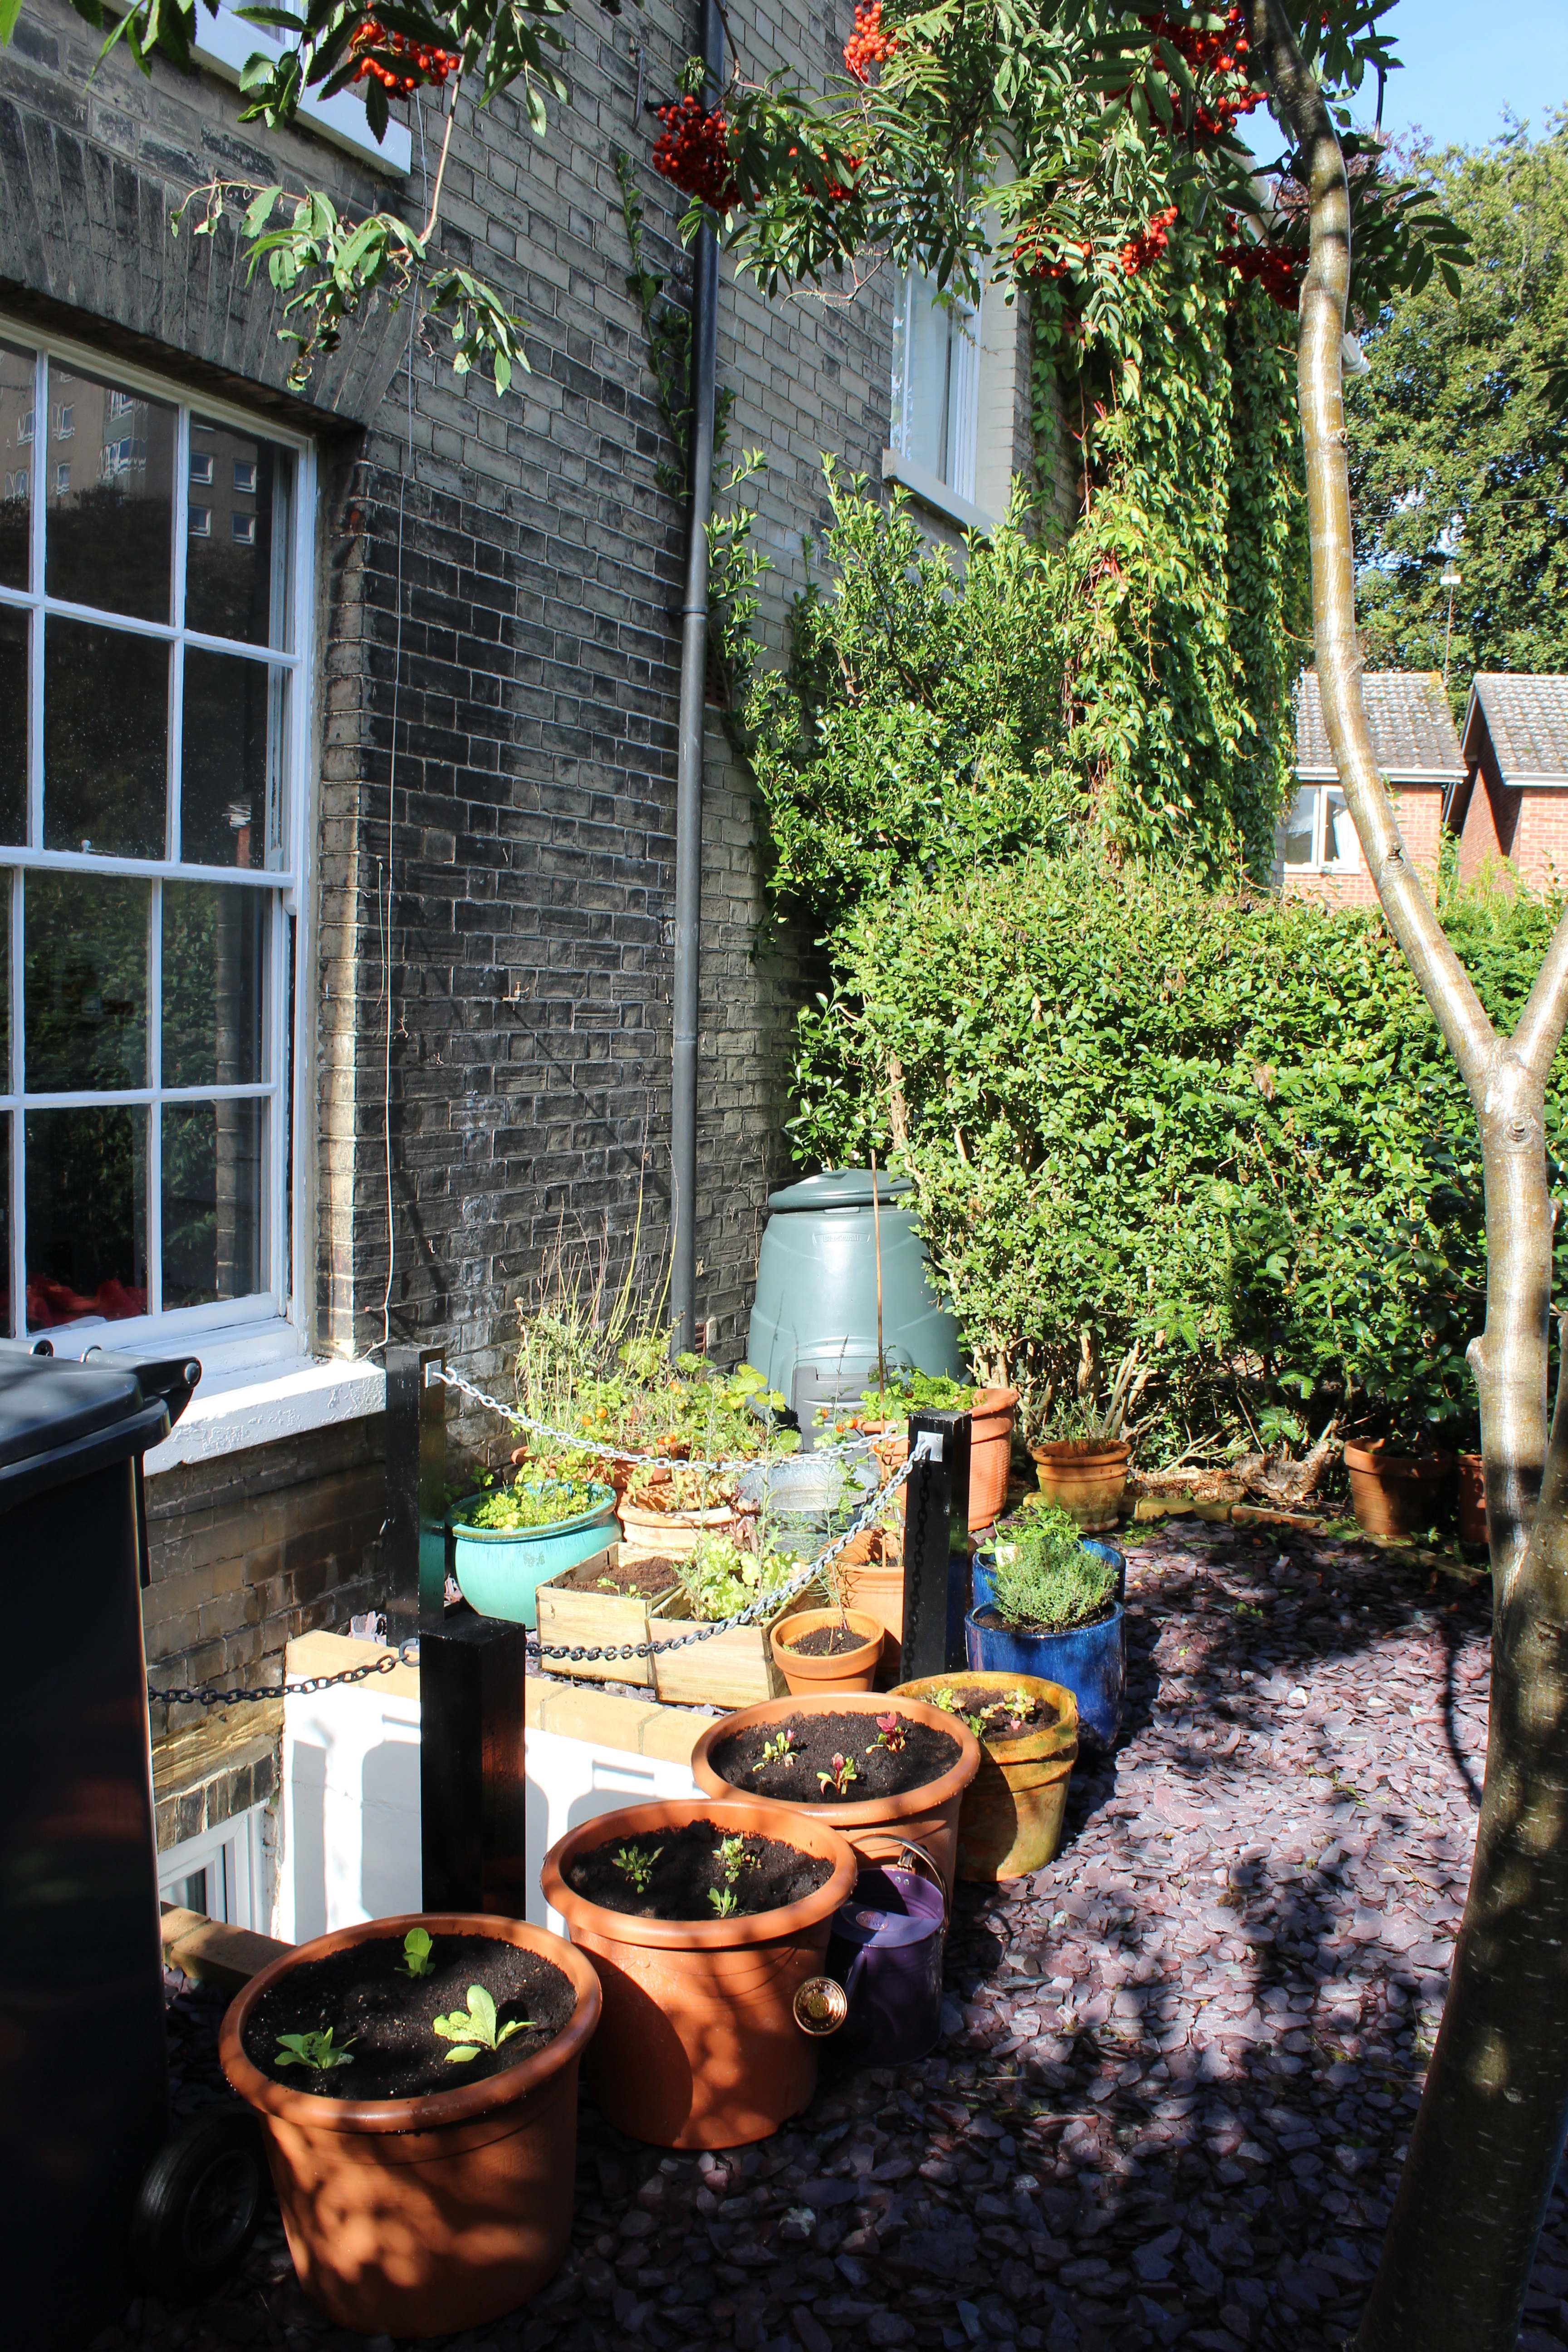
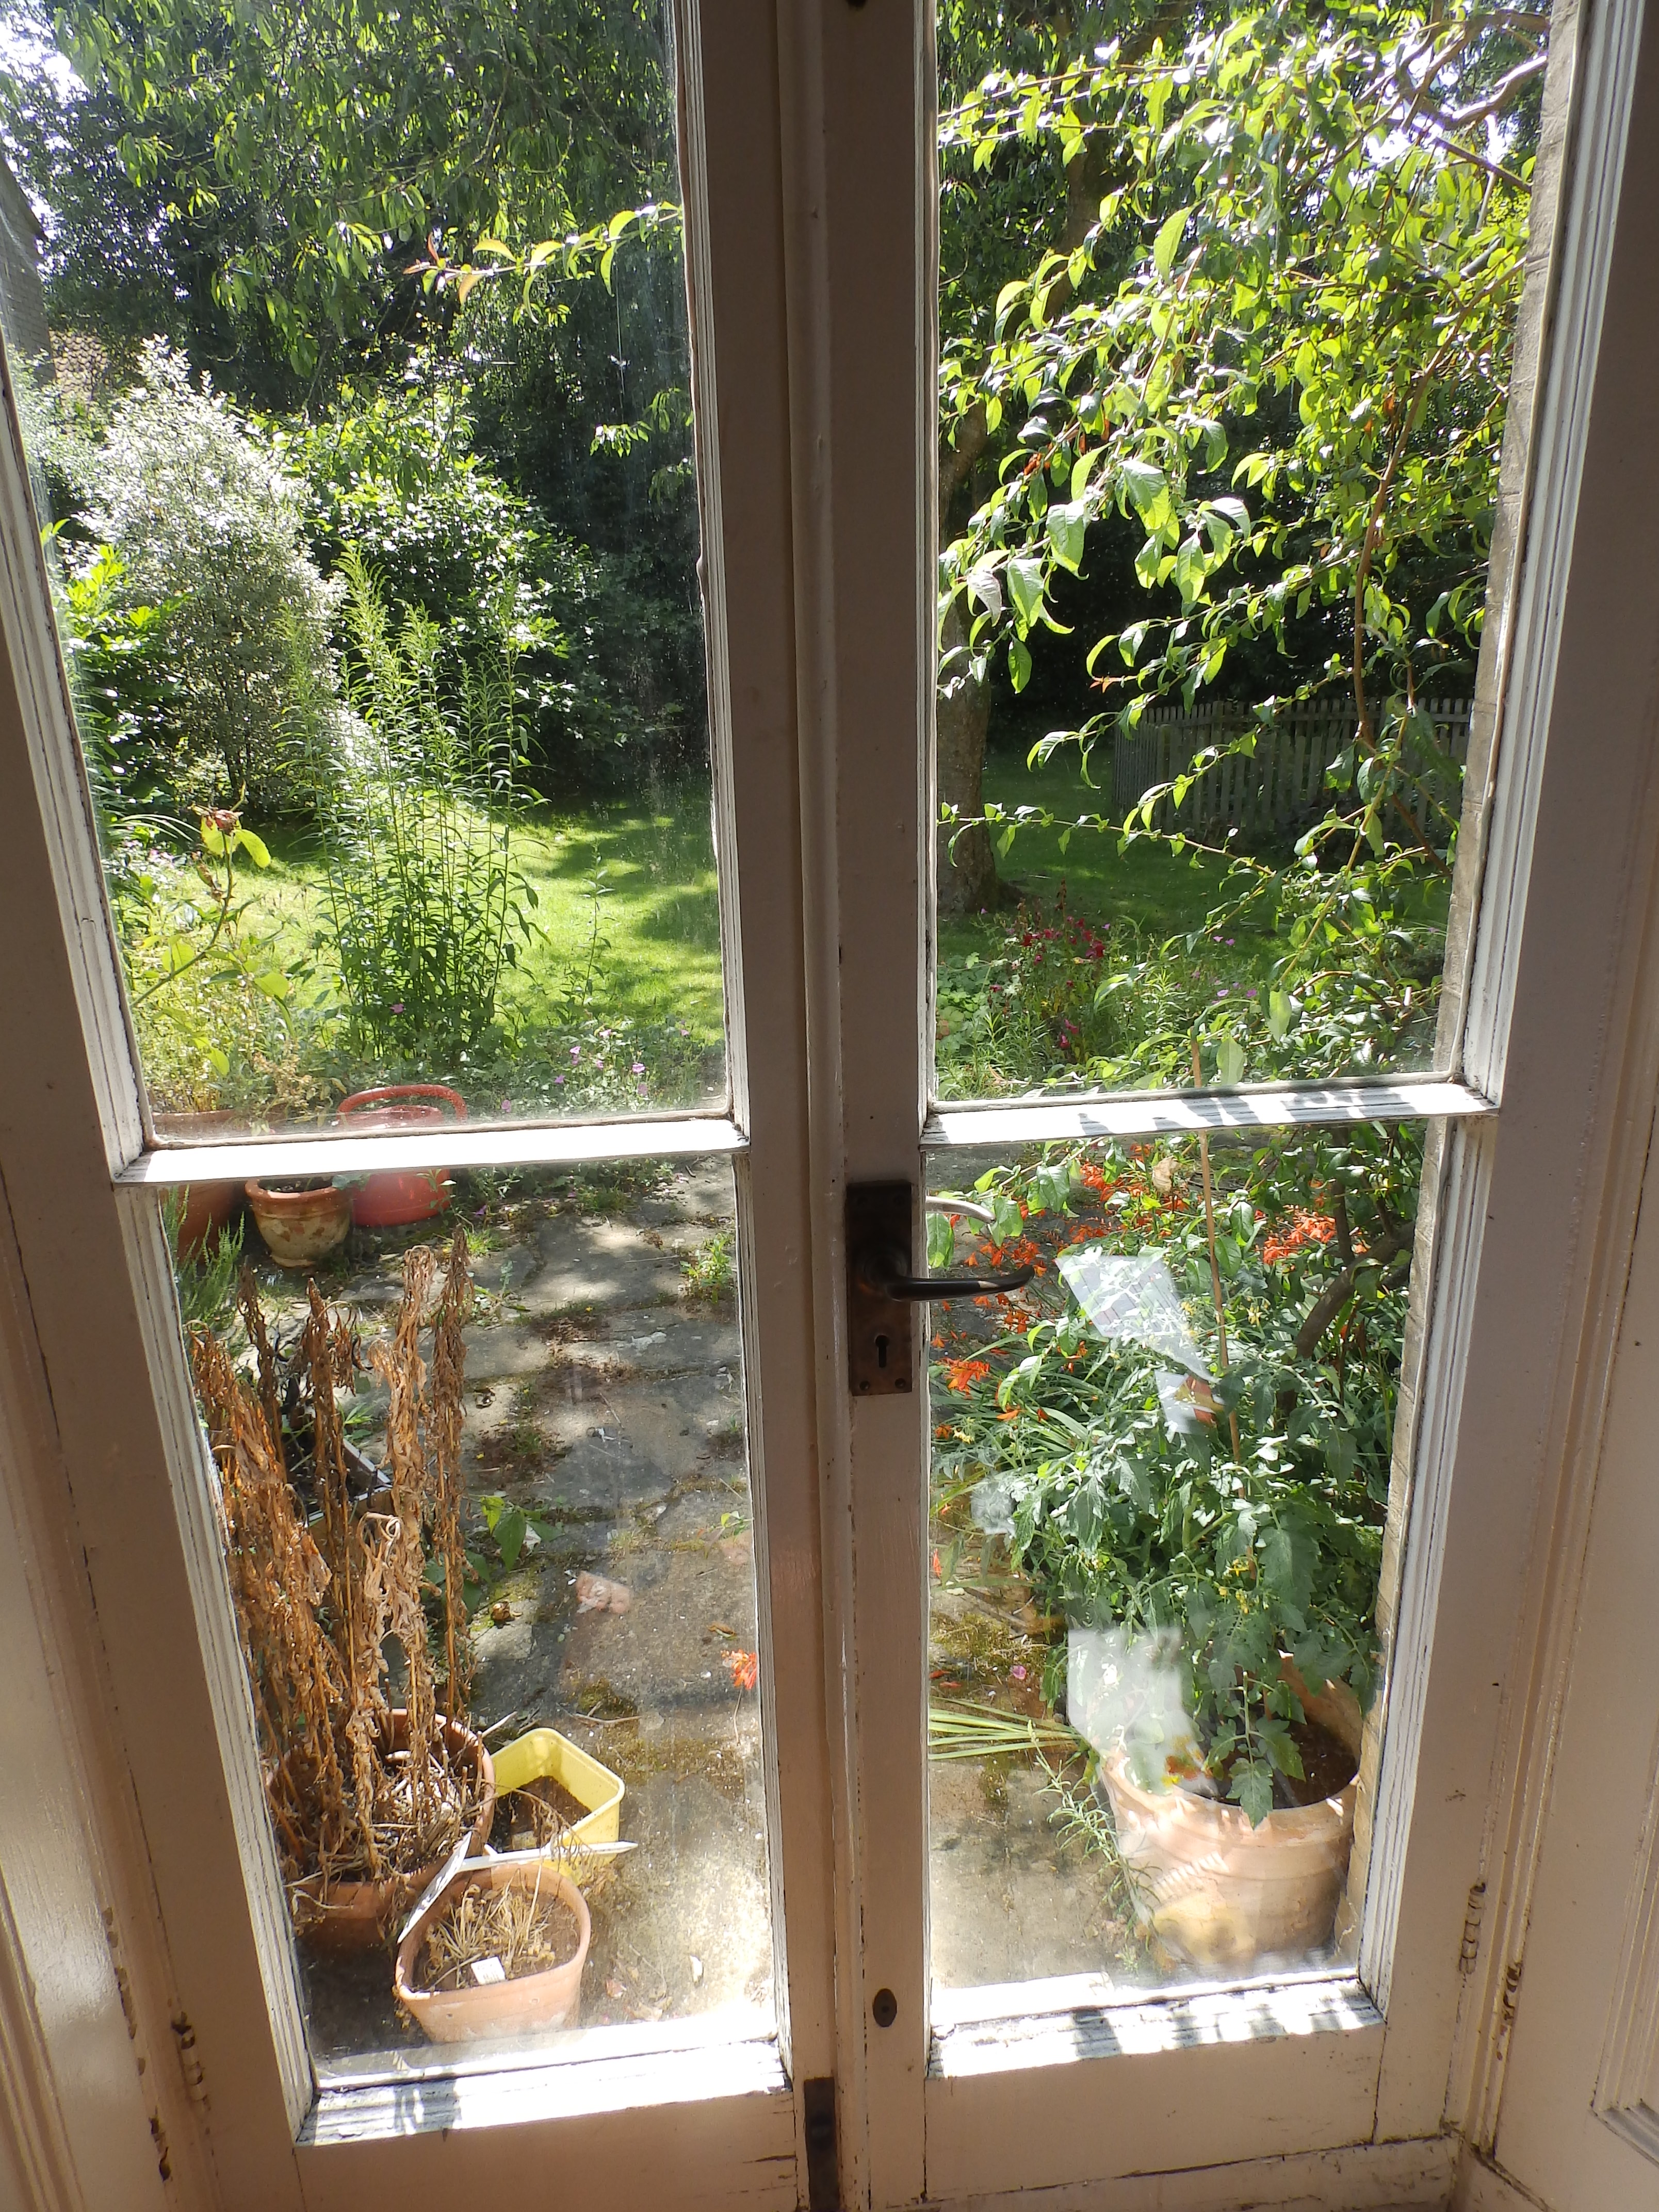
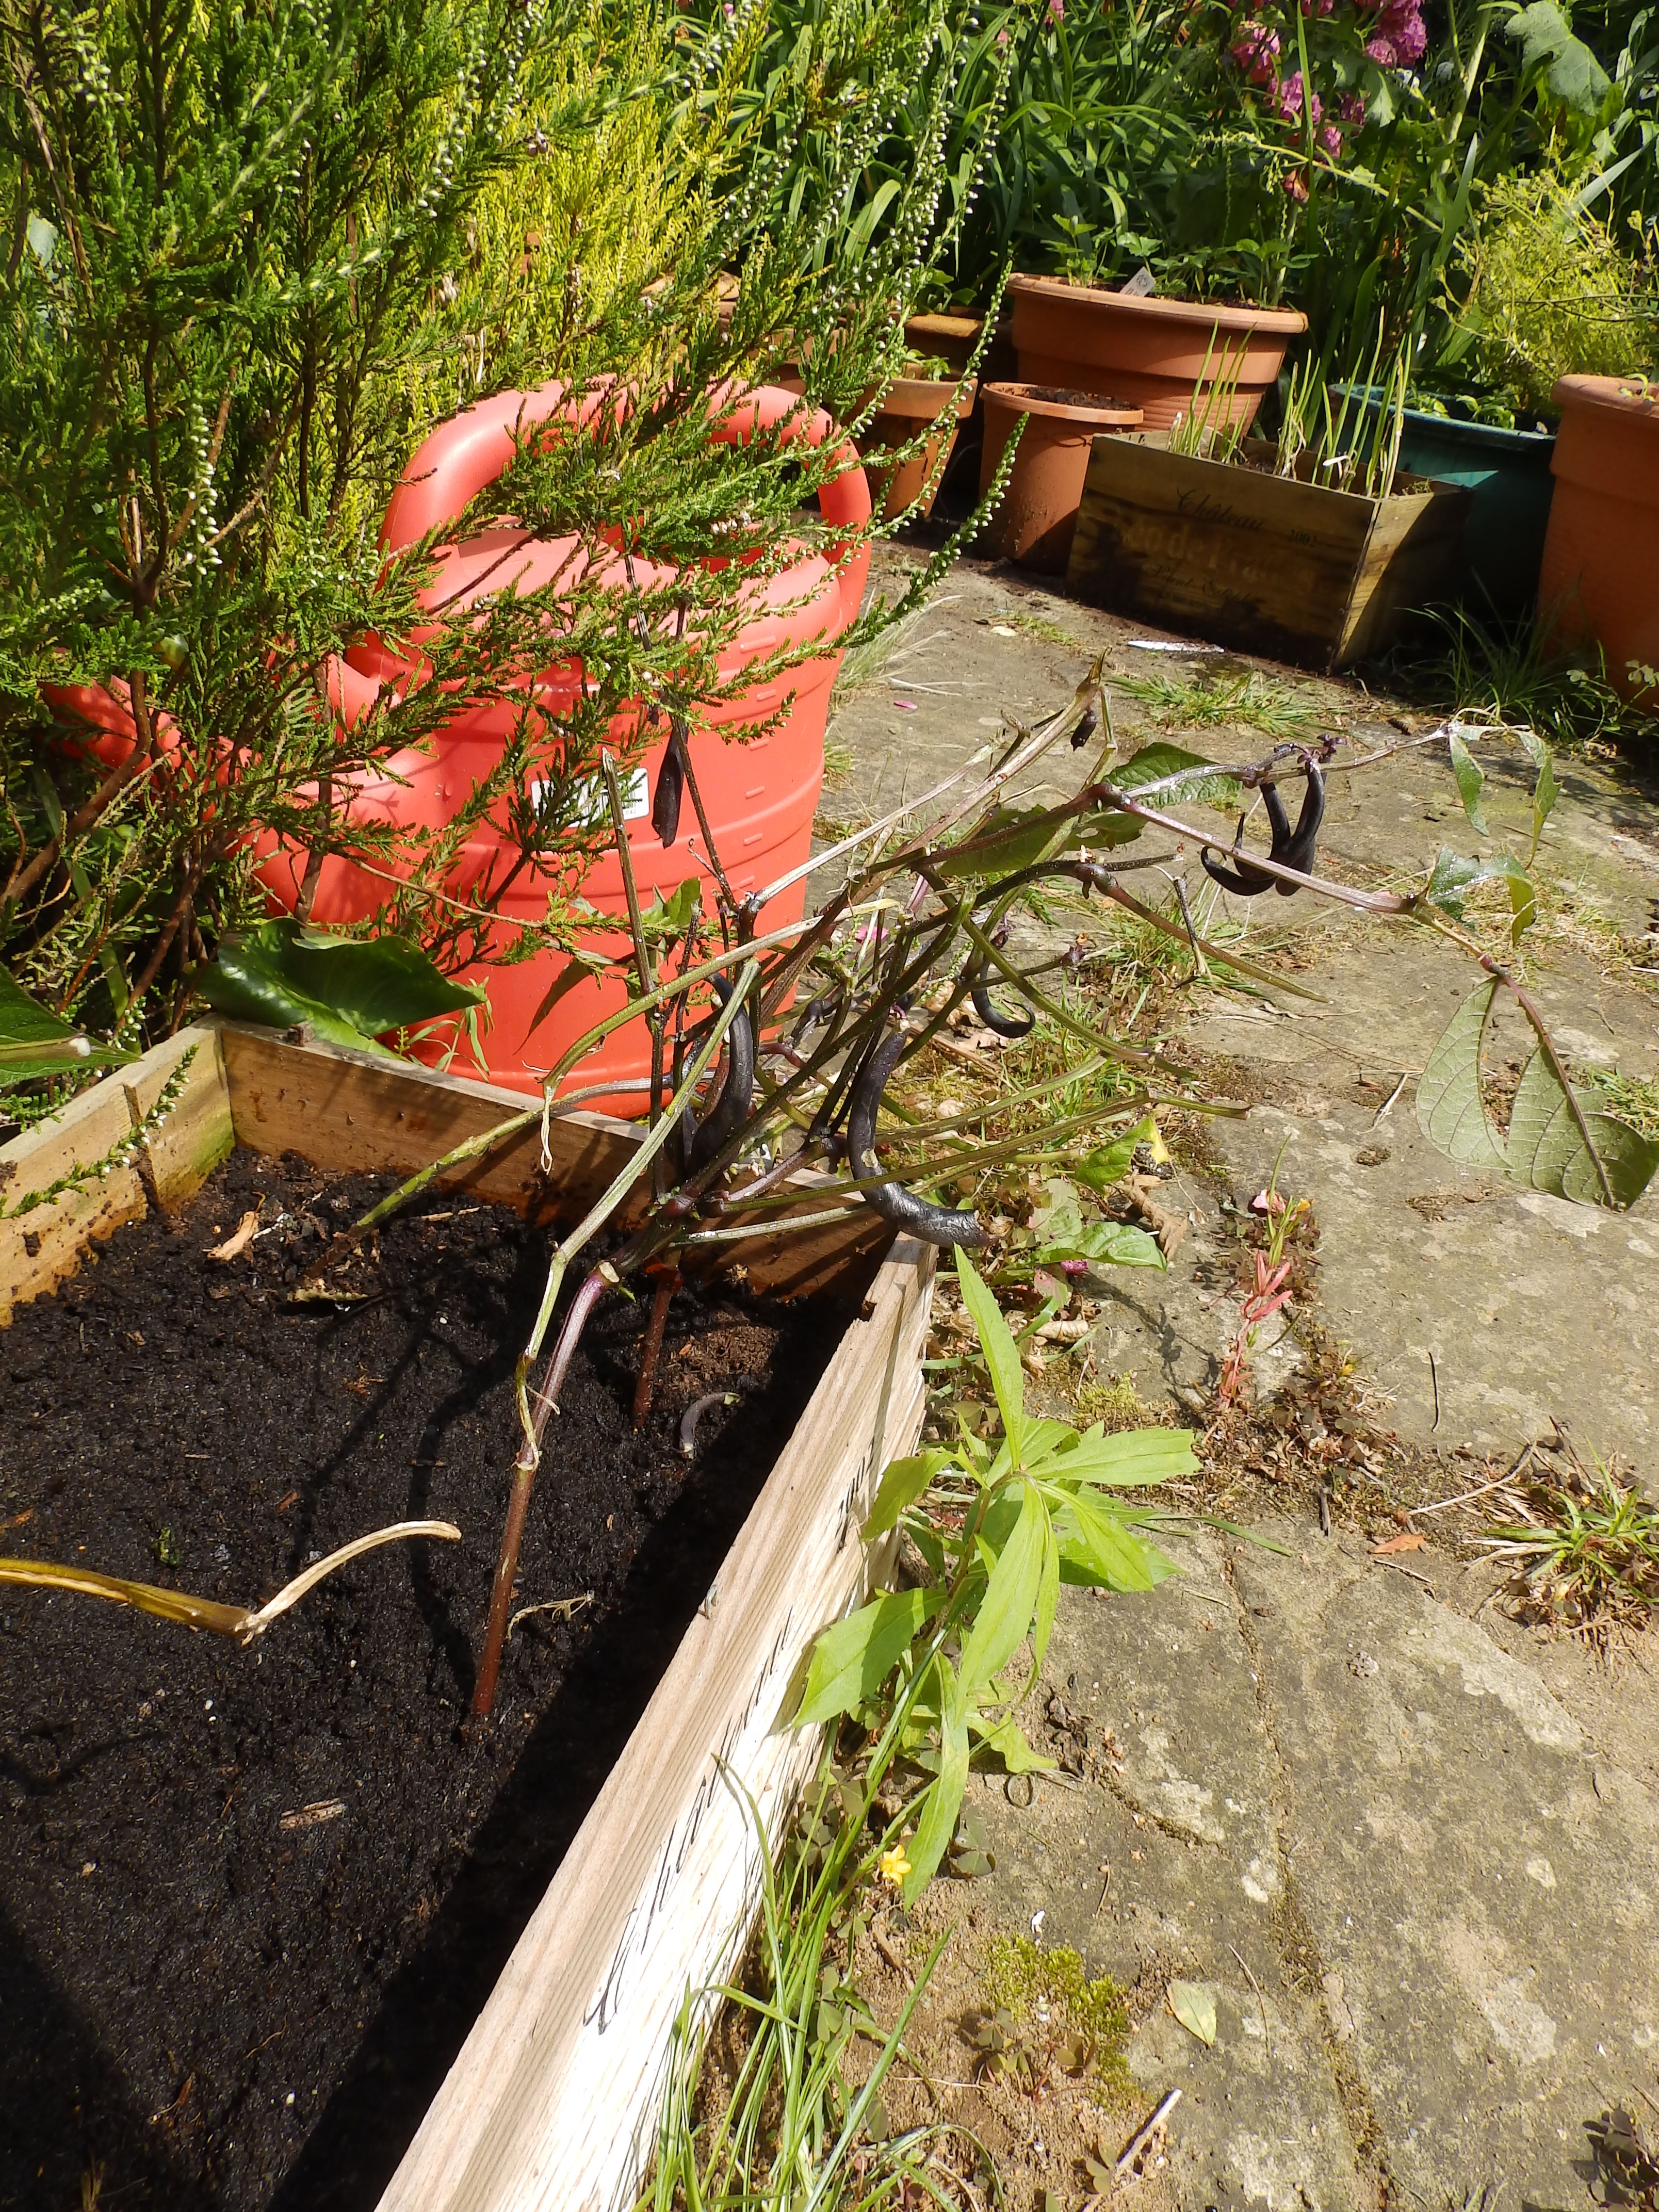
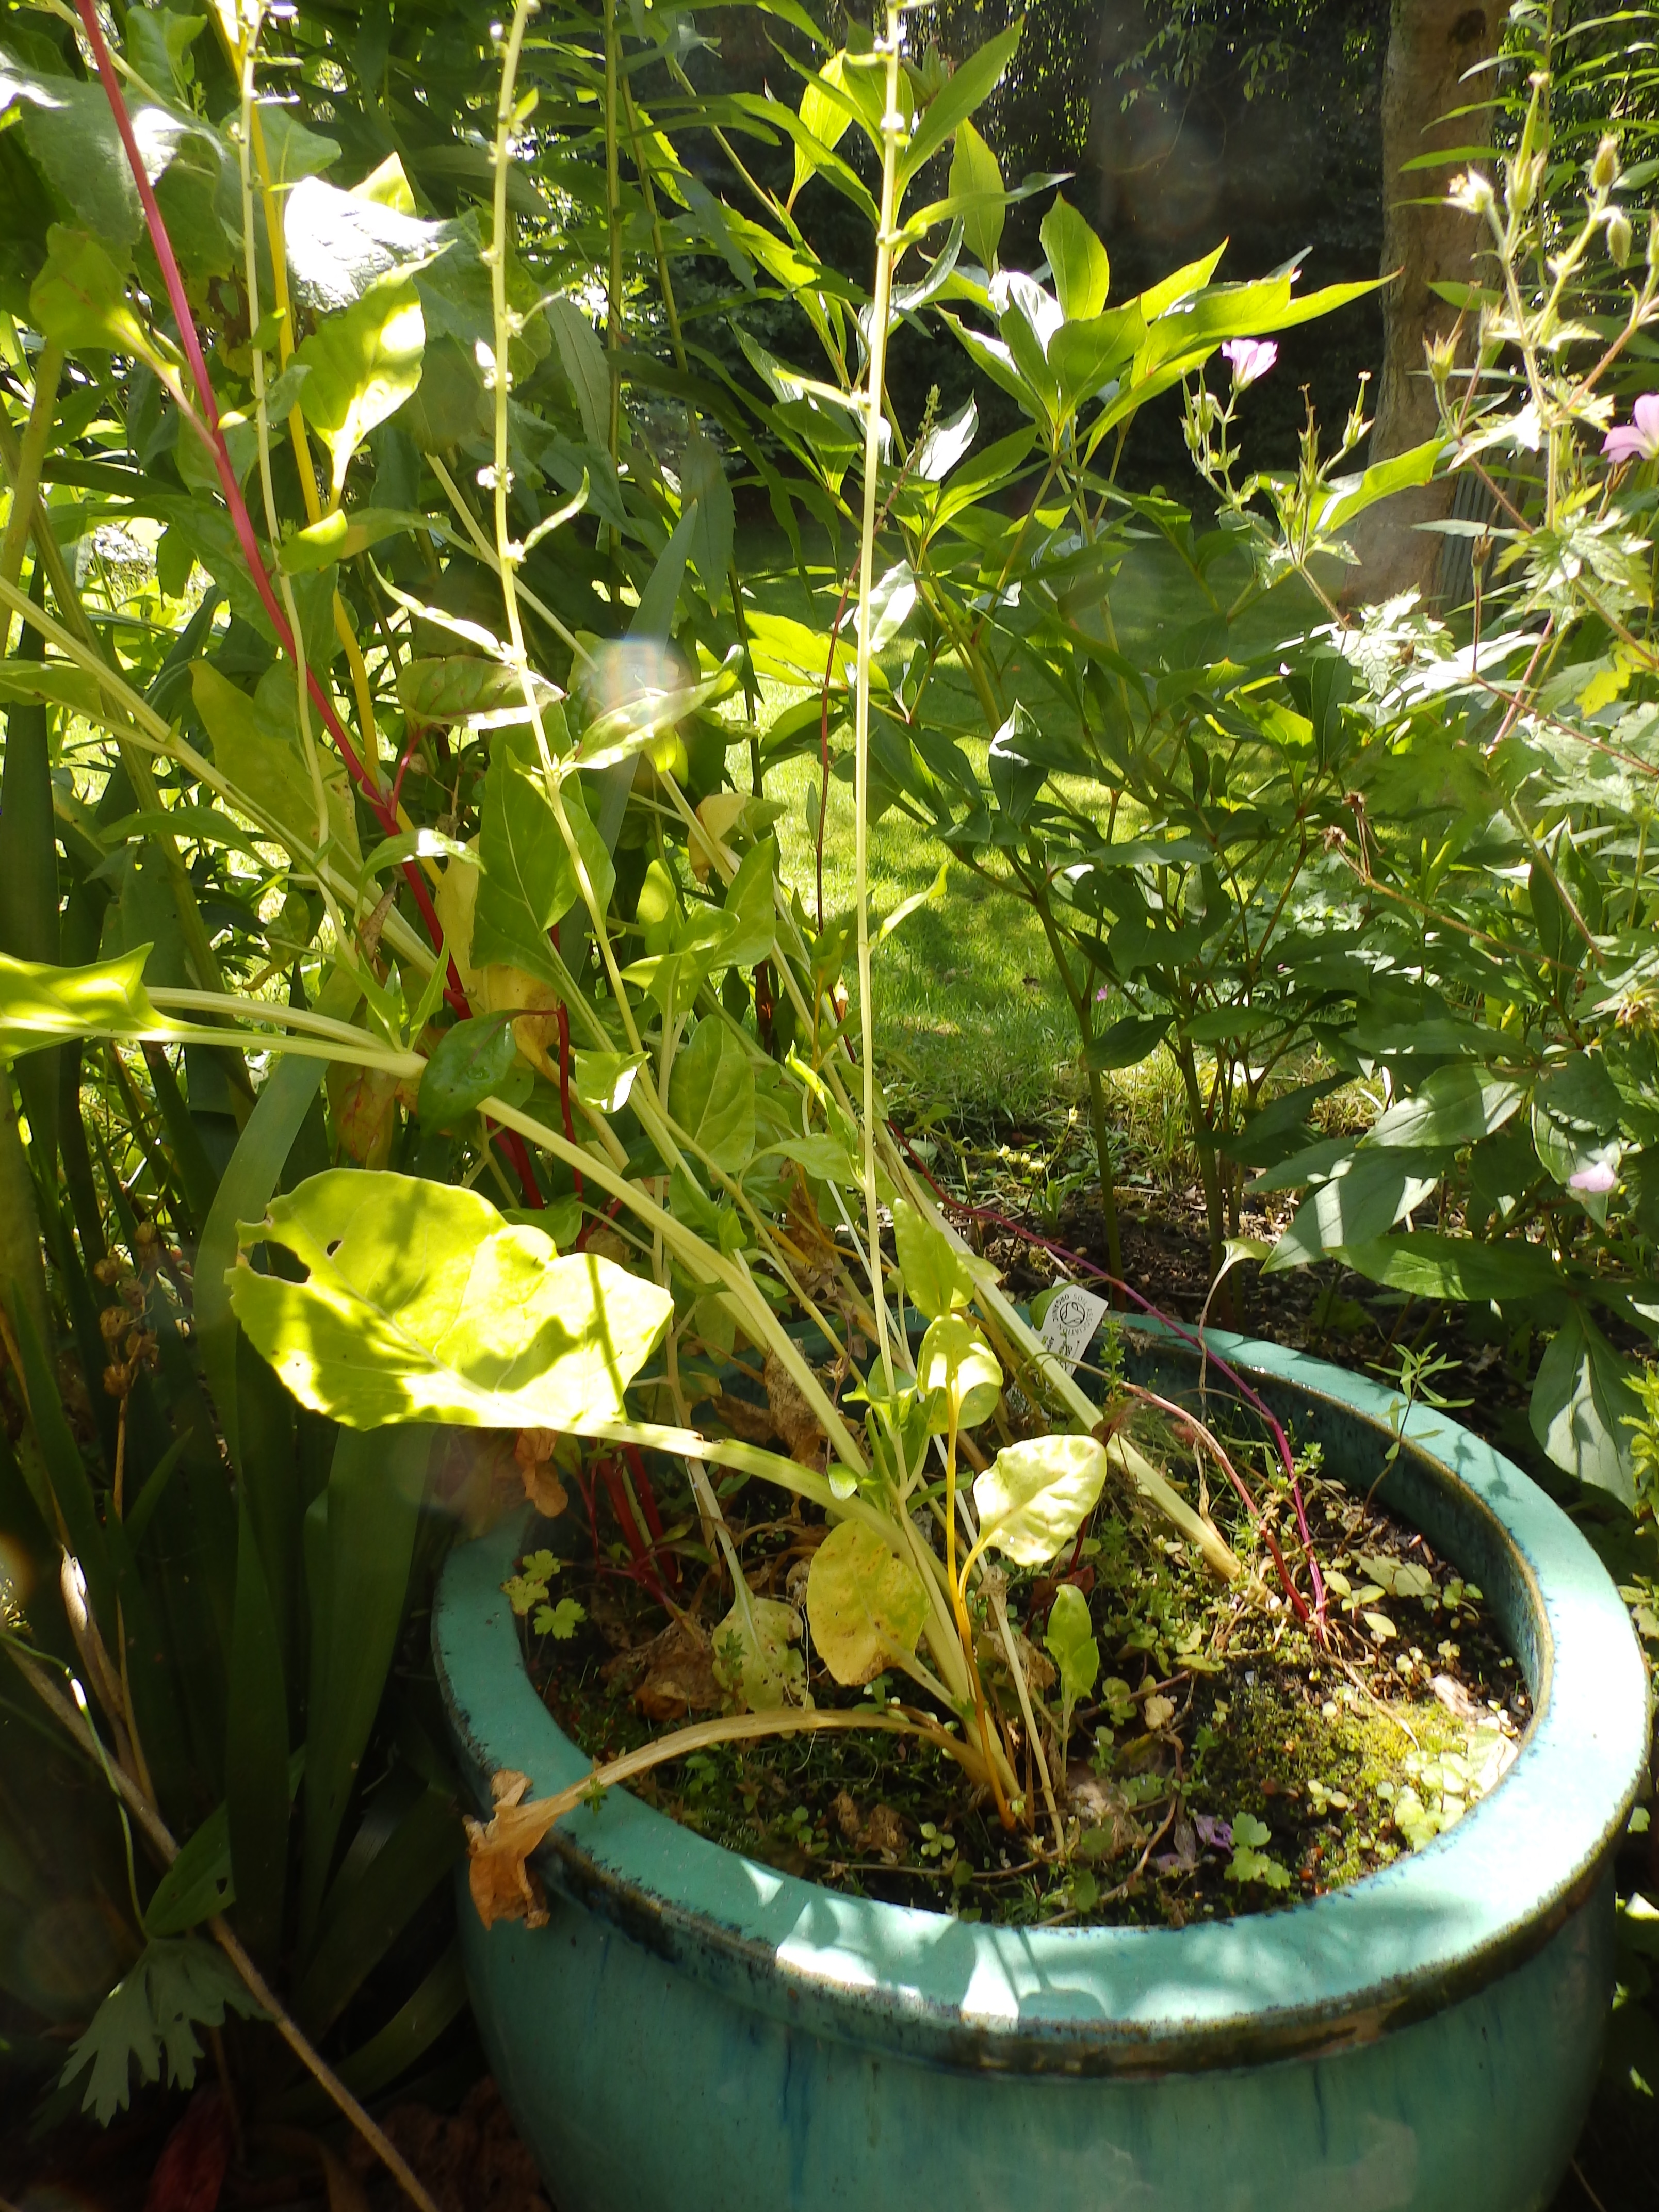
However, to focus on the positive, I finally have a piece of garden that is only mine. I have a hedge! I was less excited when I had to trim the hedge with the shears I borrowed but it is definitely satisfying to hack at disobedient foliage for a couple of hours.

So the garden definitely isn’t what I would have made it. It was clearly designed for low maintenance and is basically comprised of many different types of mulch (slate, bark and gravel, all of which seems determined to amalgamate into some sort of agricultural Bombay mix). It also has a pit. The pit is so the basement can have a window and therefore conform to fire regulations. It is absolutely not permitted to turn the pit into a water feature/hot tub.  Believe me, I asked.

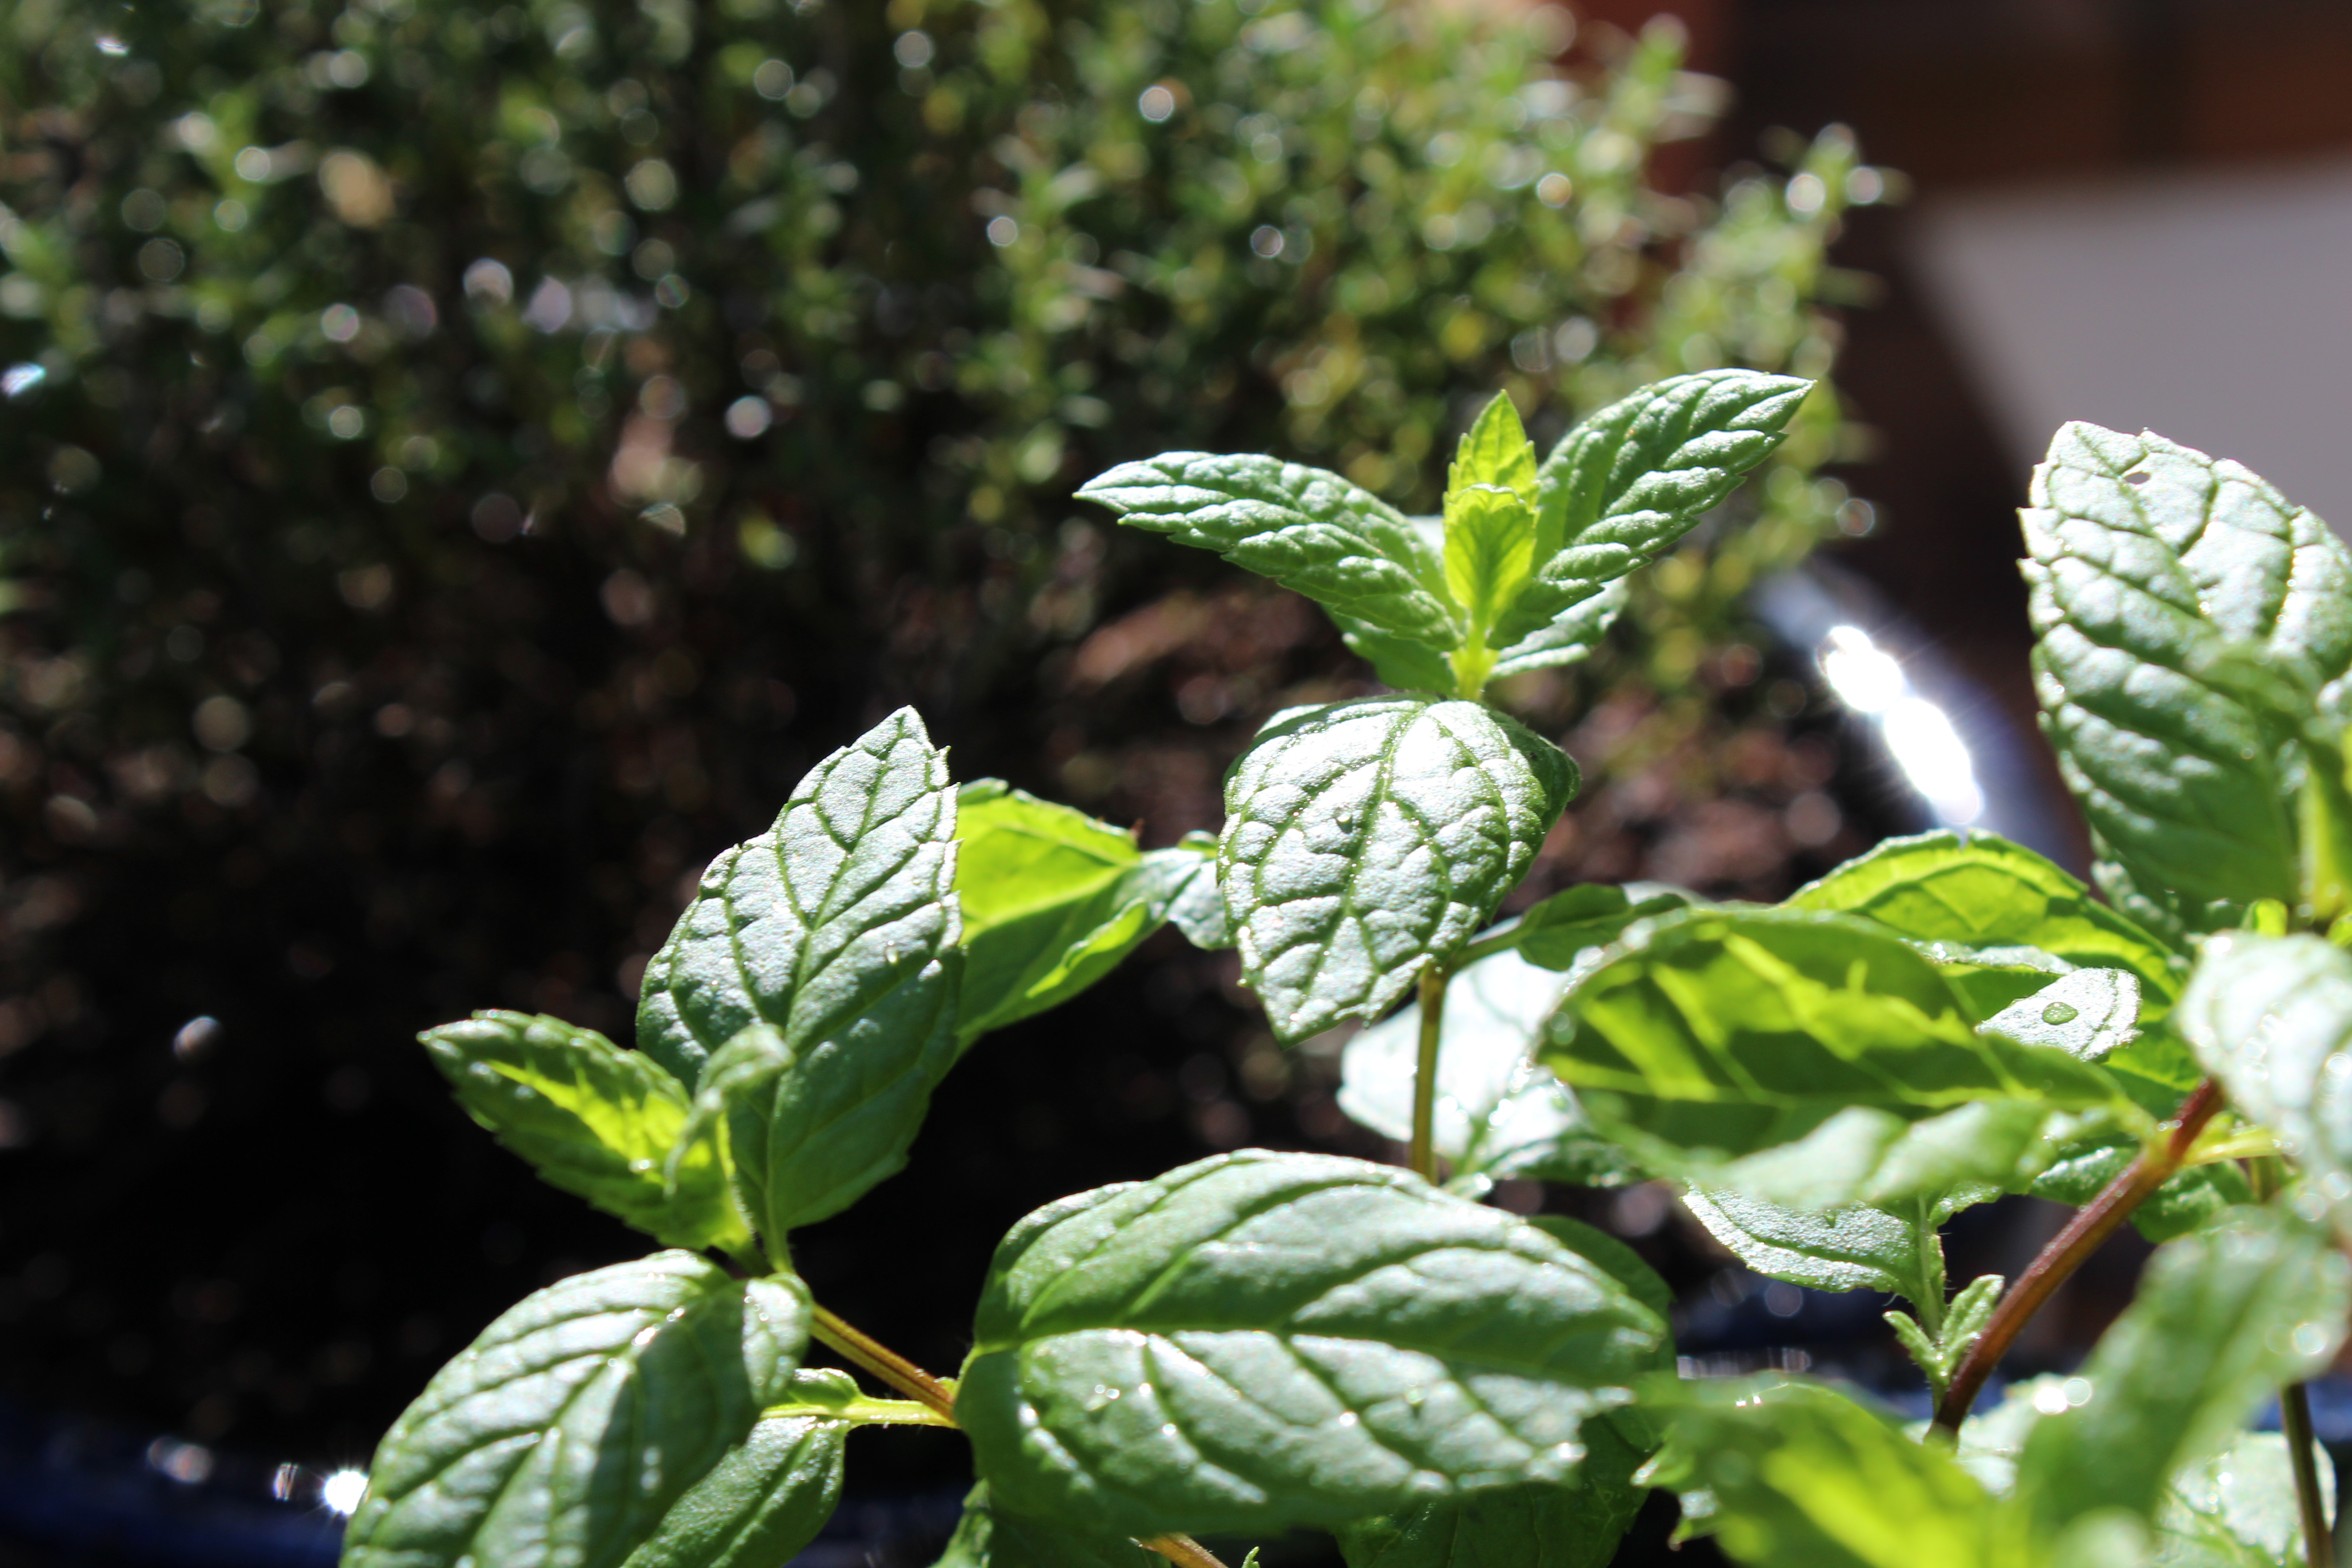
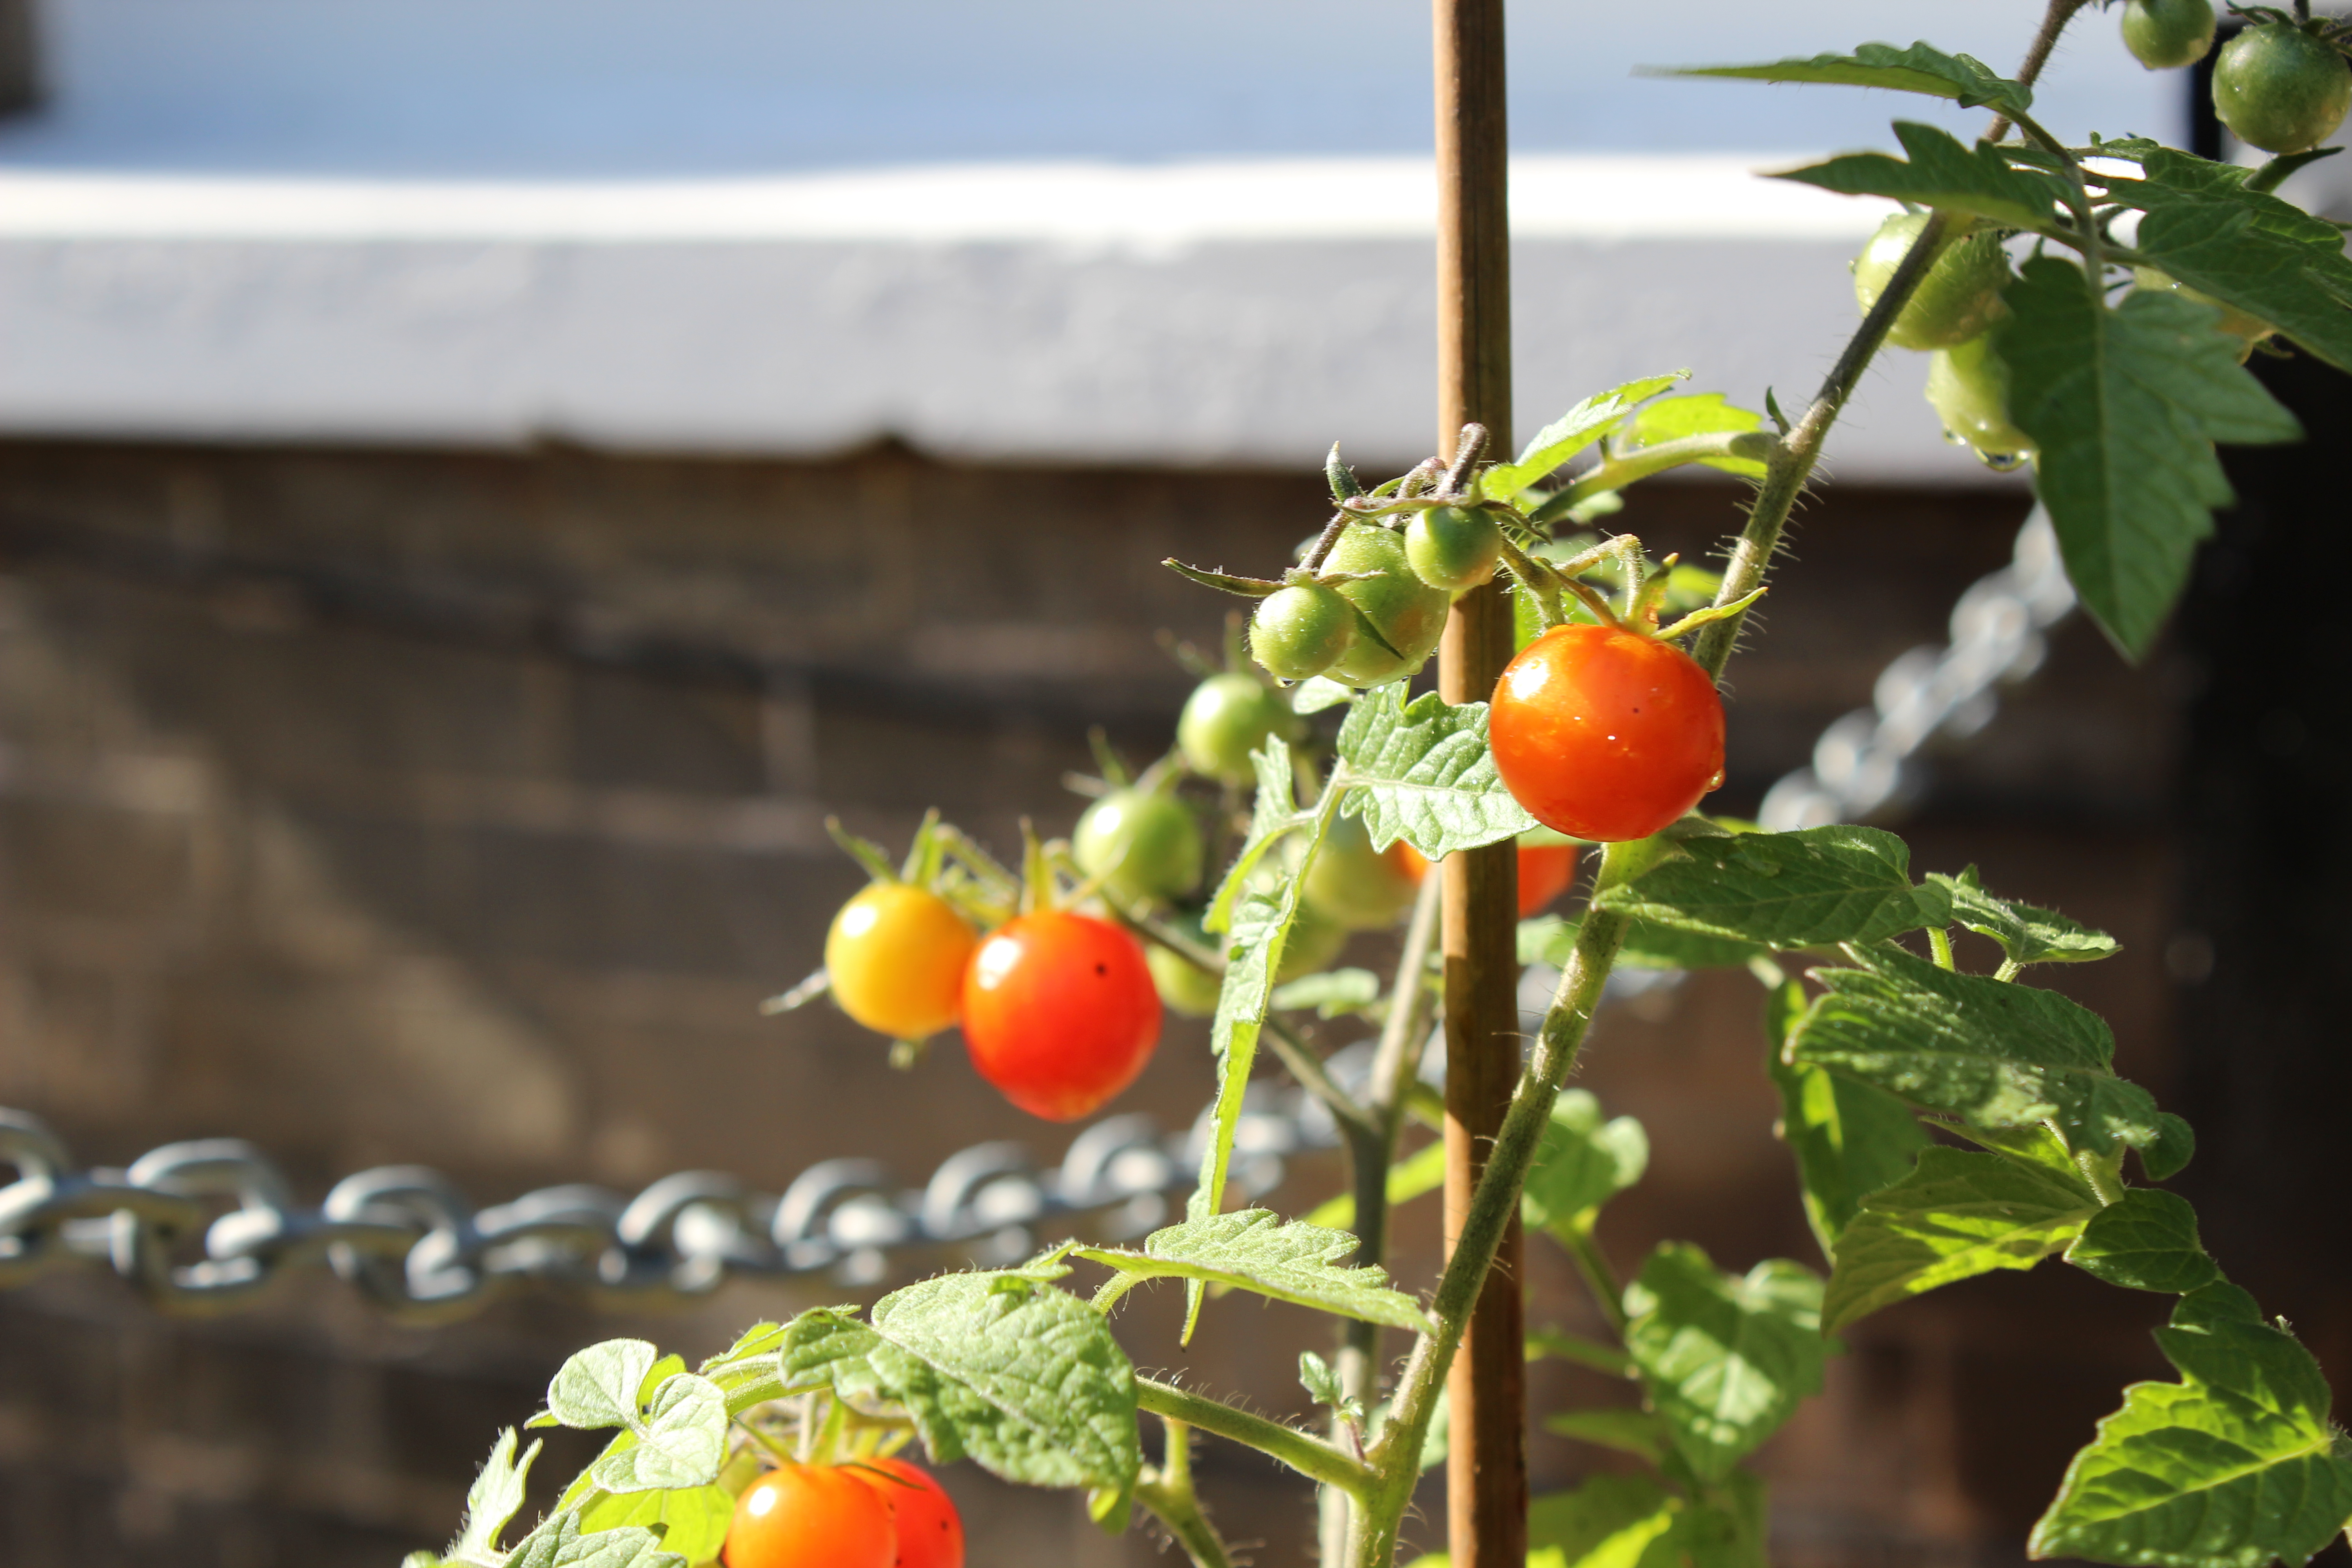
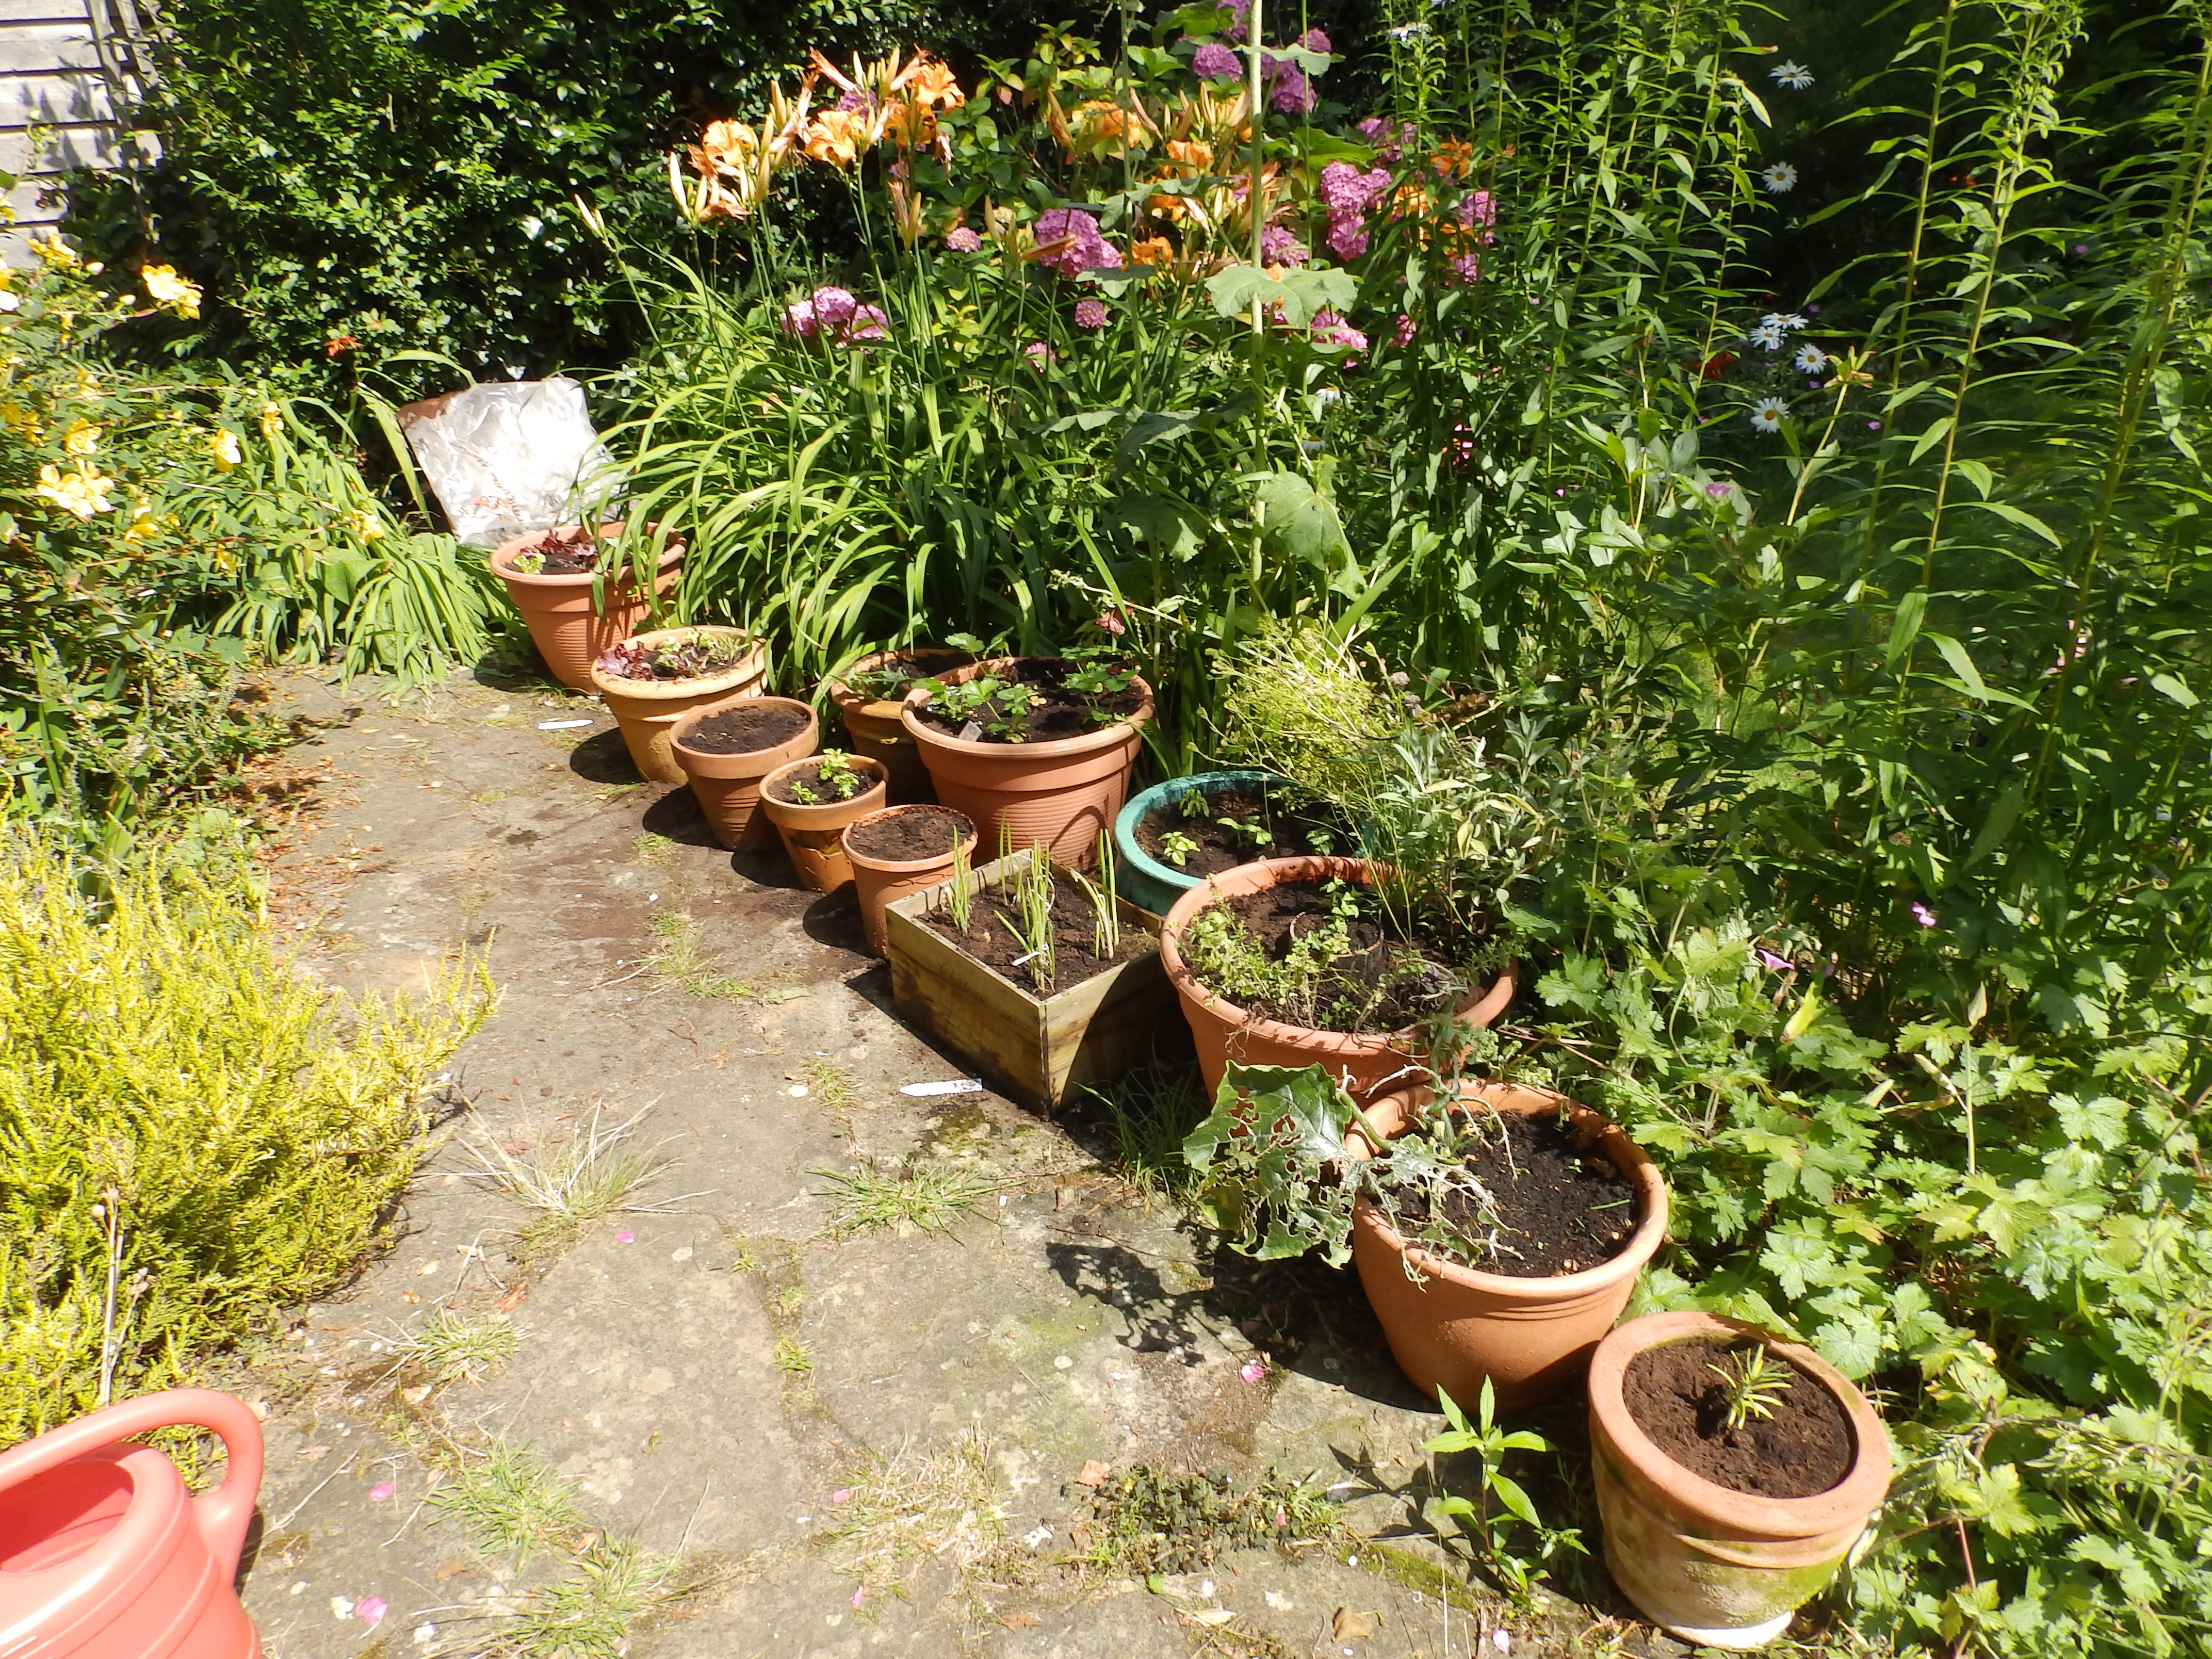
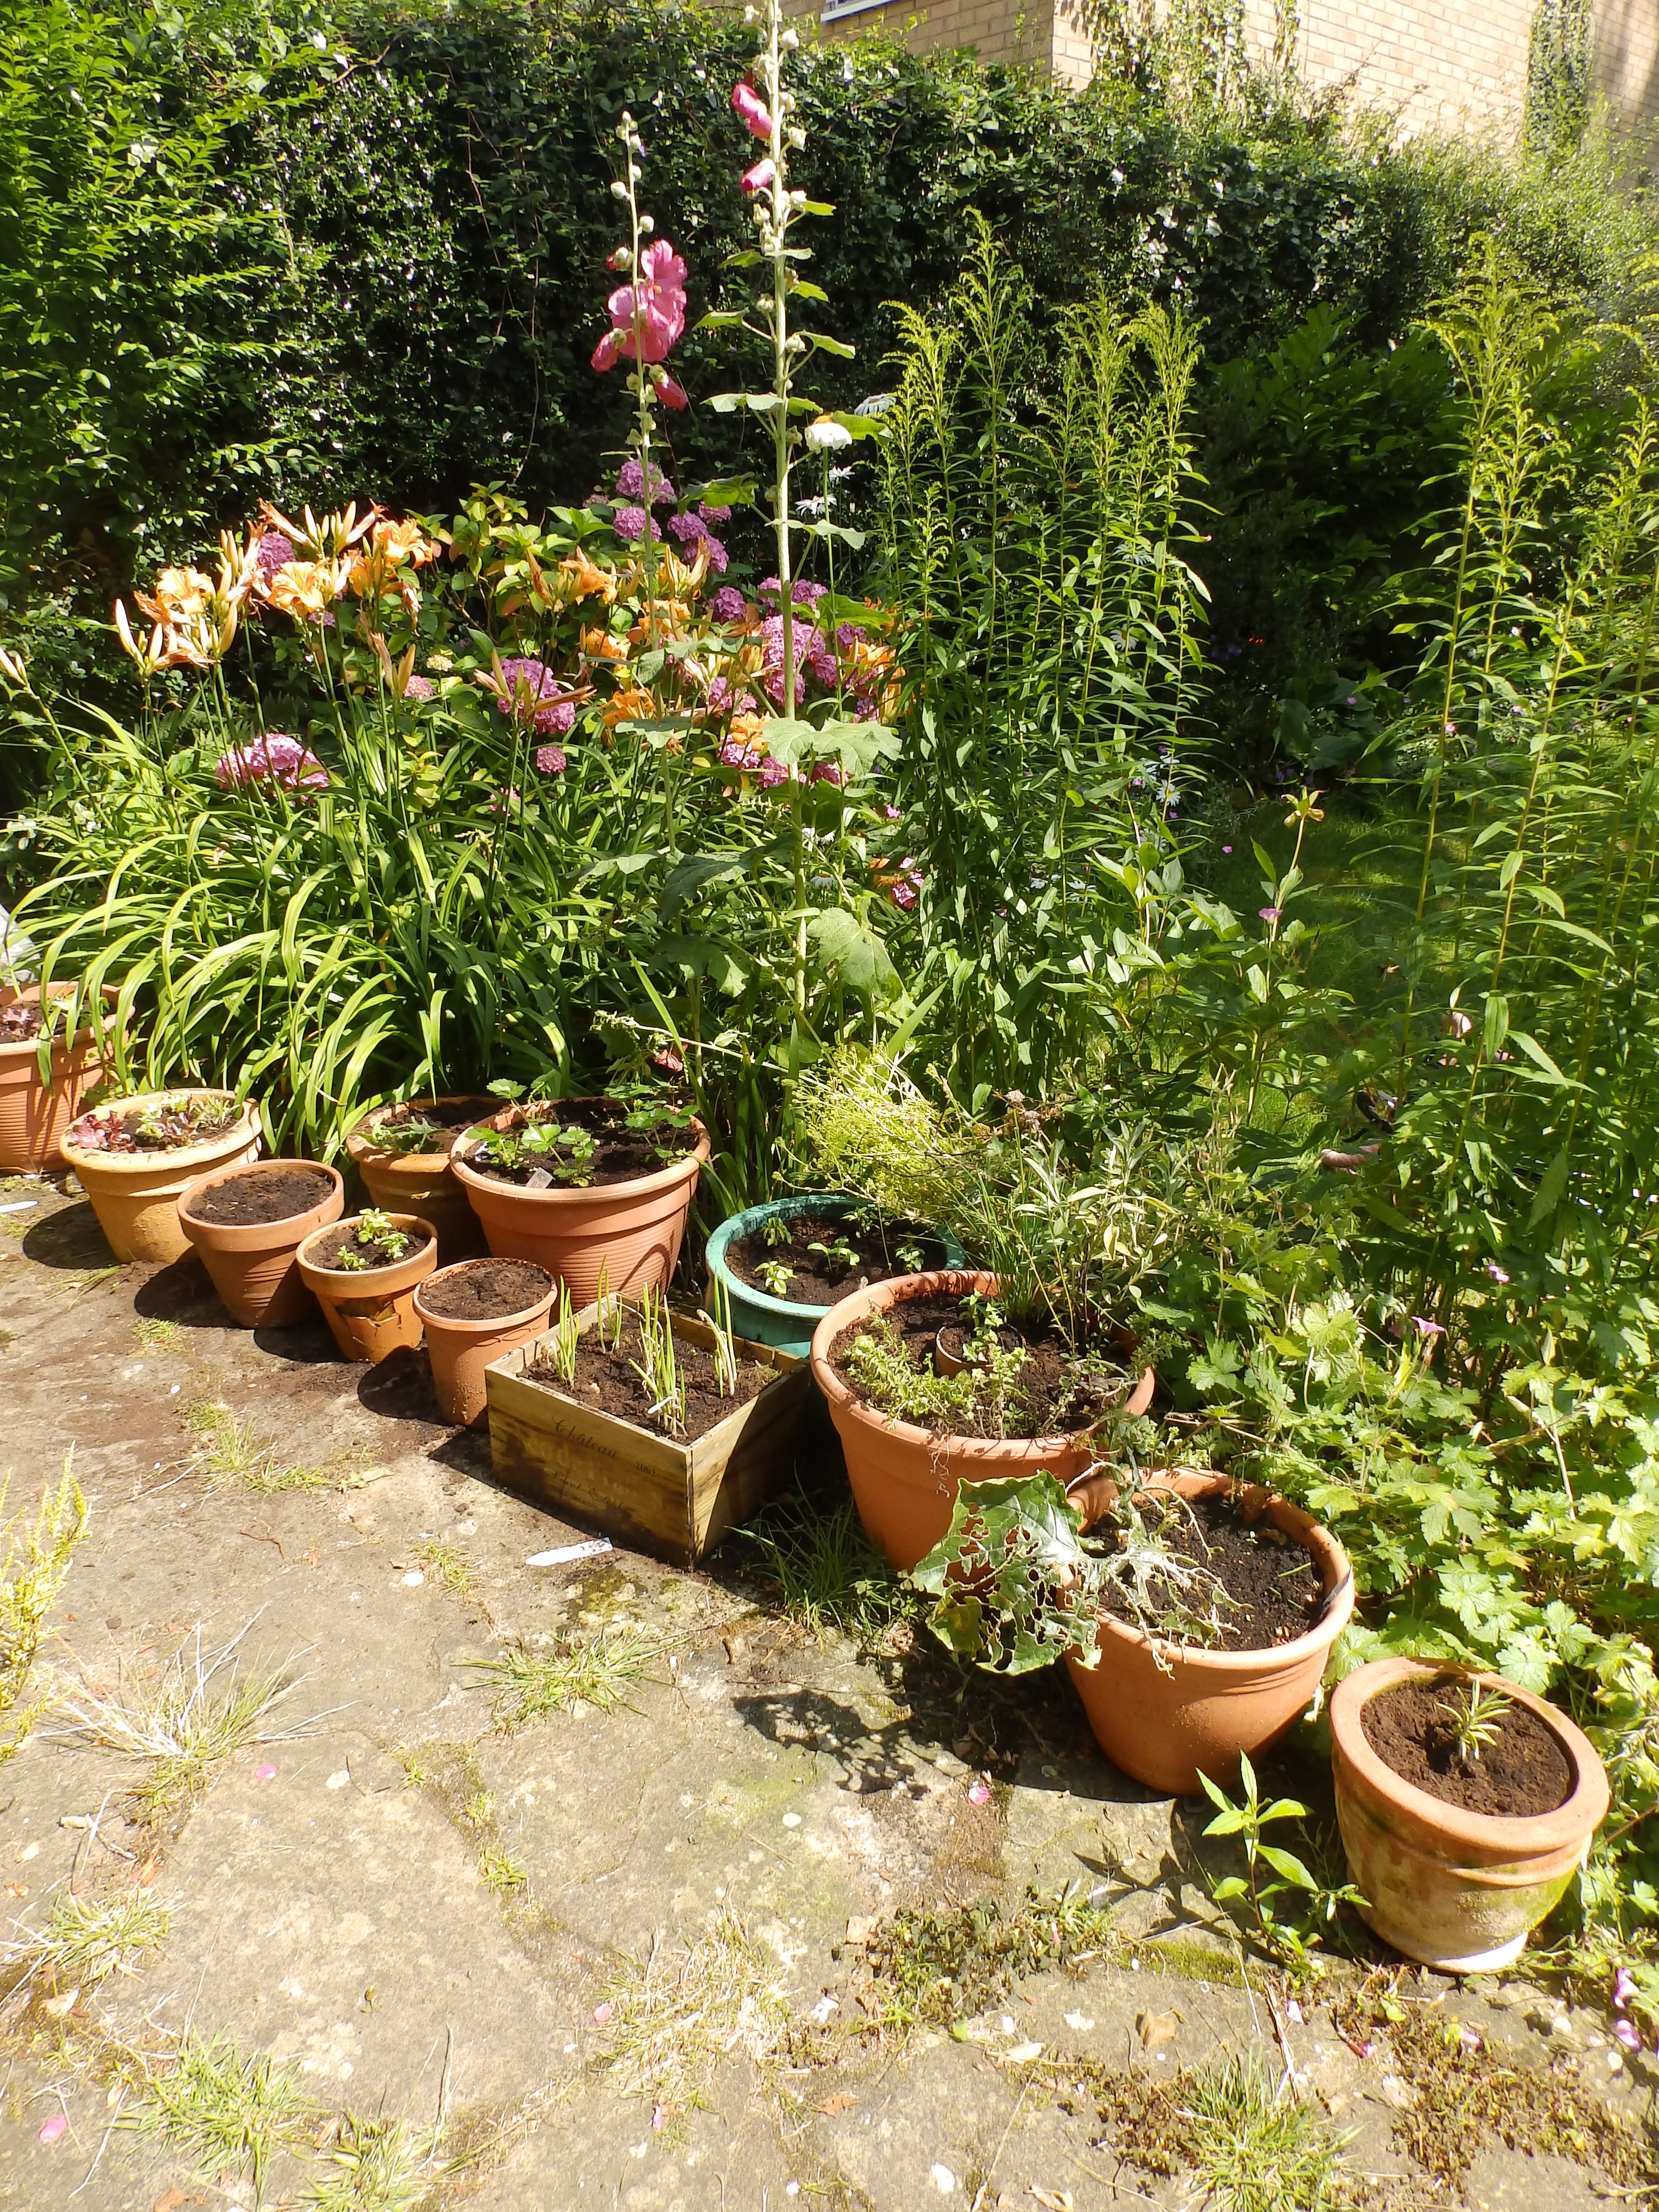
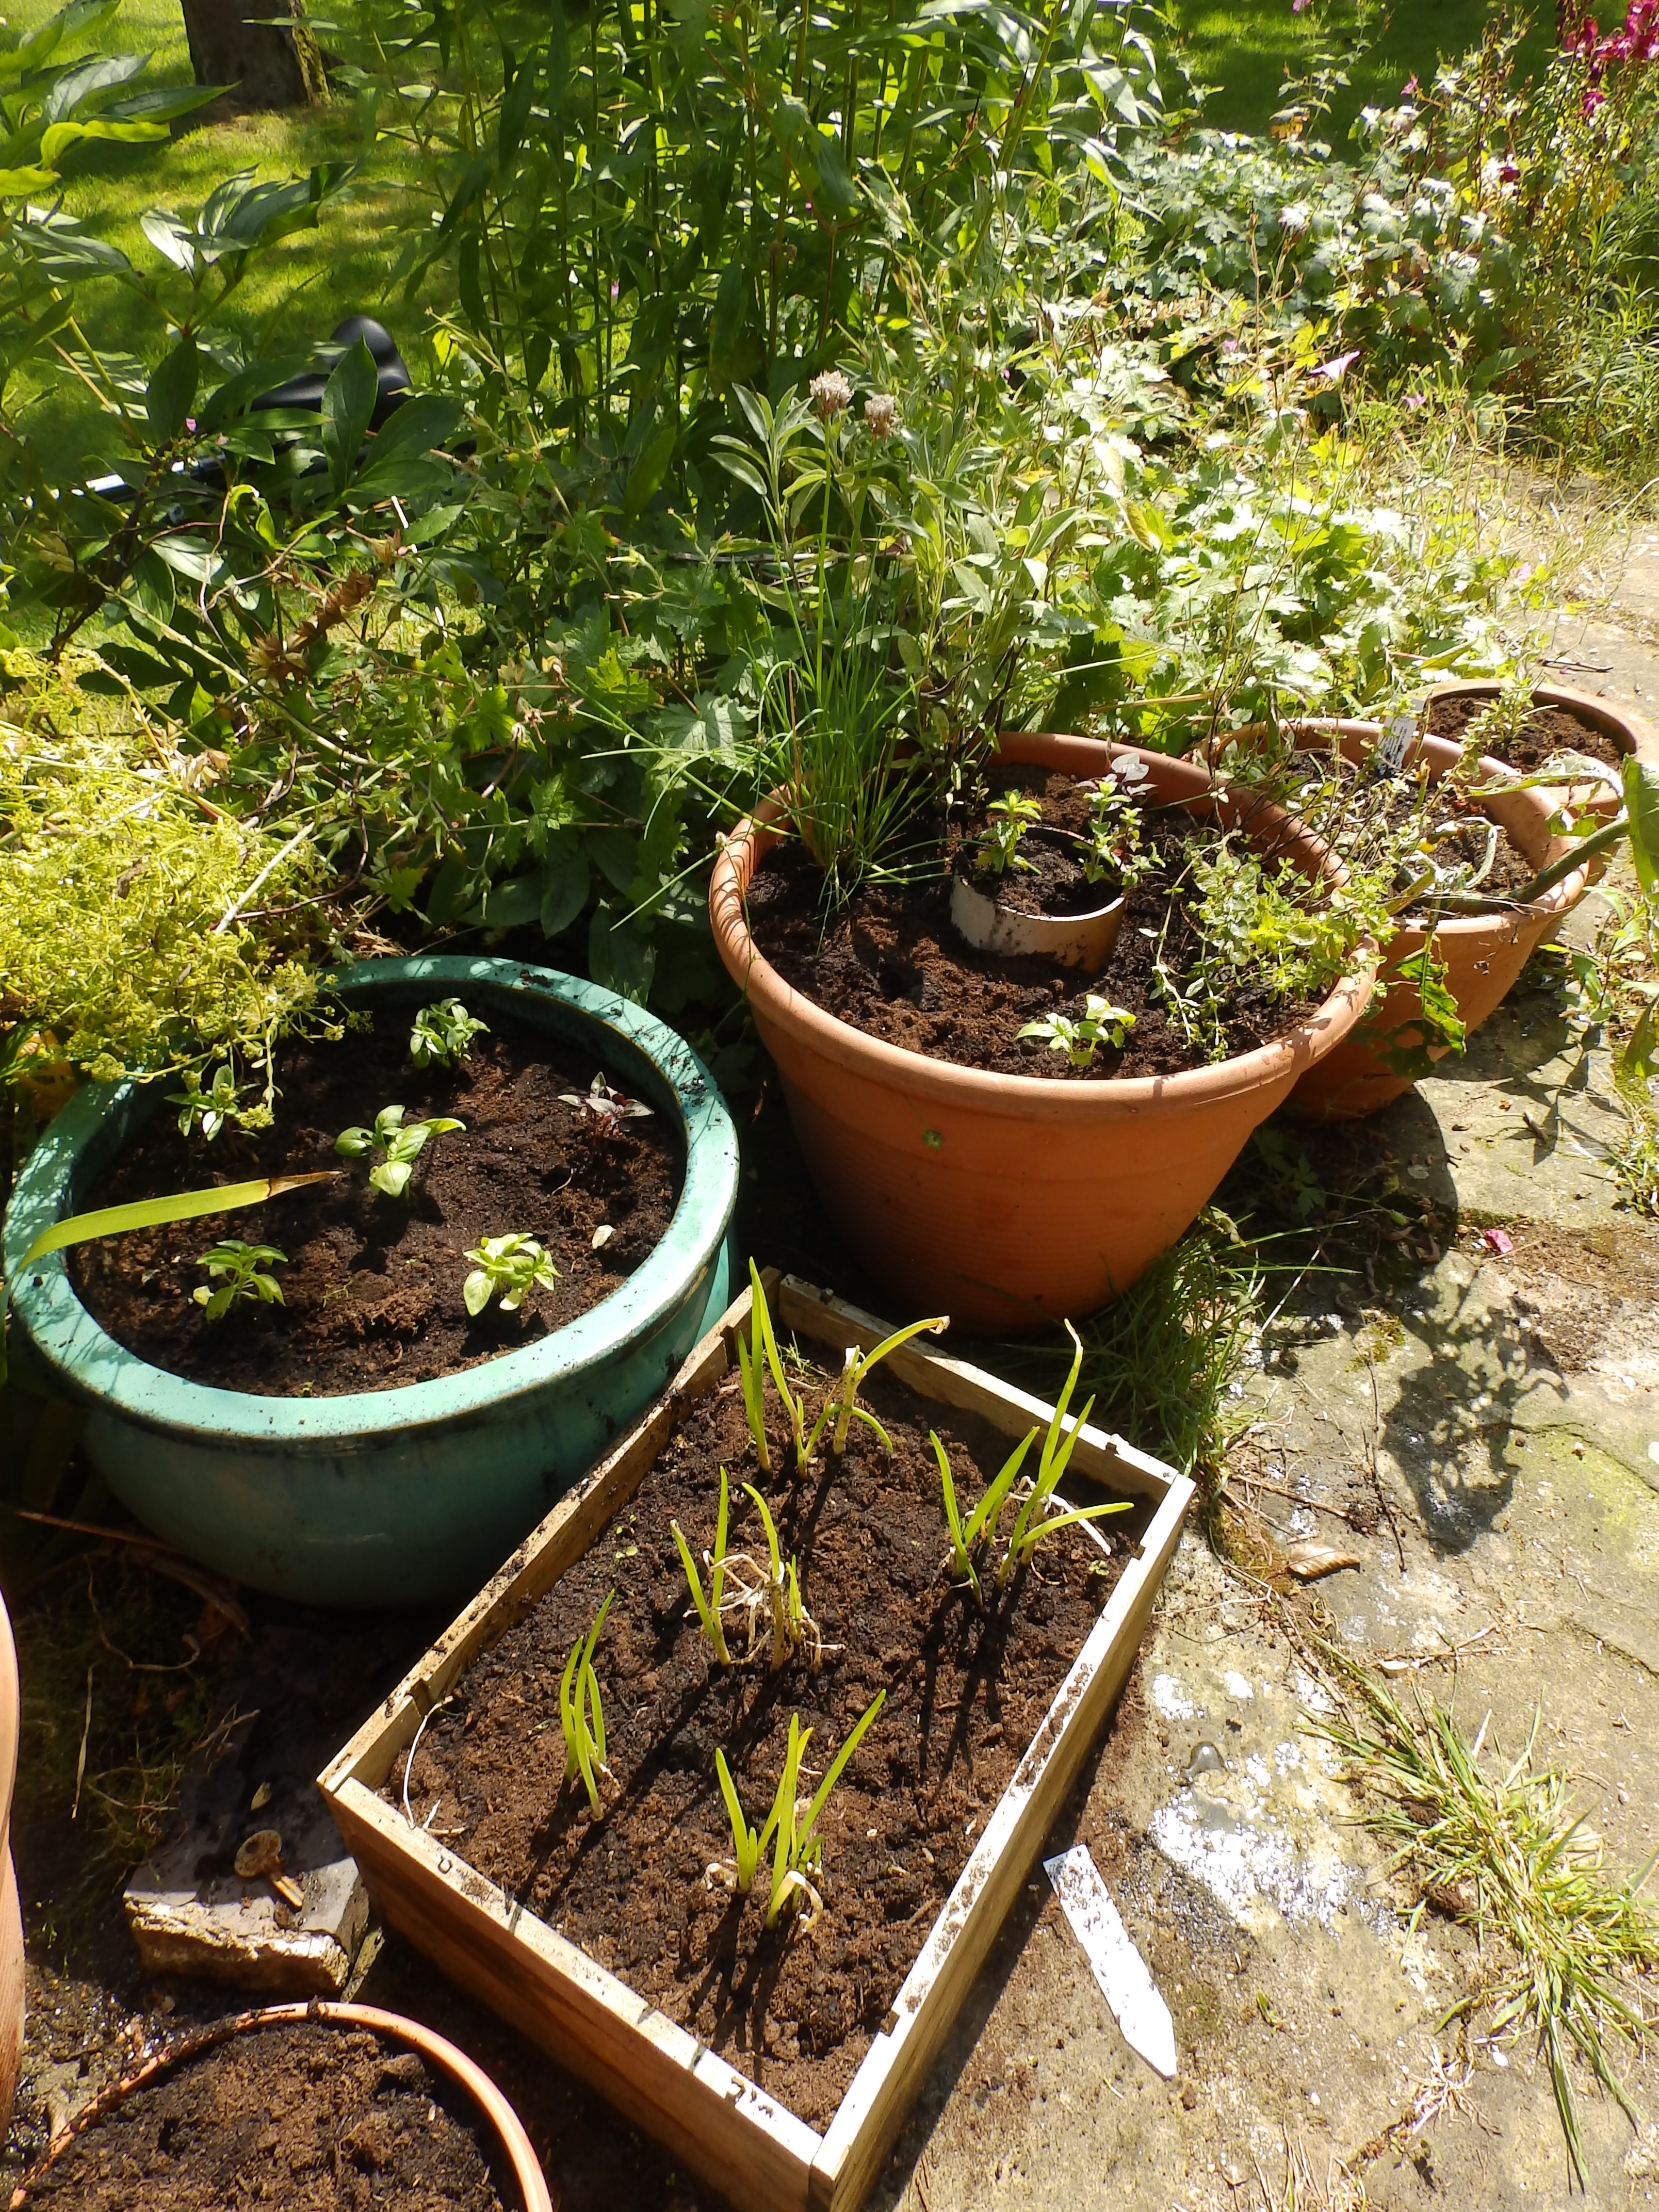
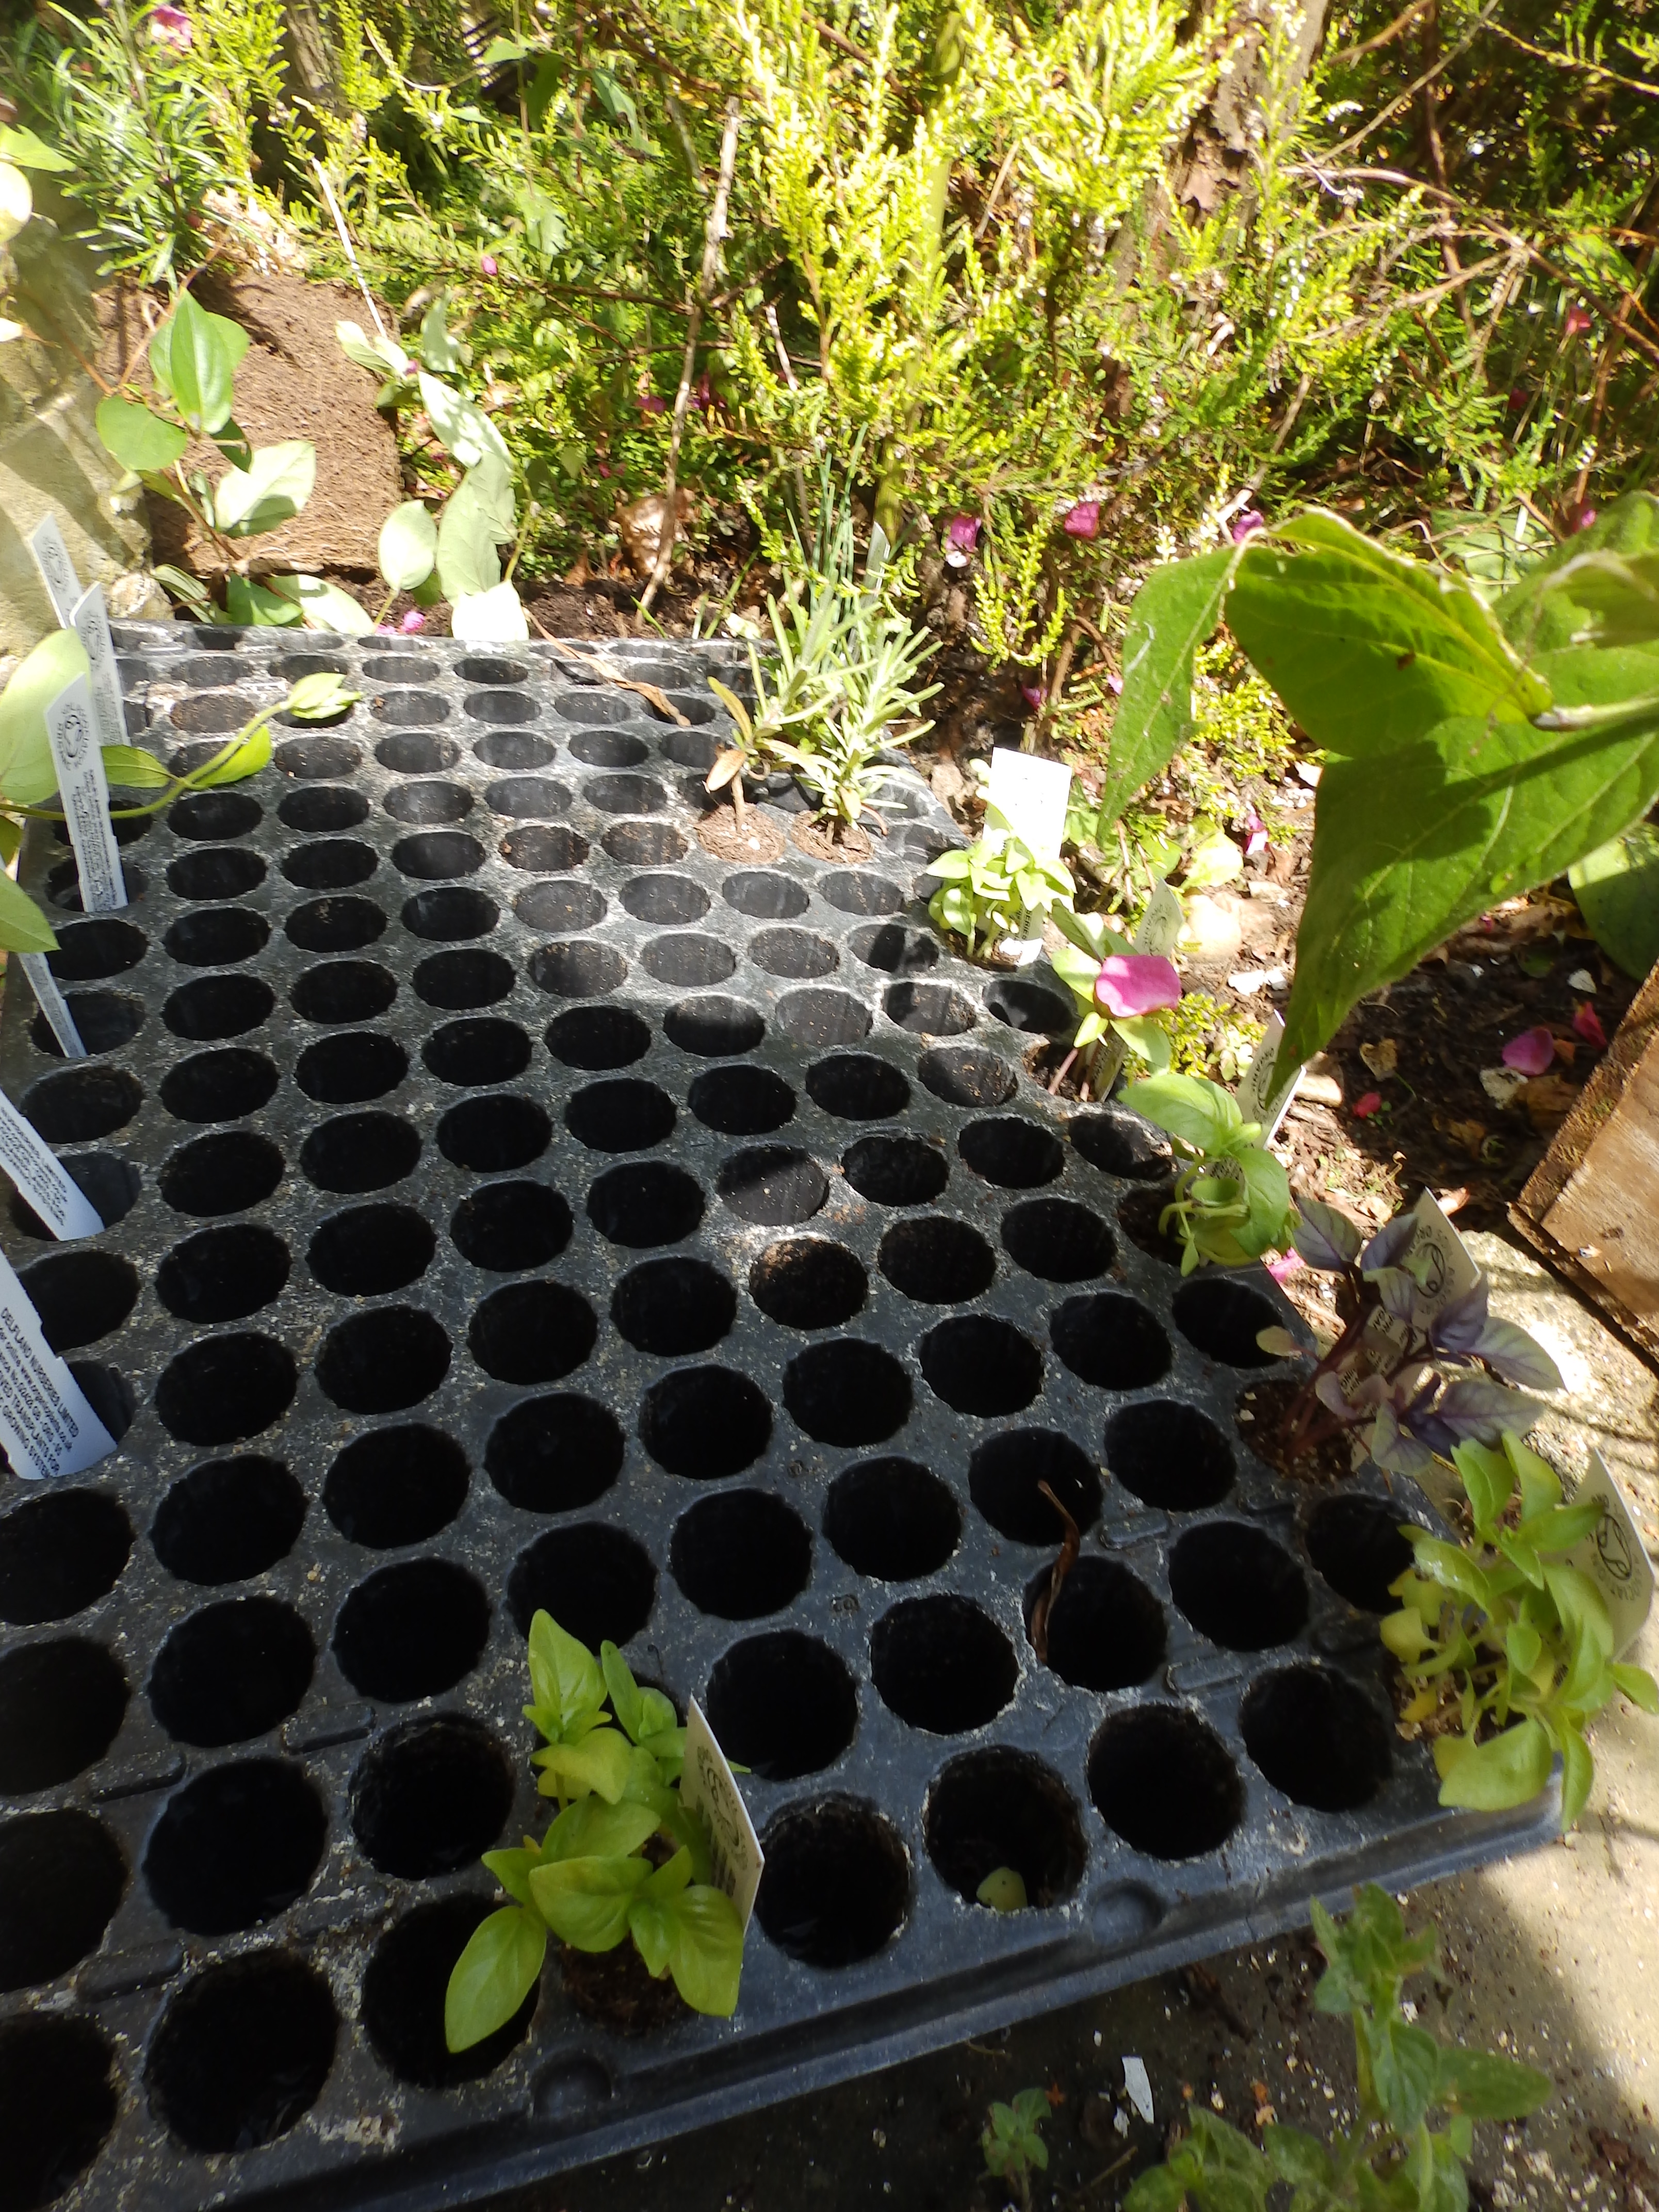
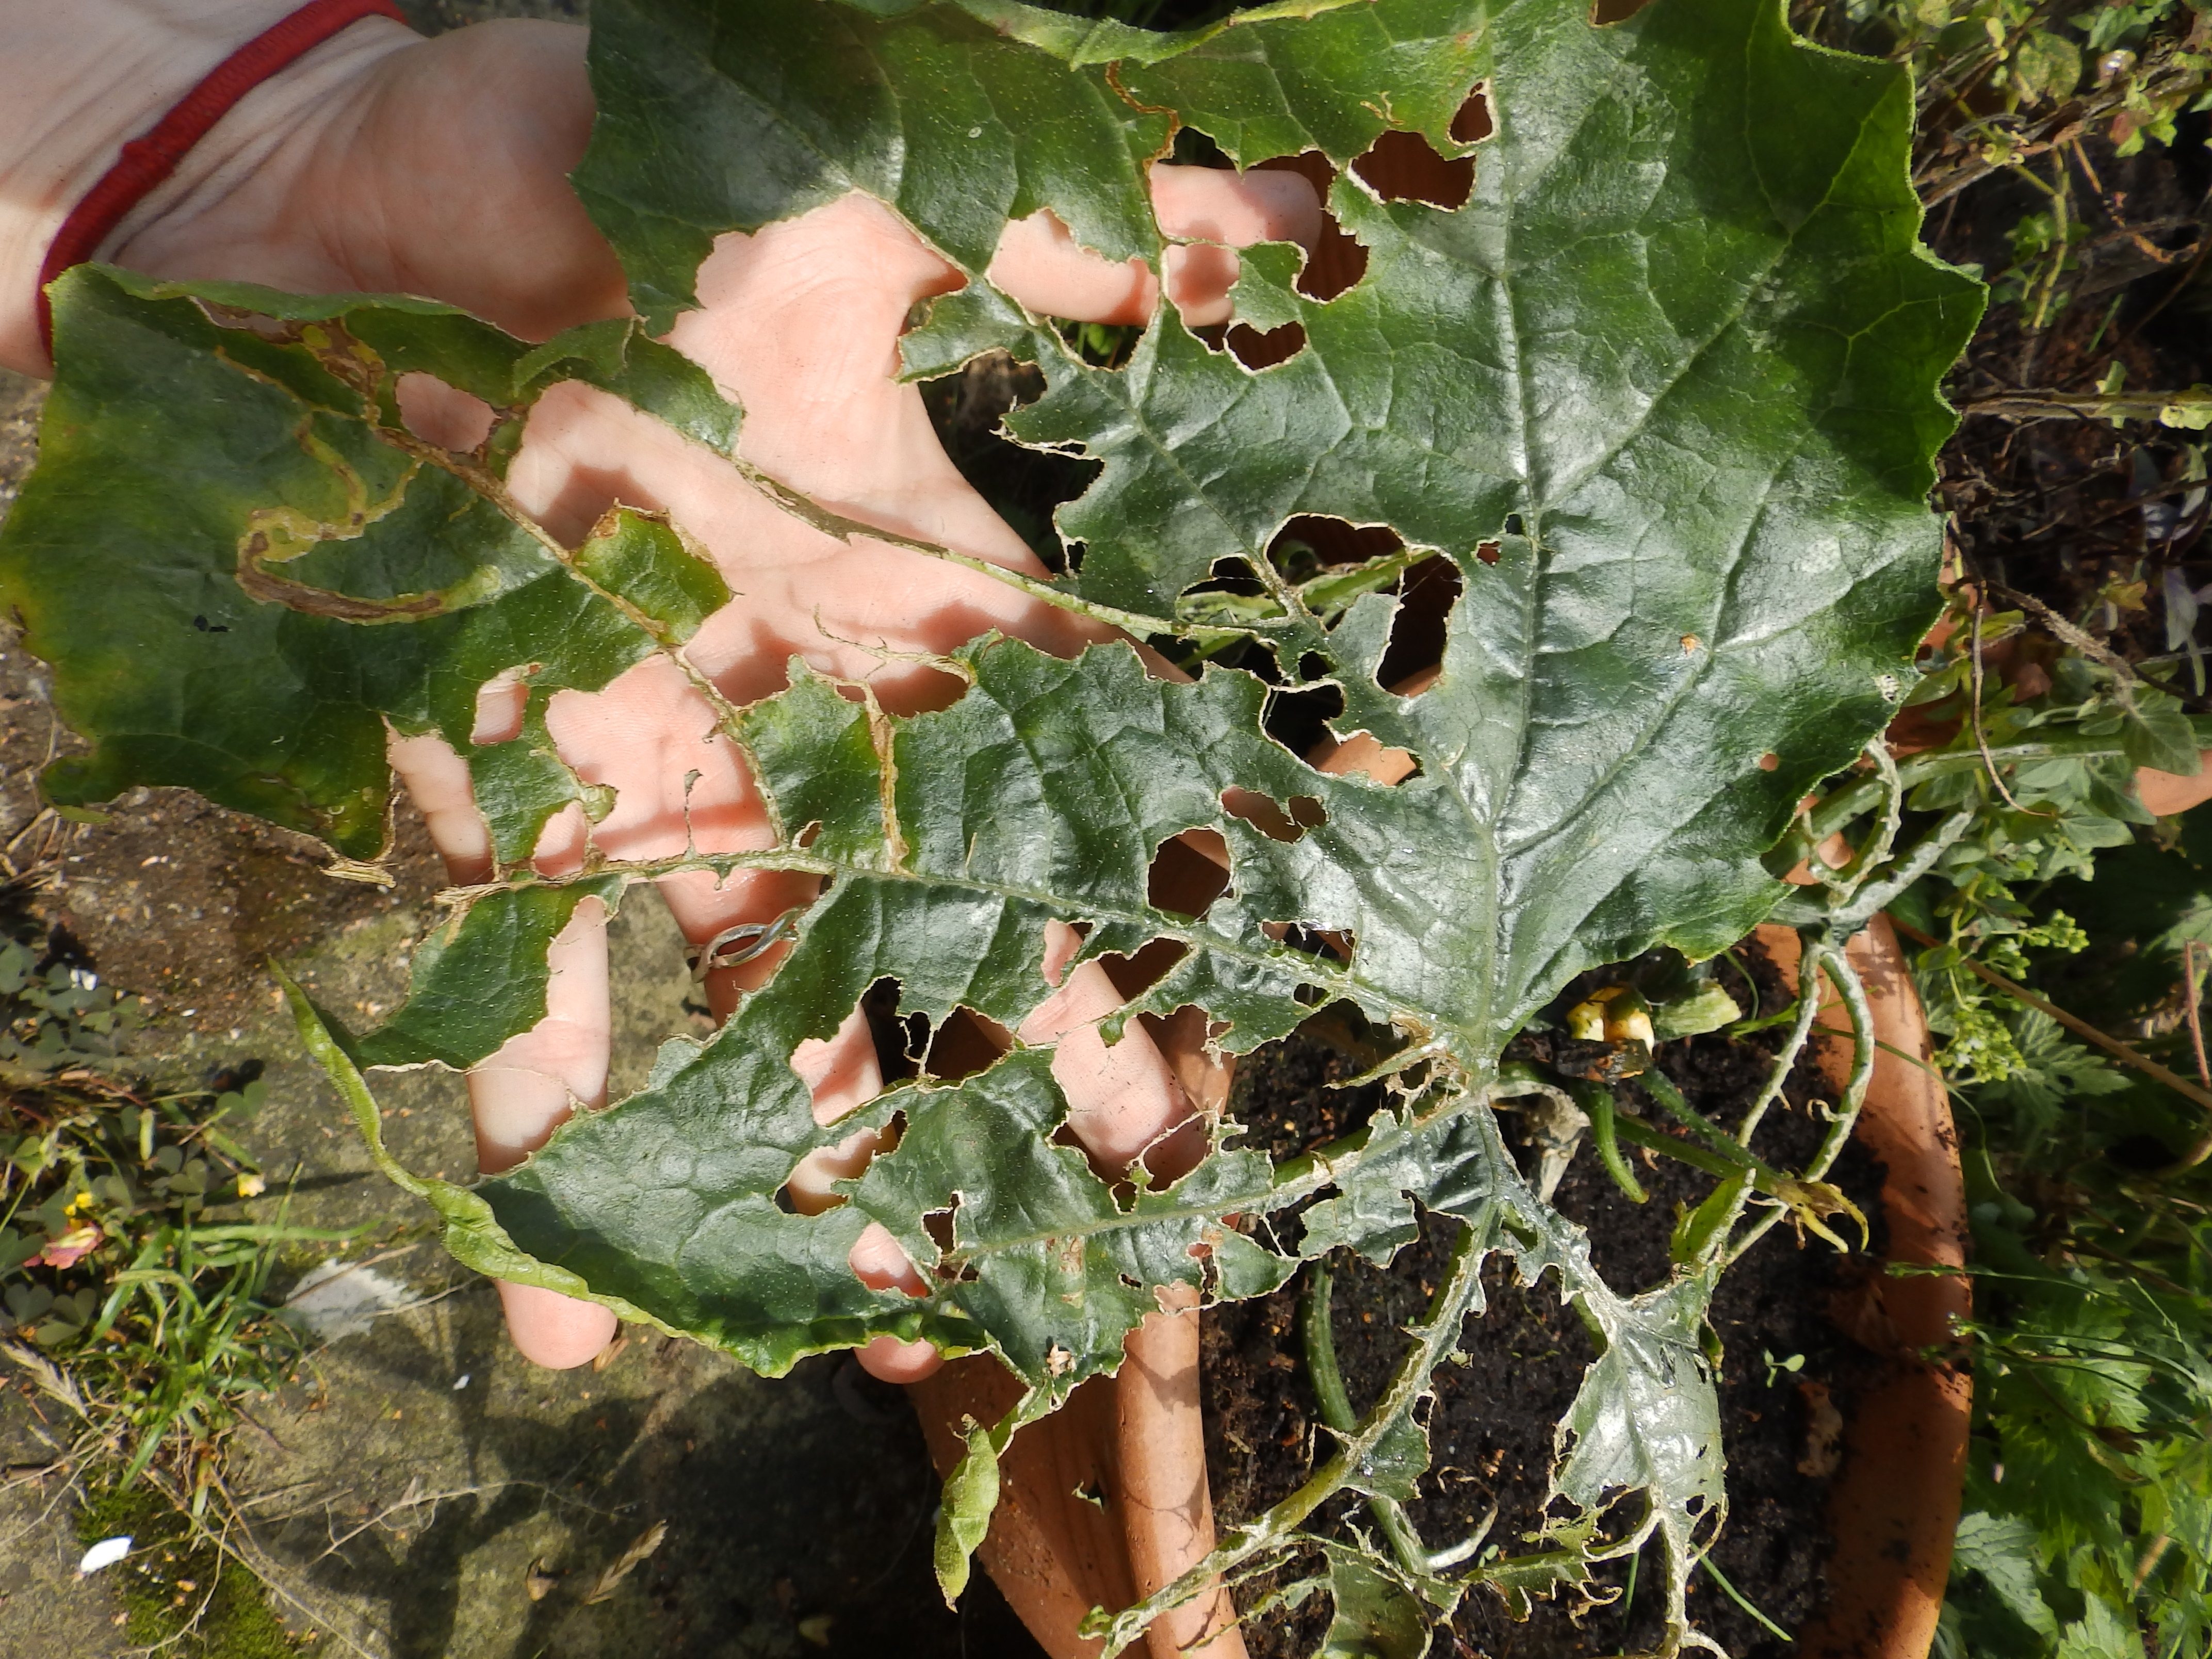
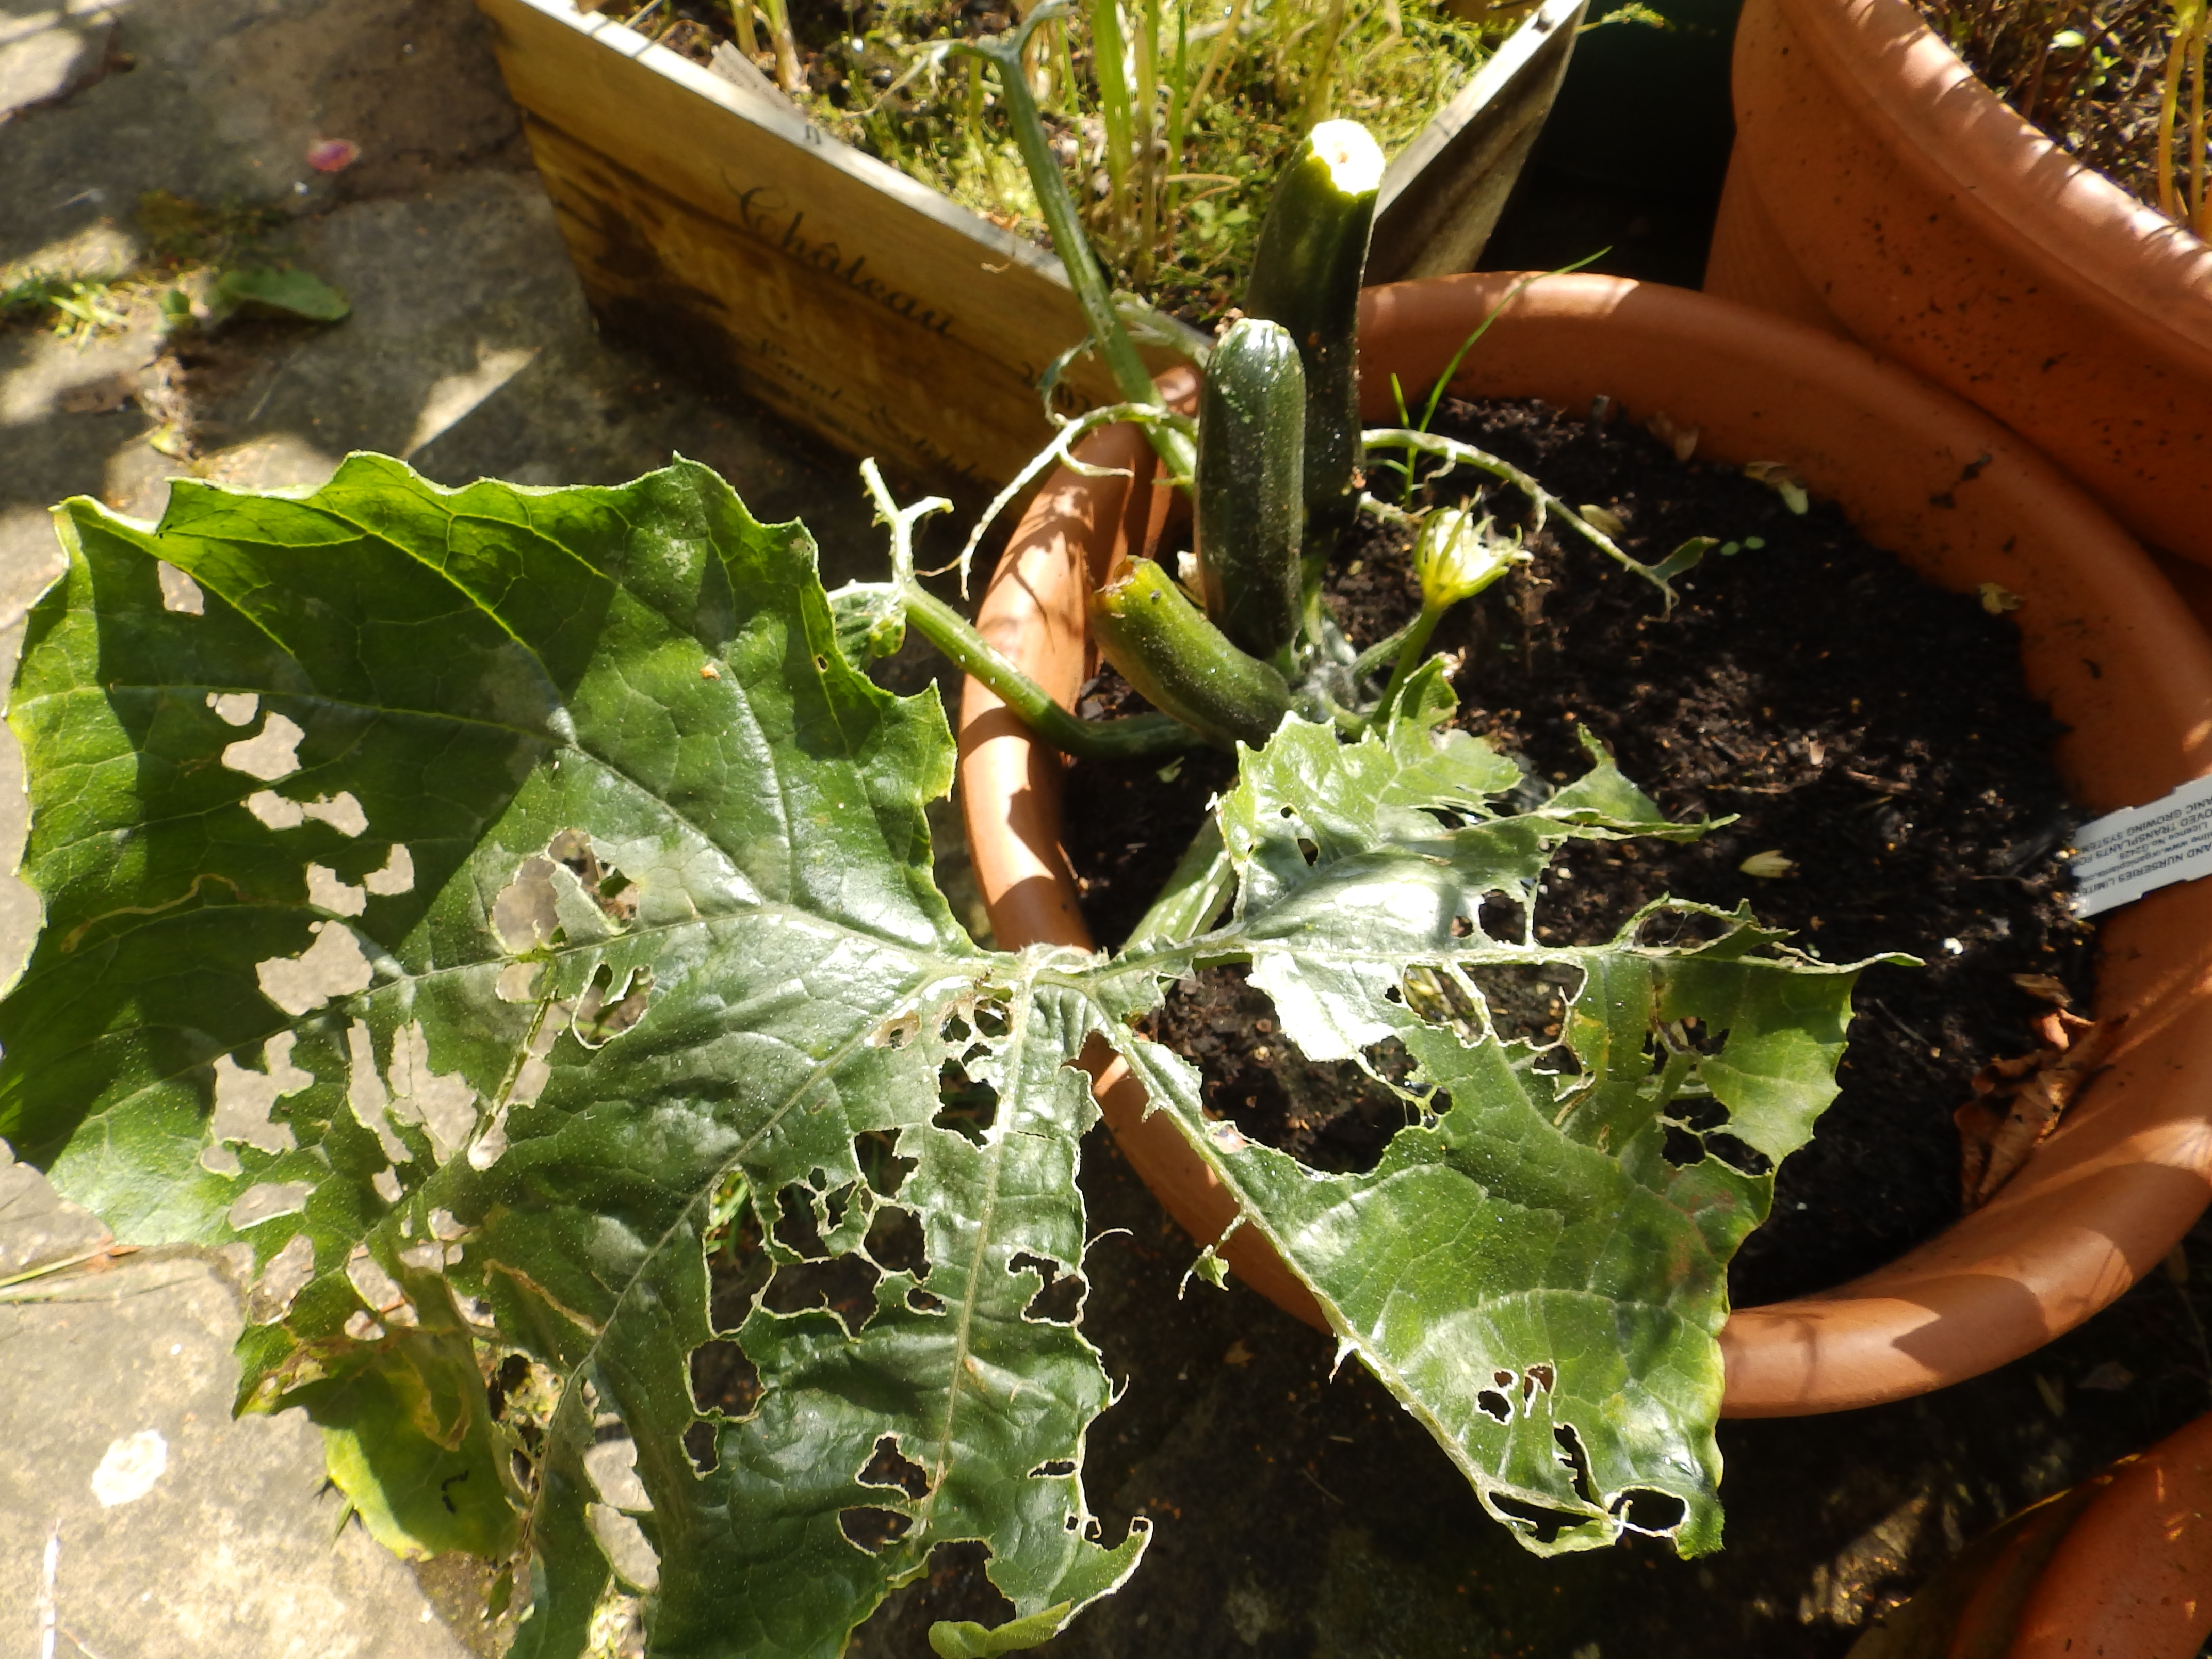
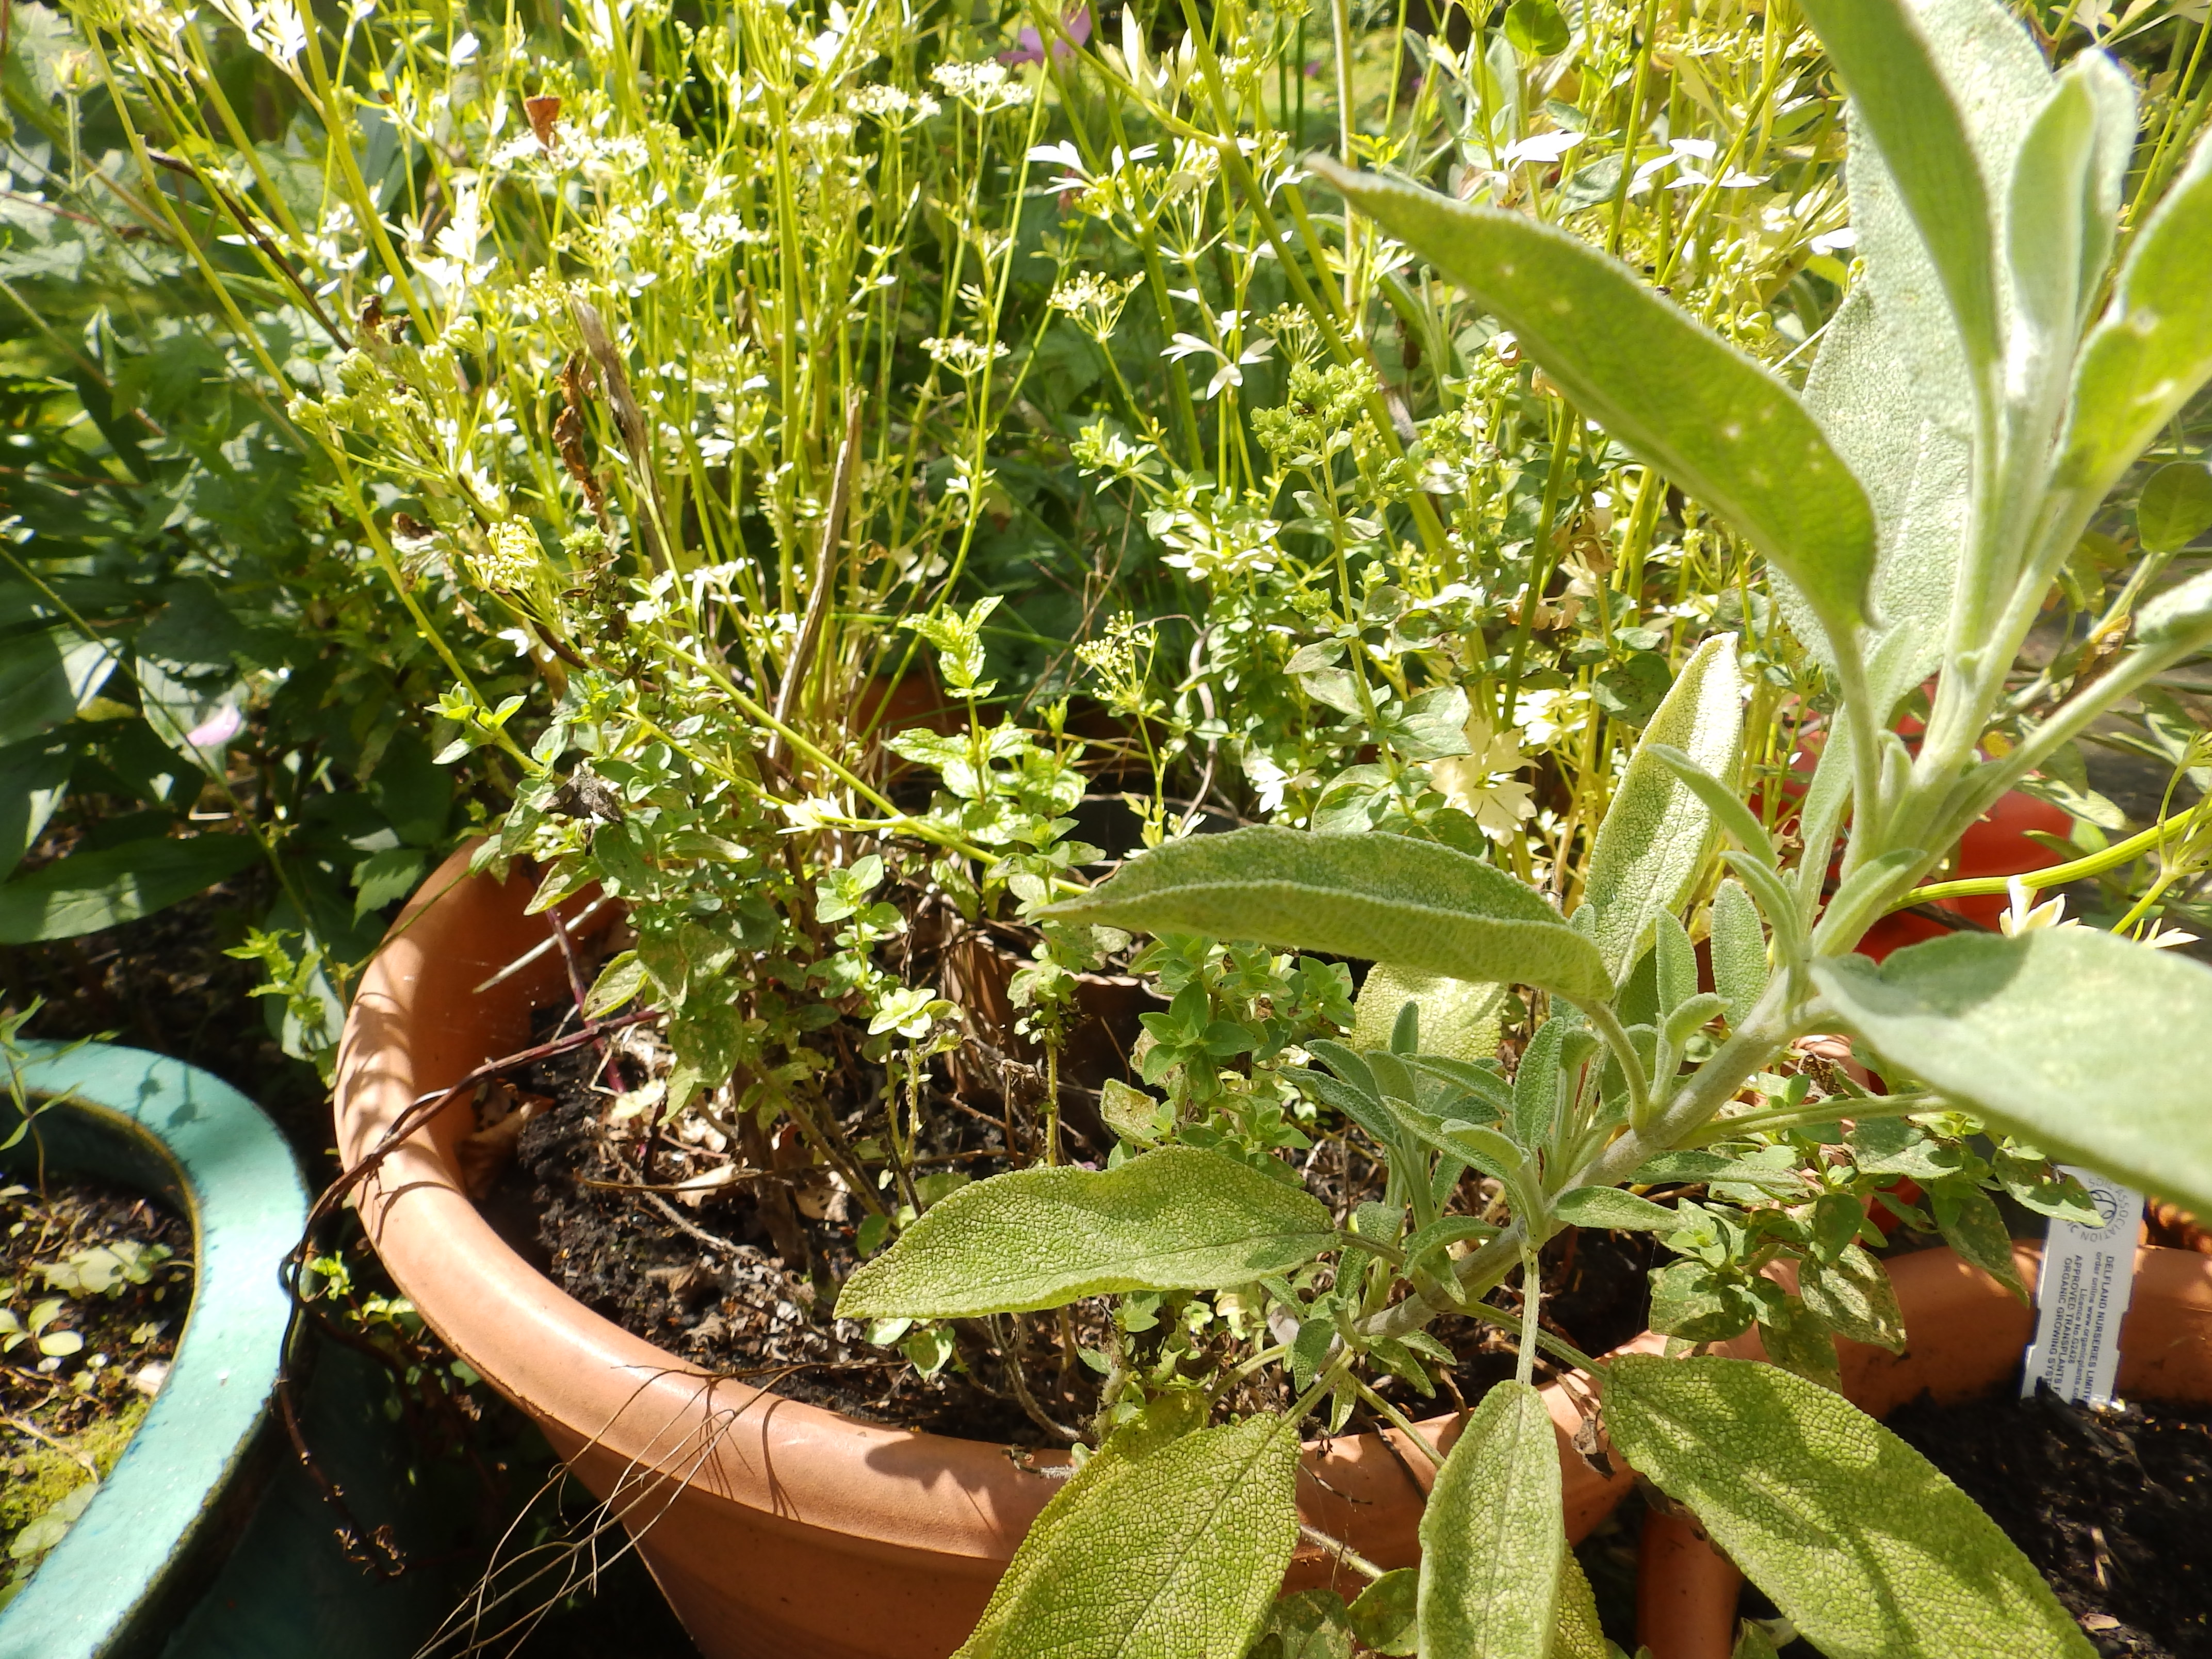
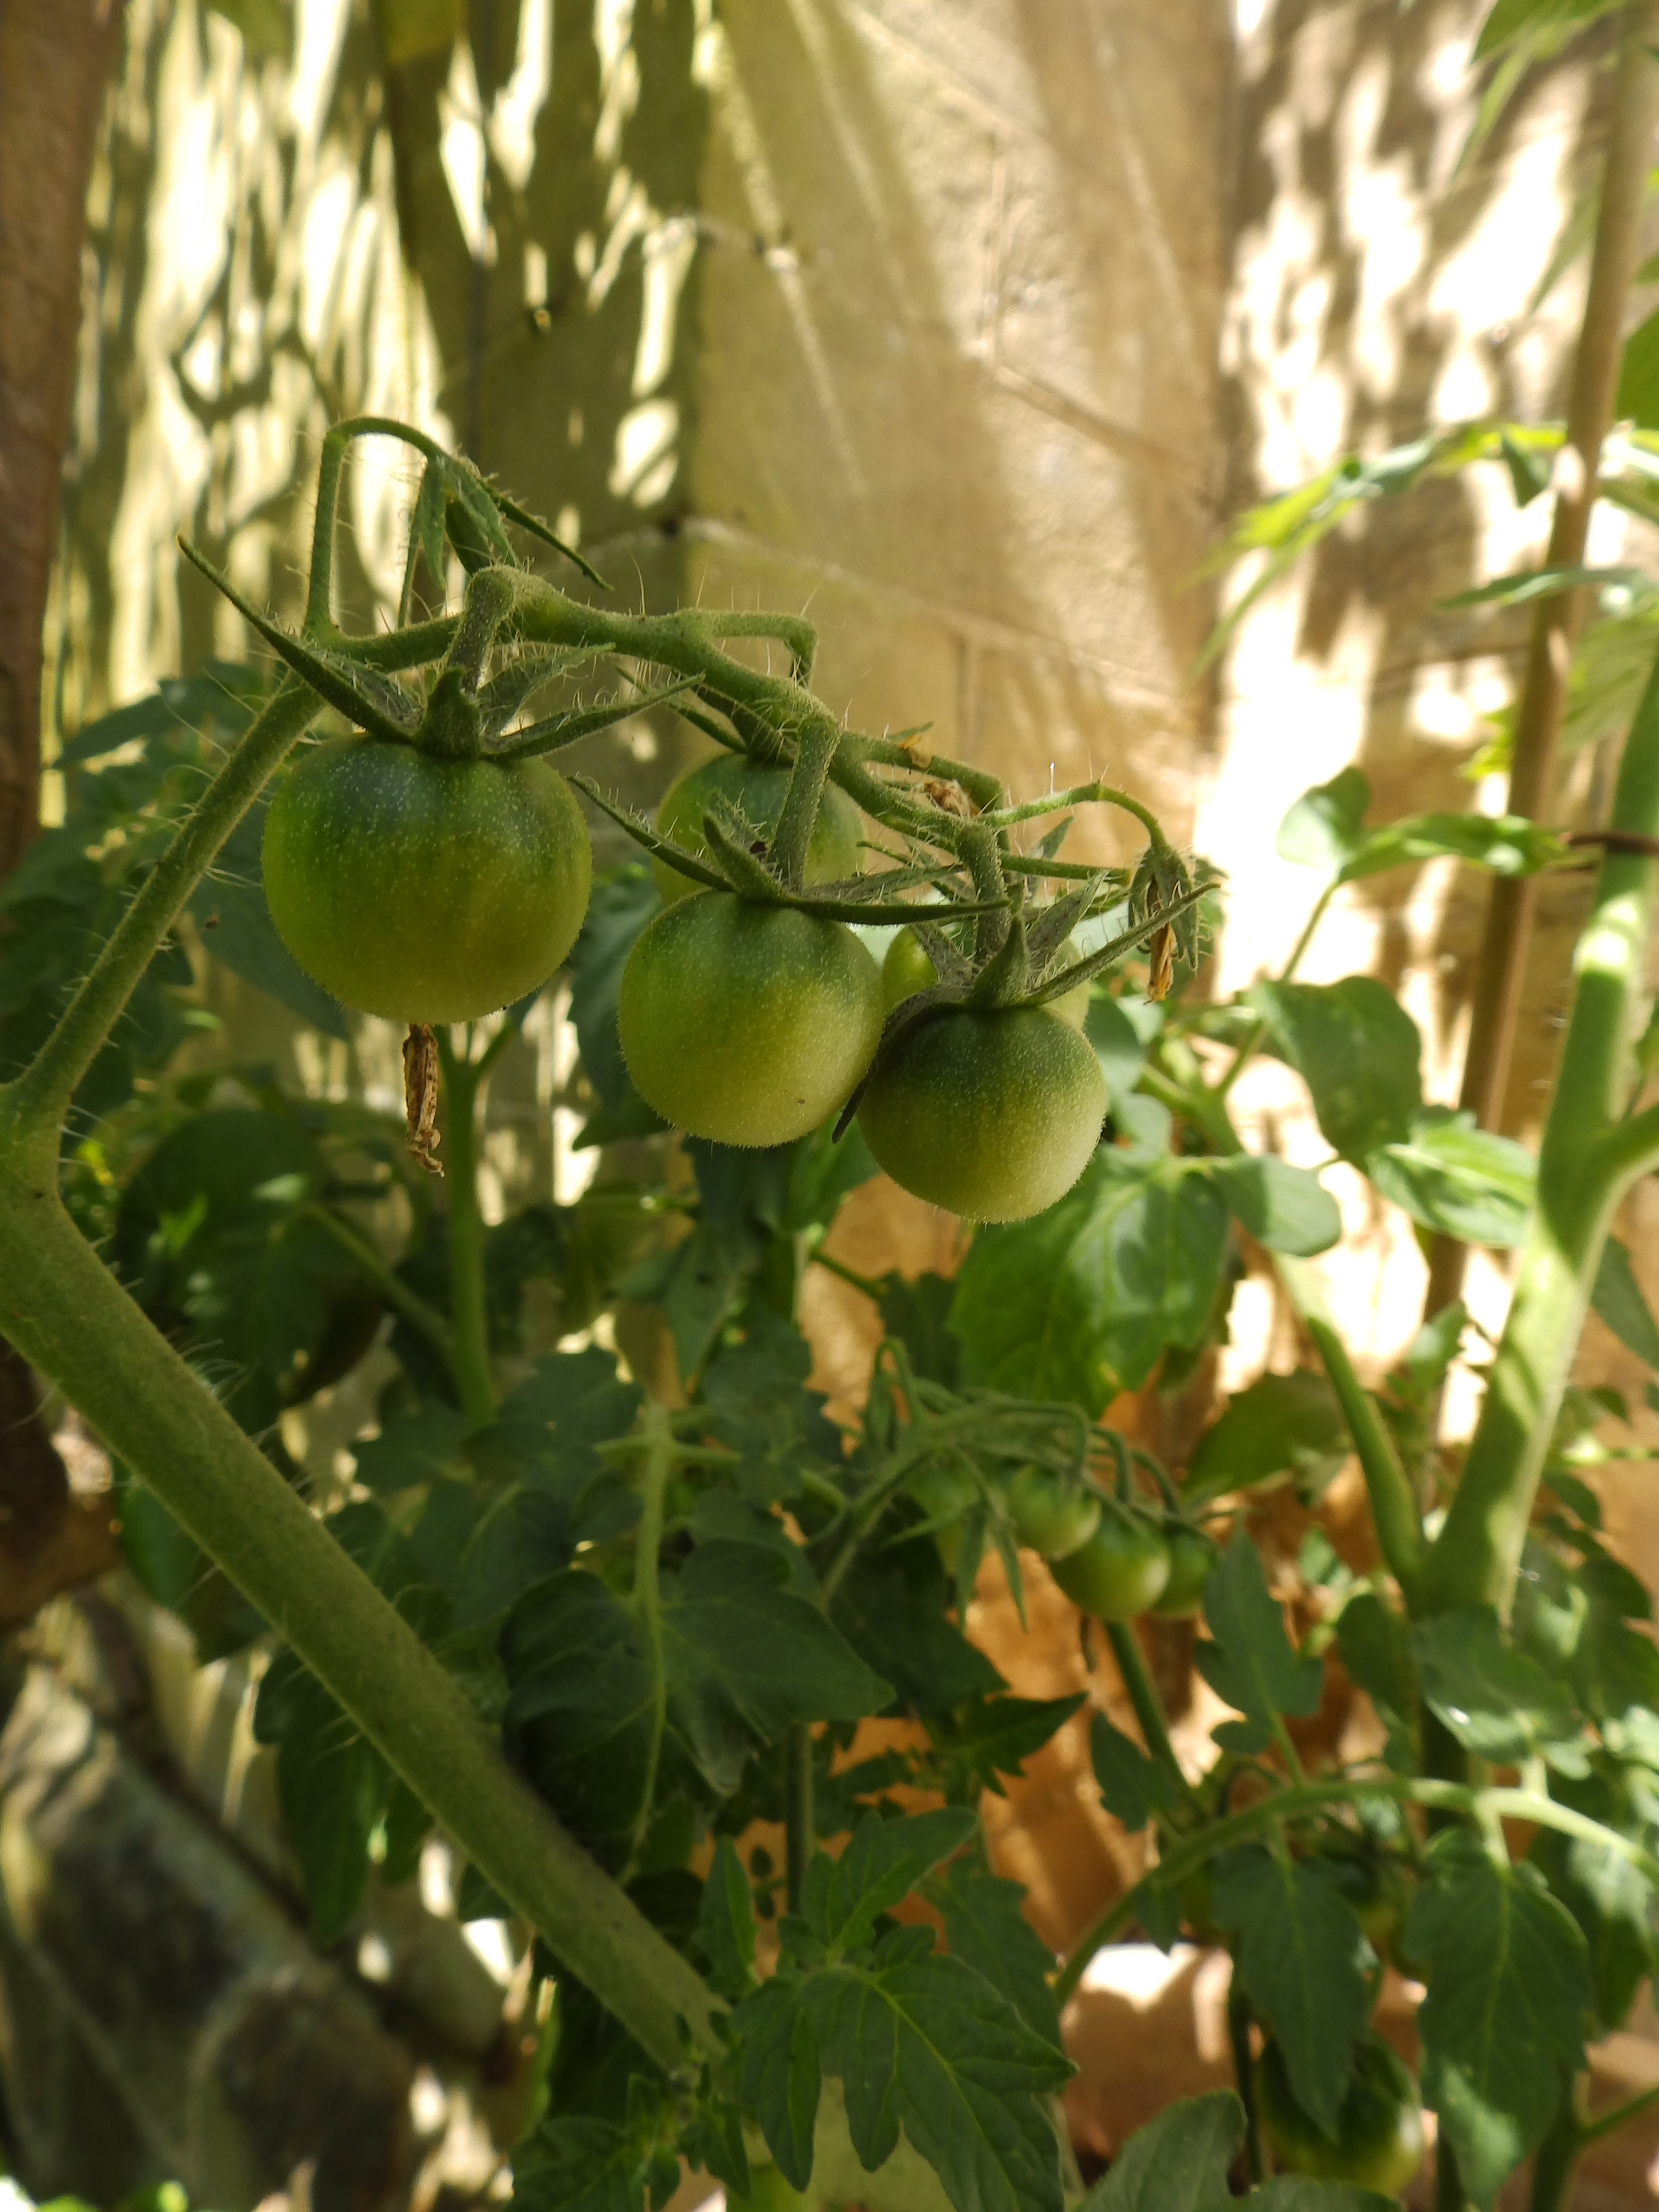
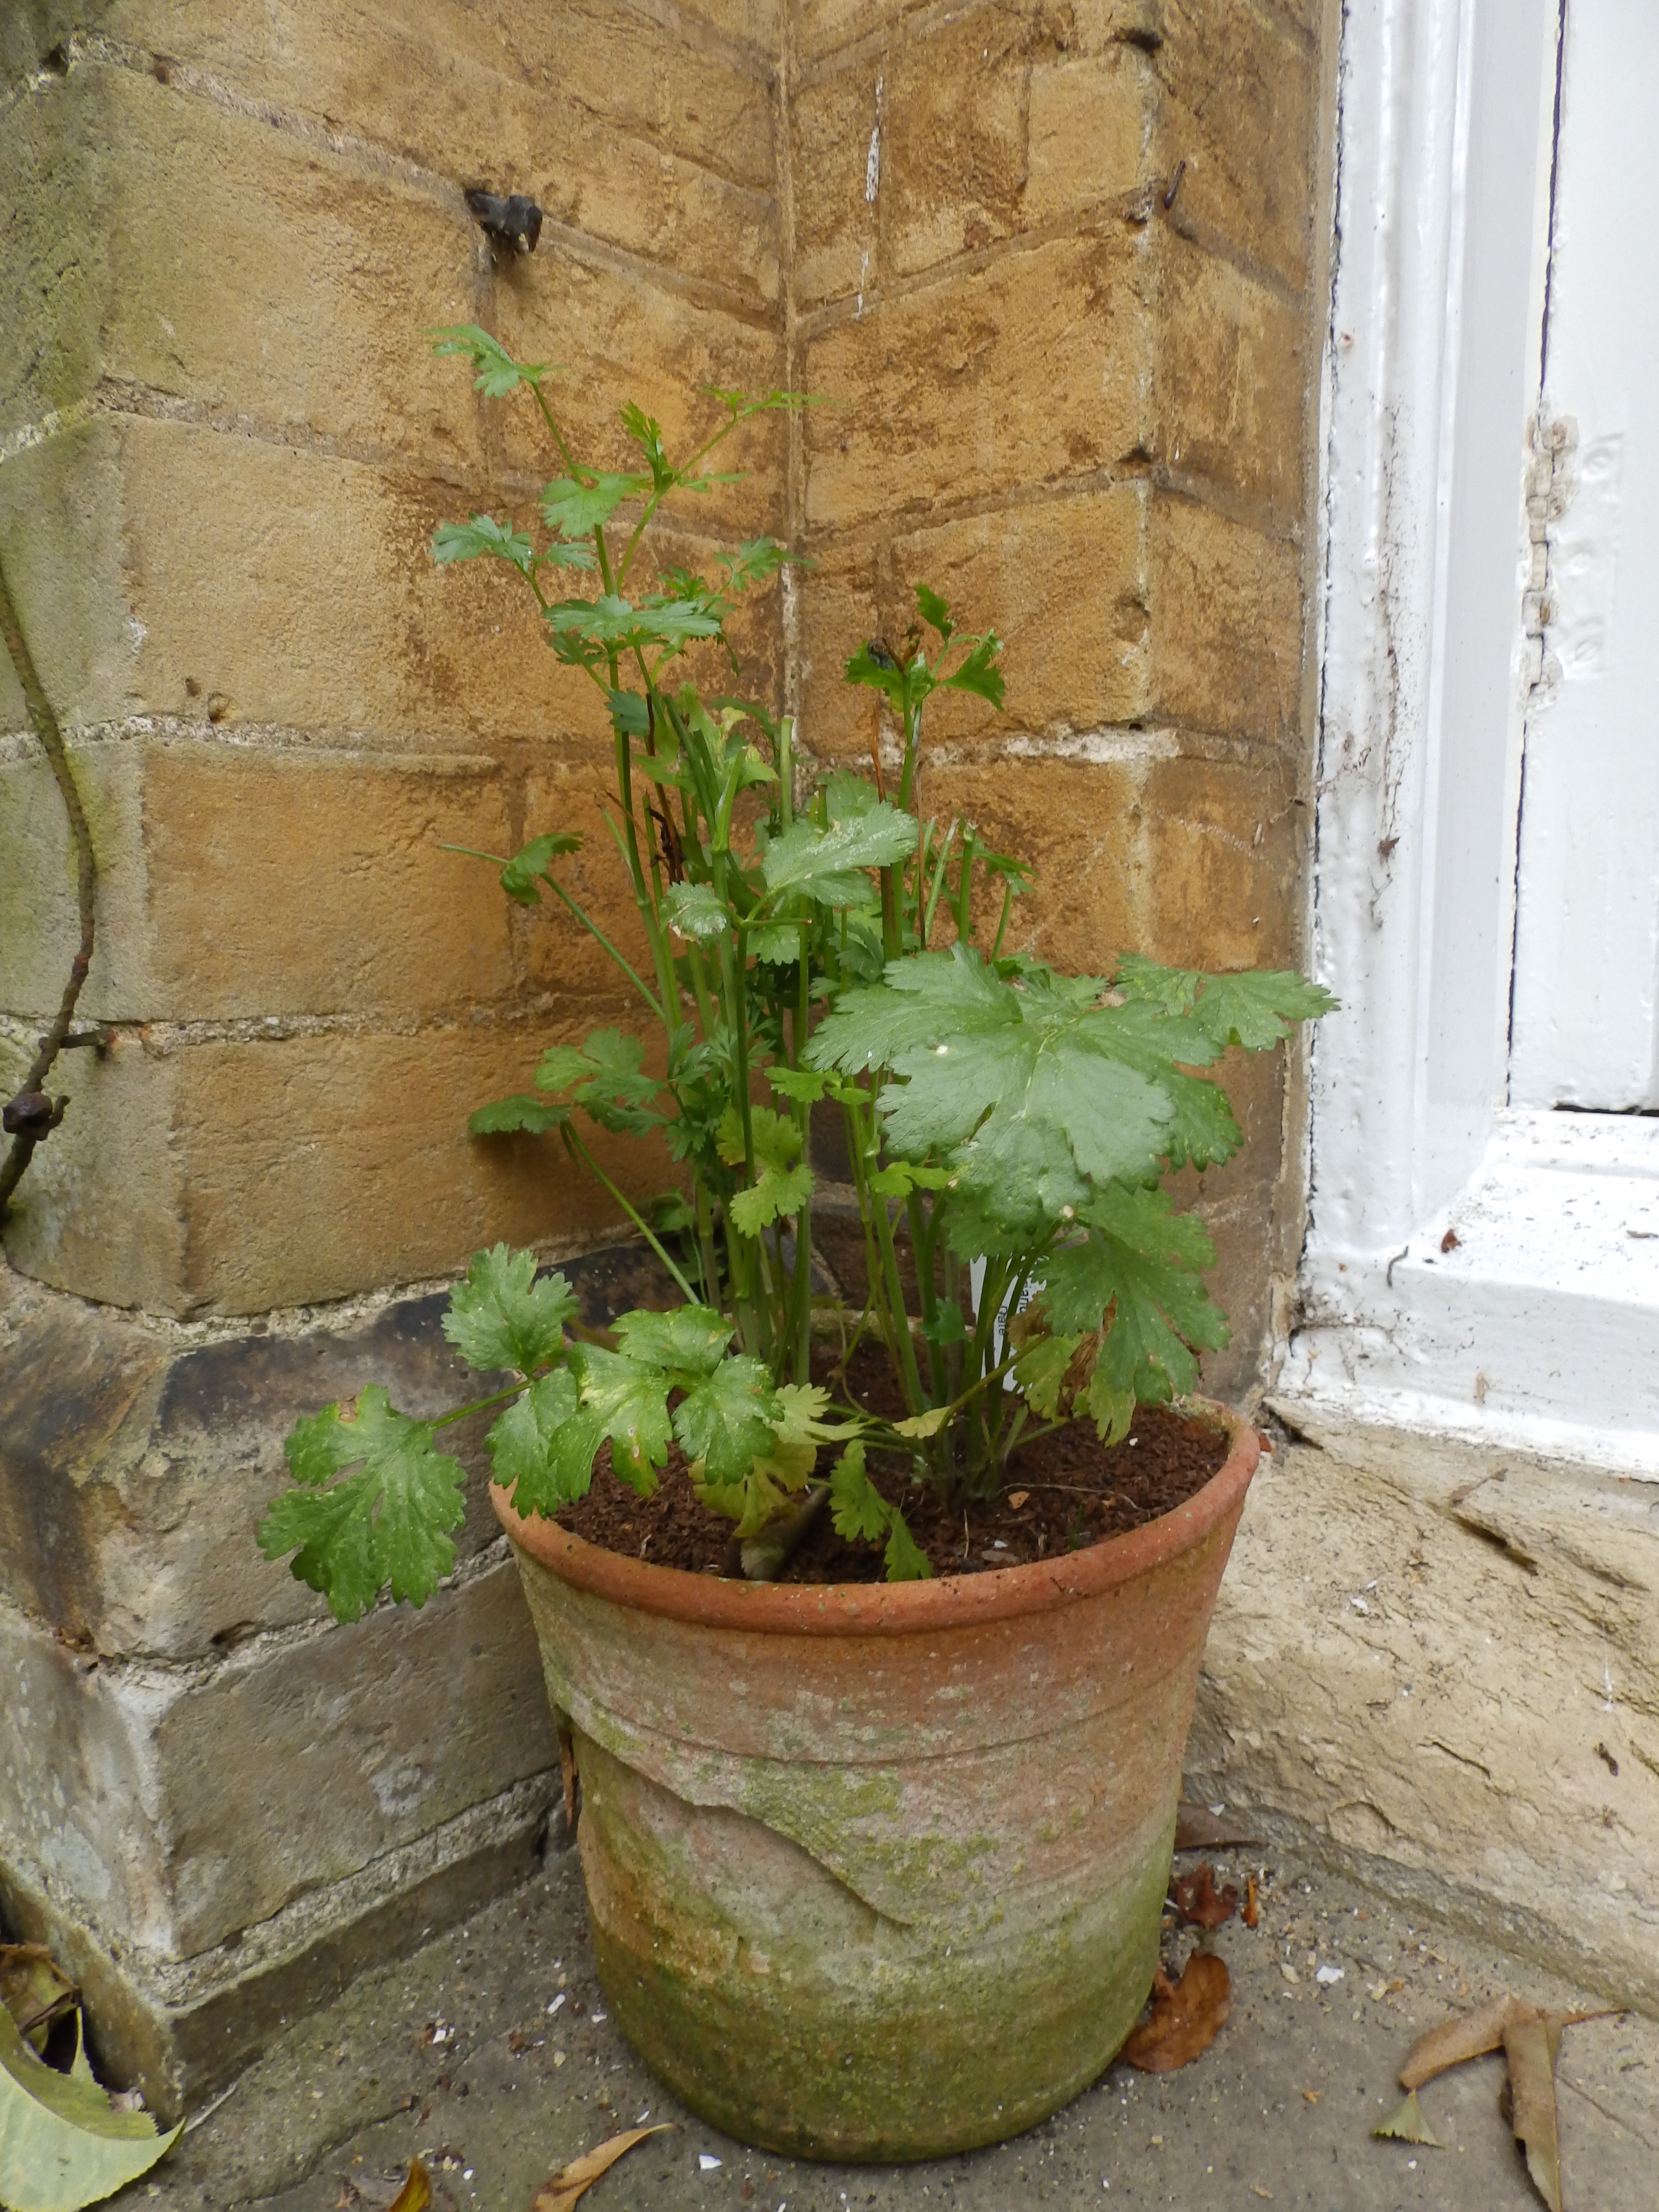
The encouraging thing is, even with all my other commitments, my garden has hung in there. I still have tomatoes (they seem to be what I am best at for some reason) and lots of herbs.

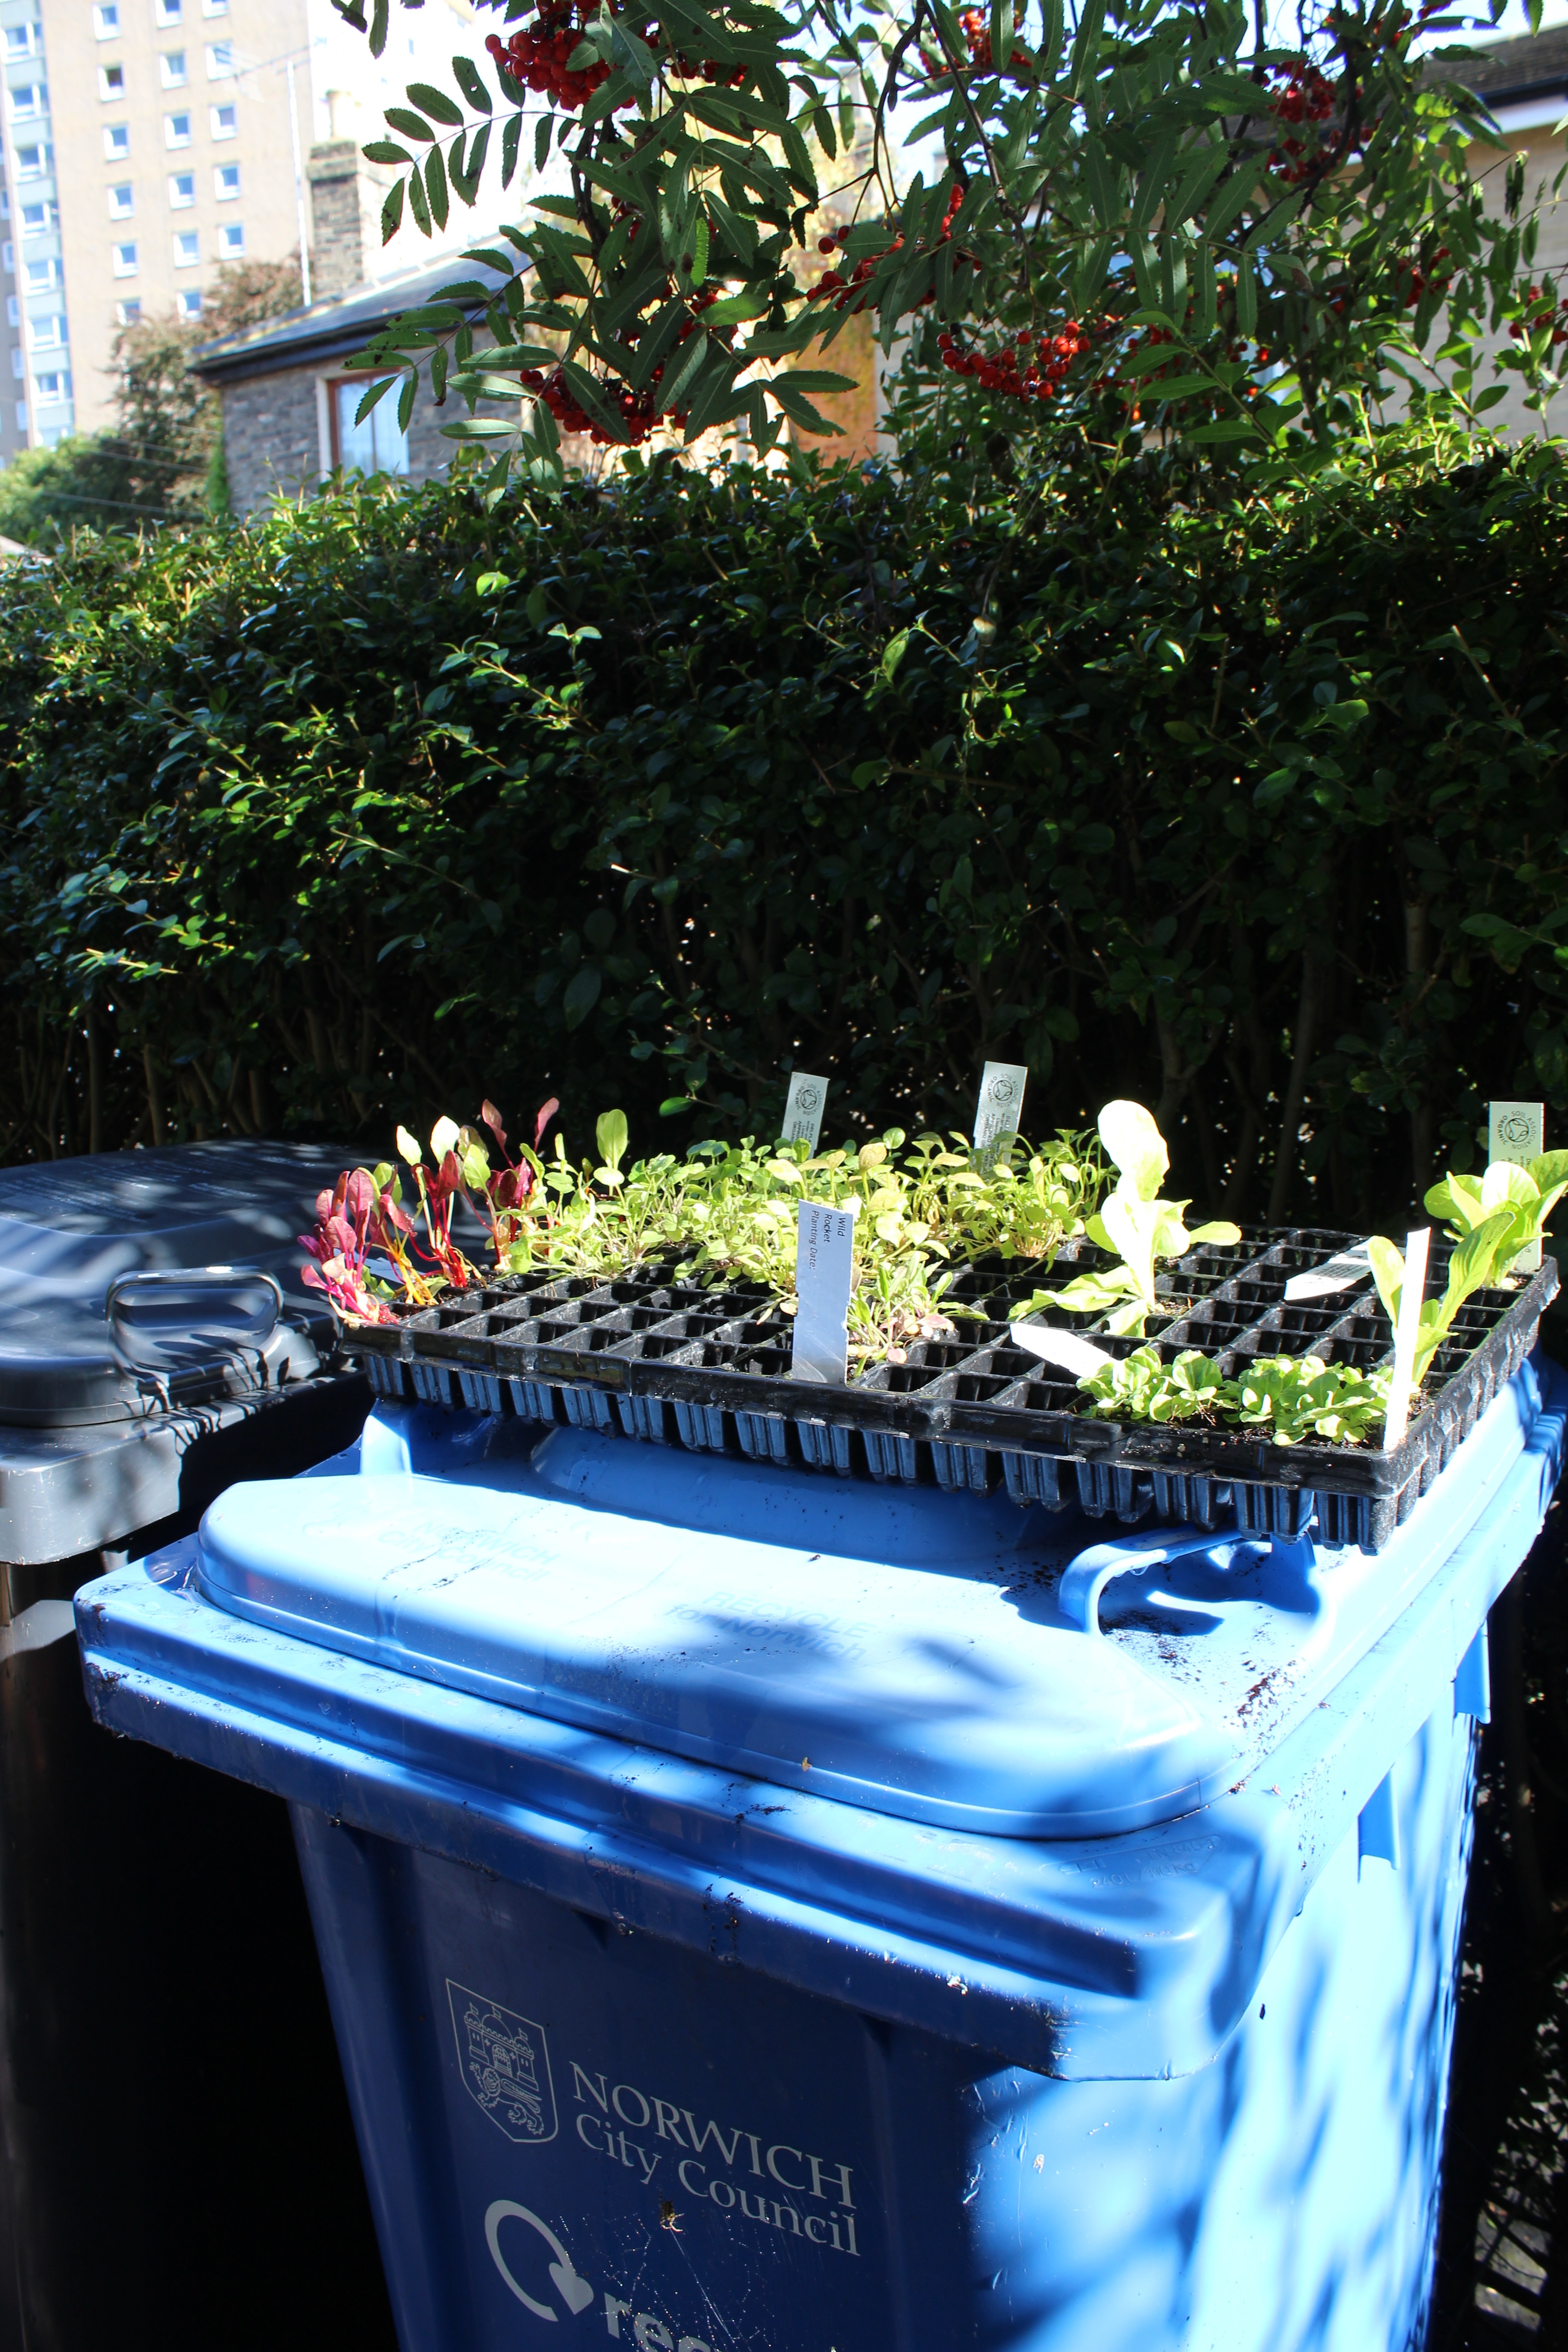
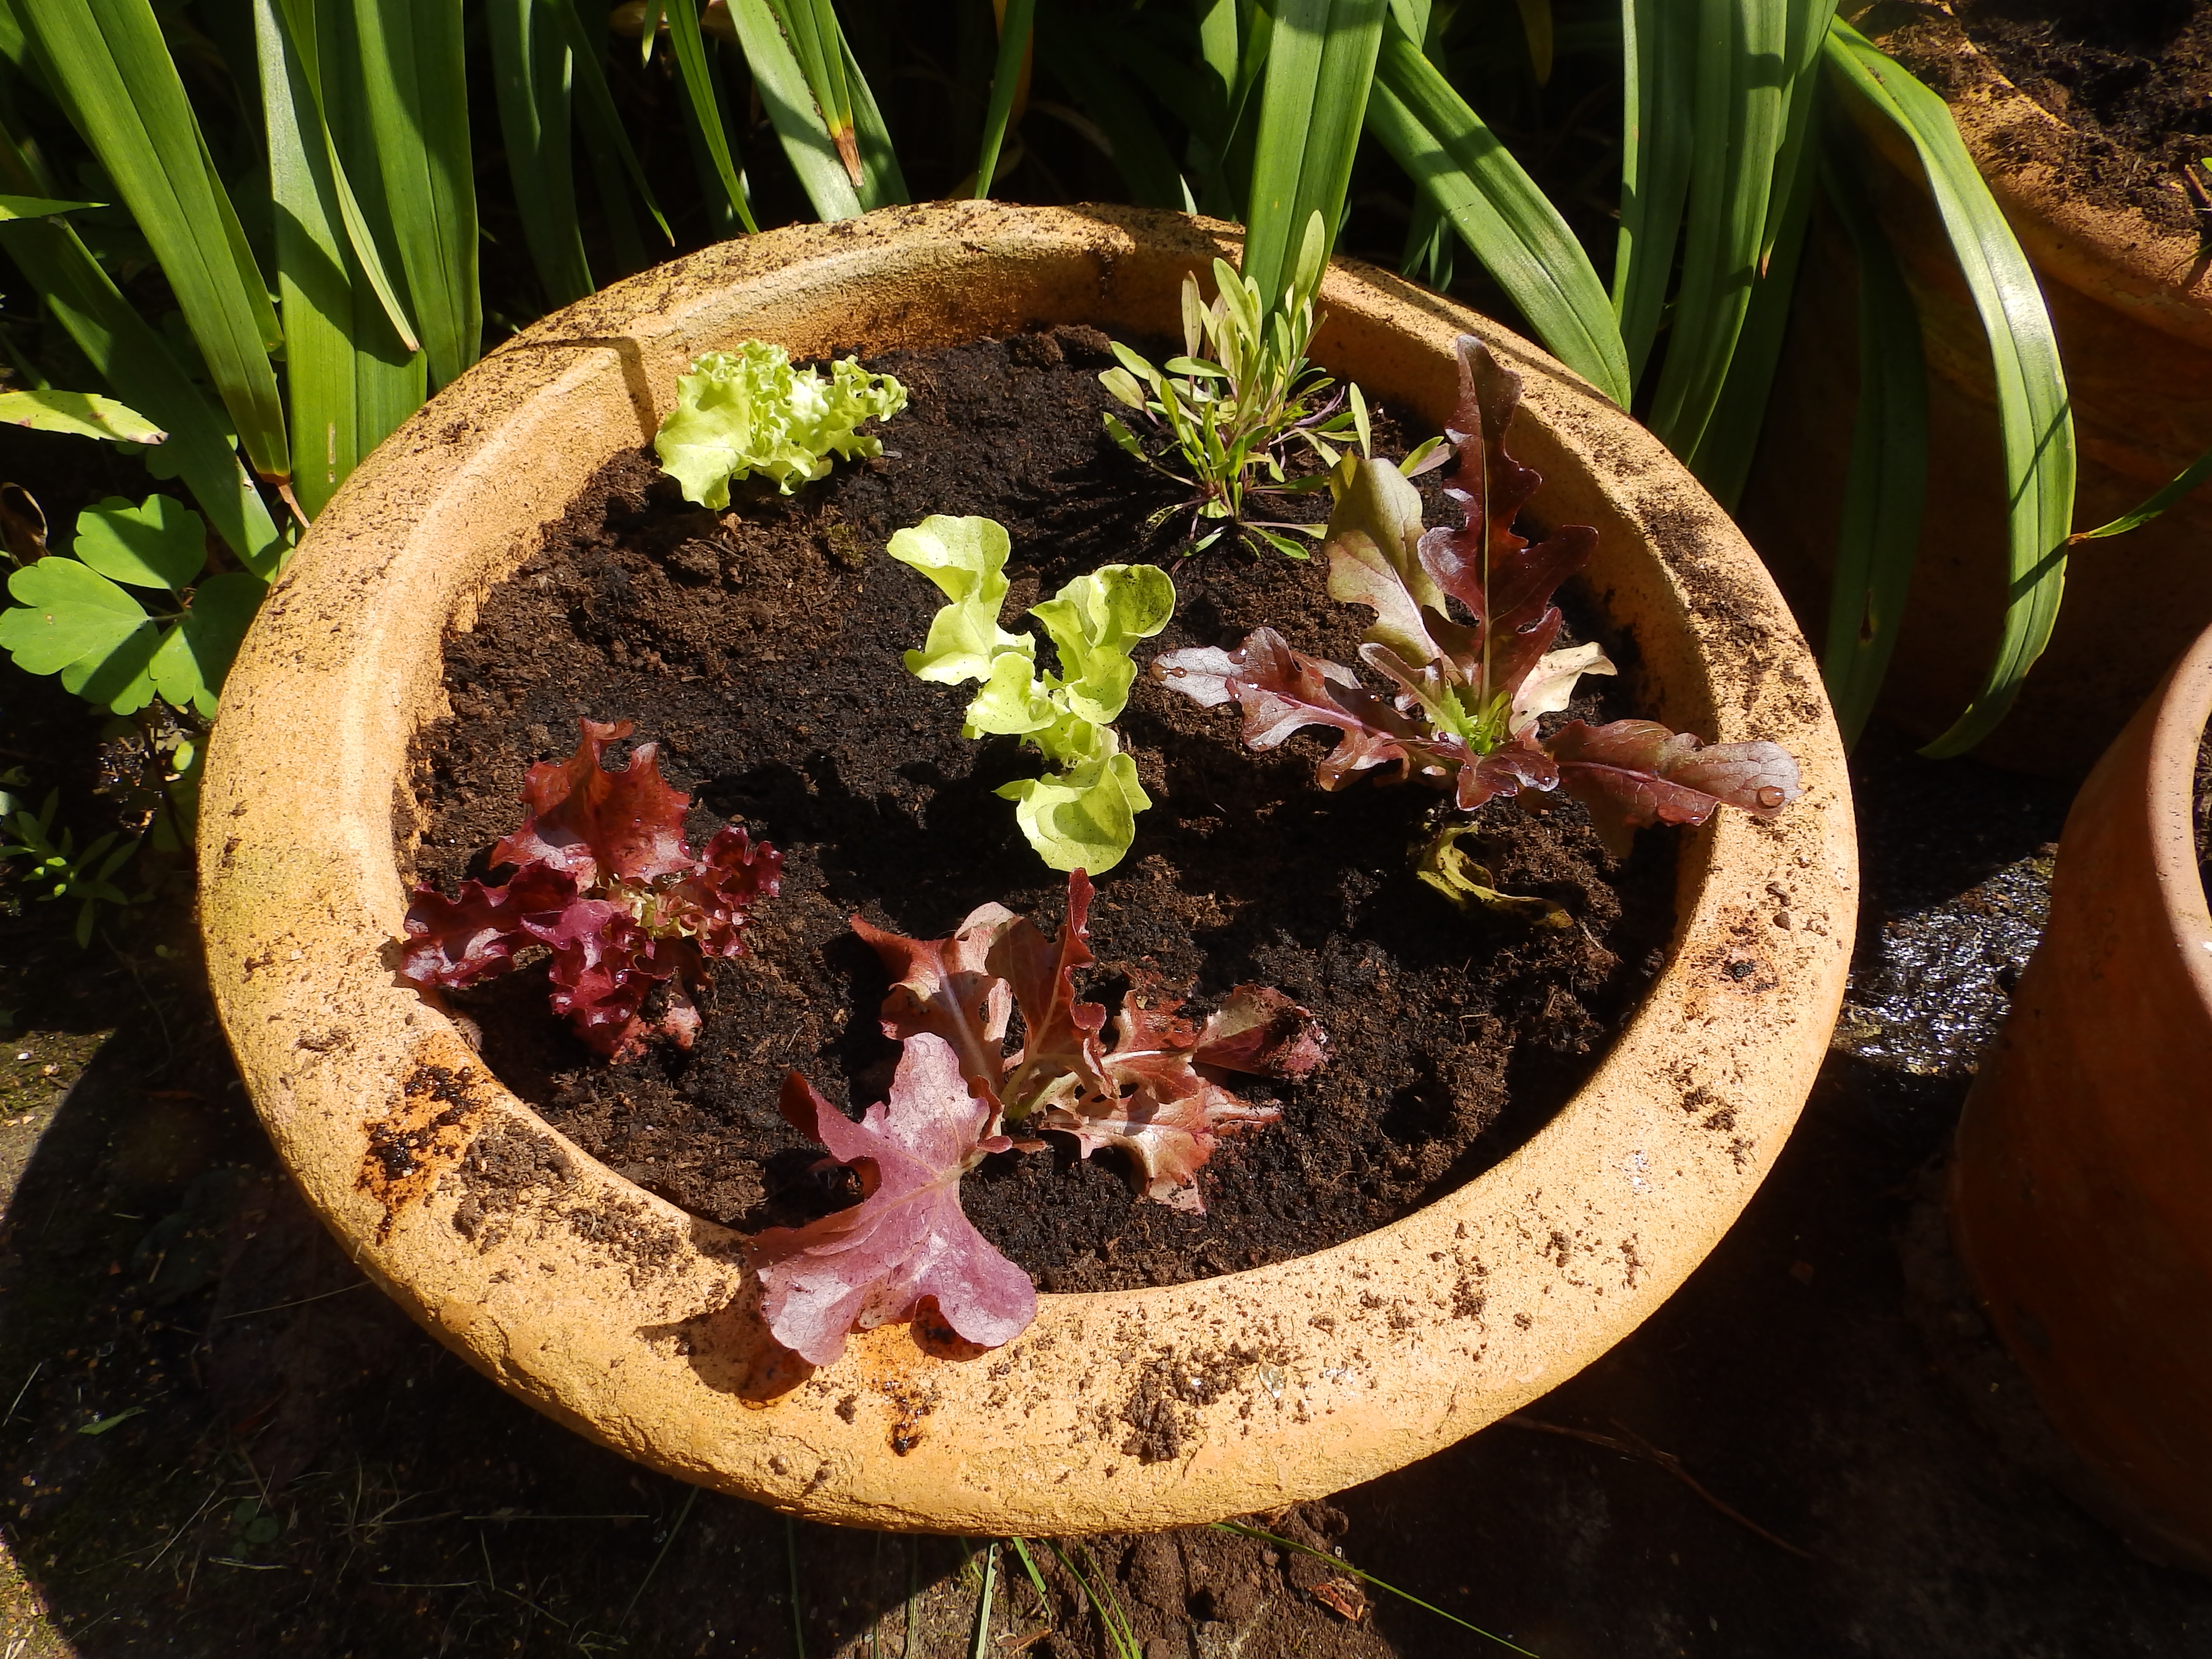
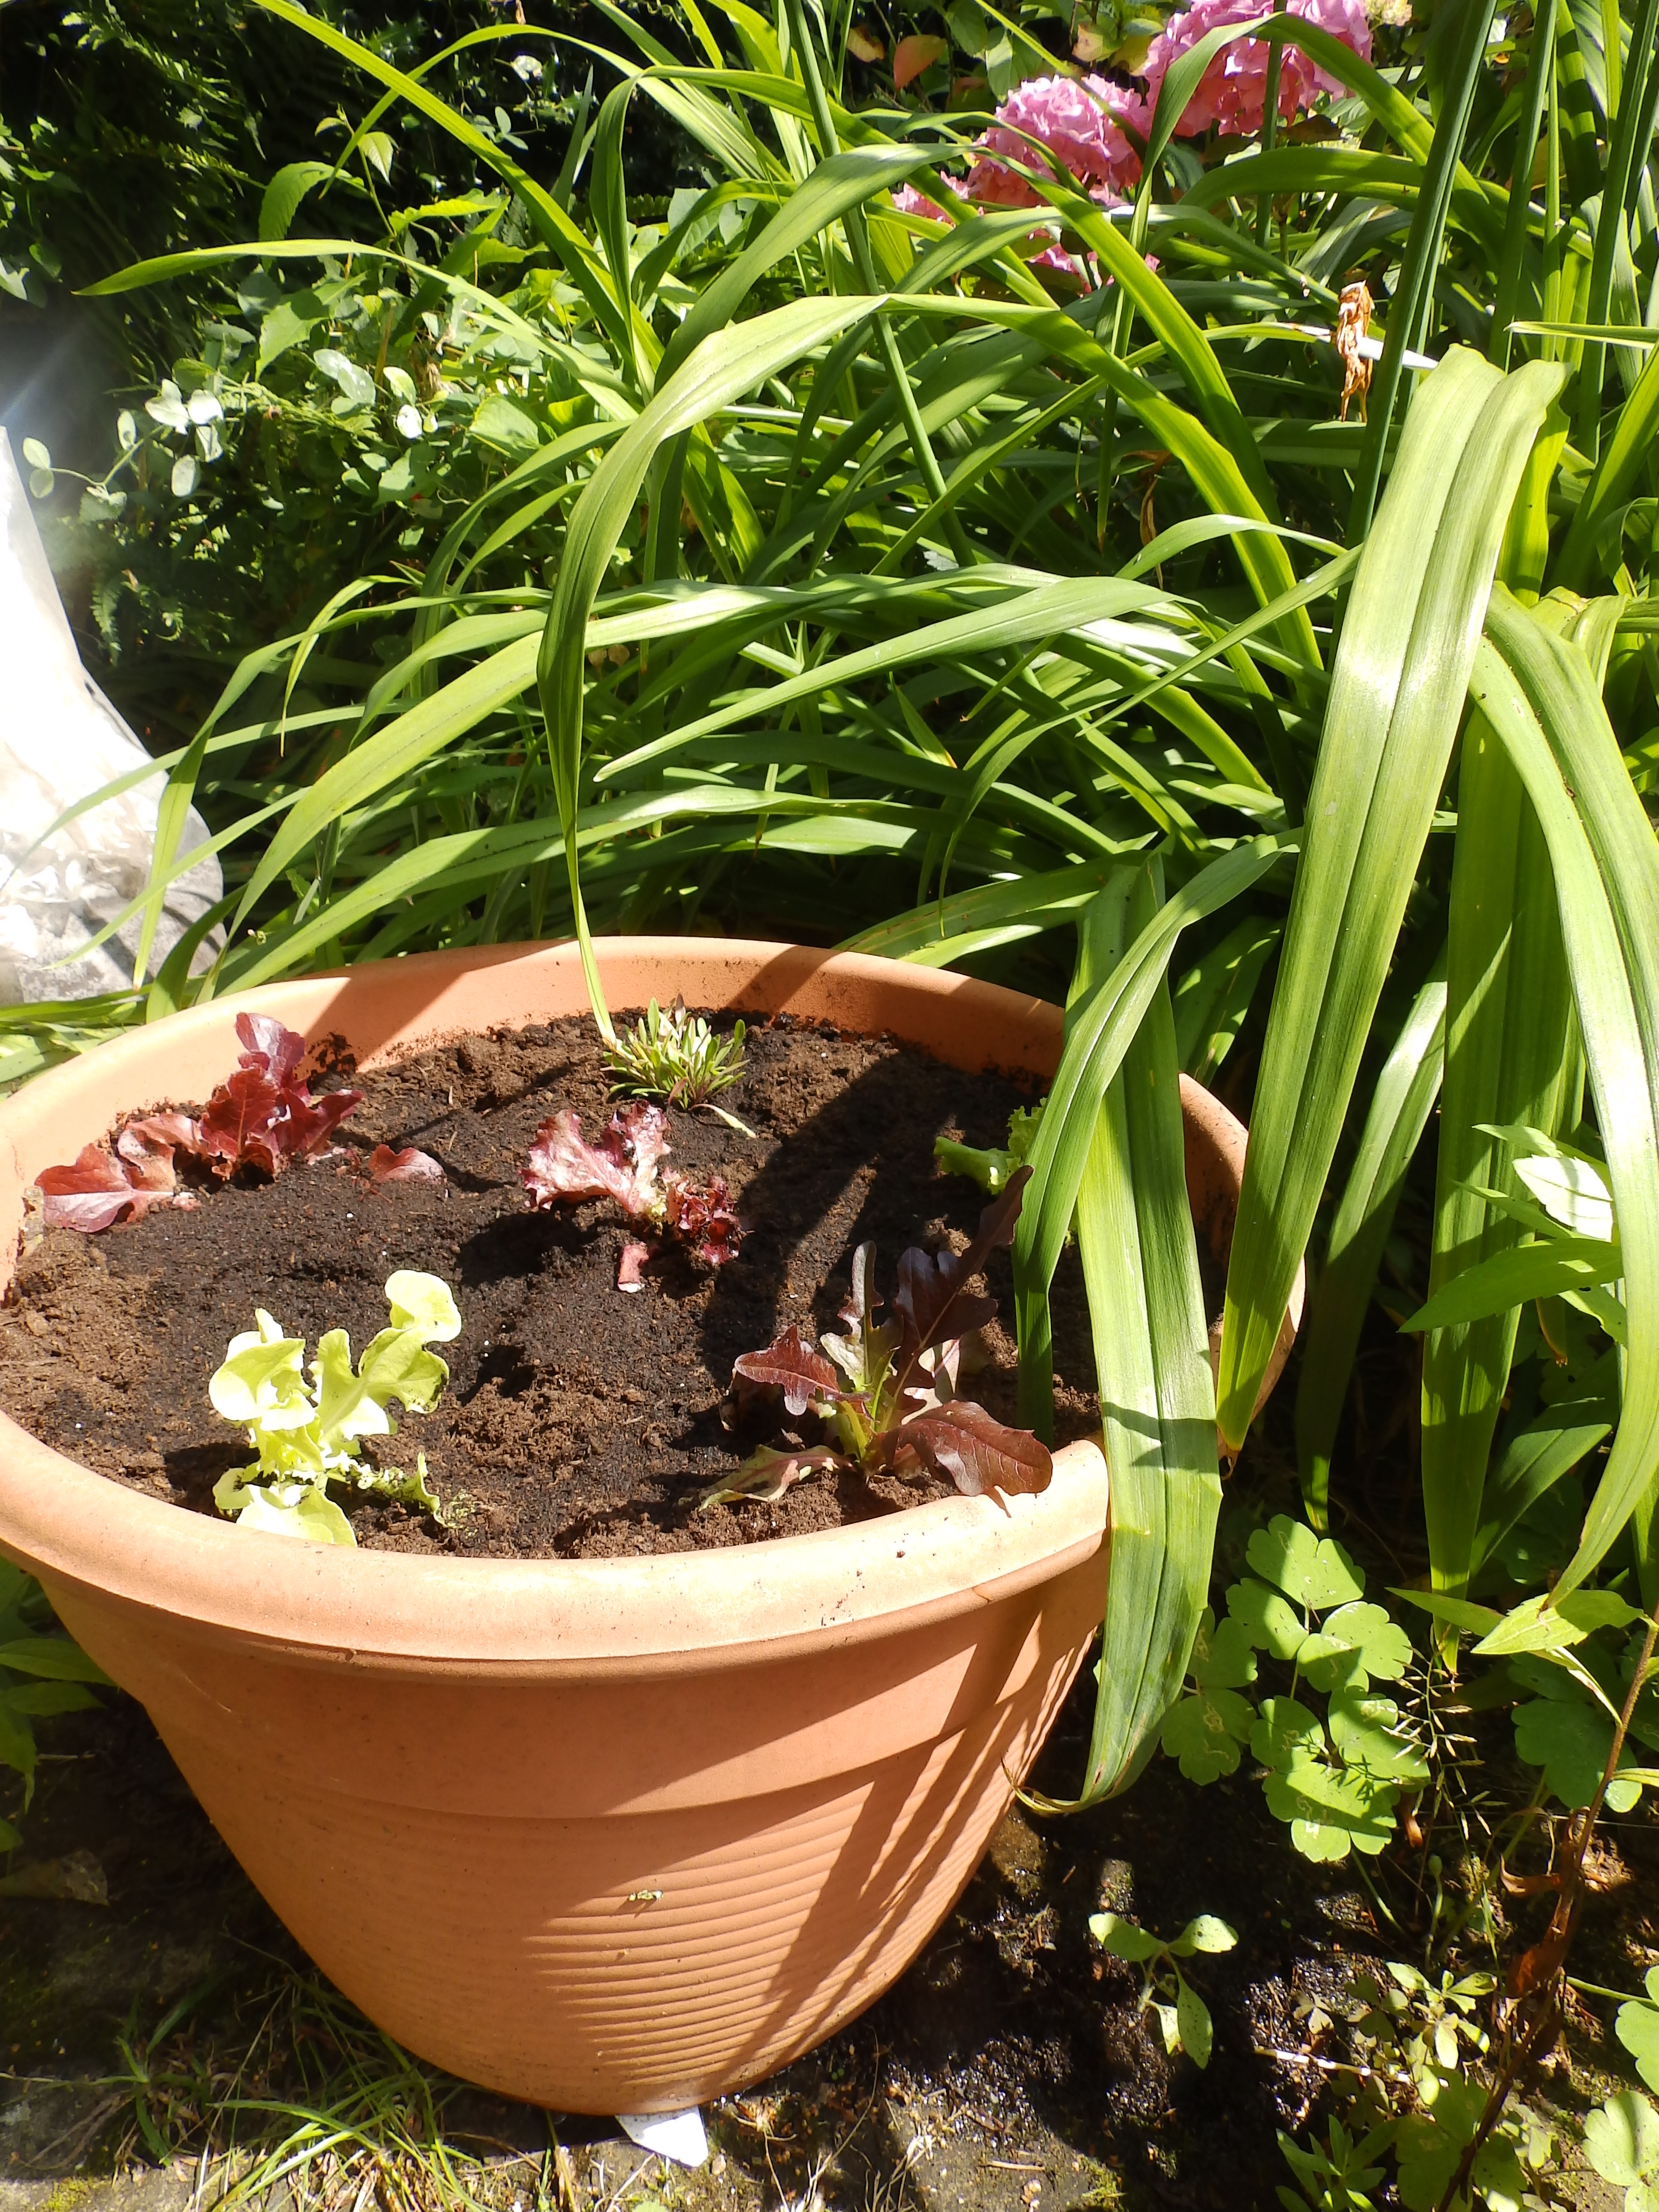
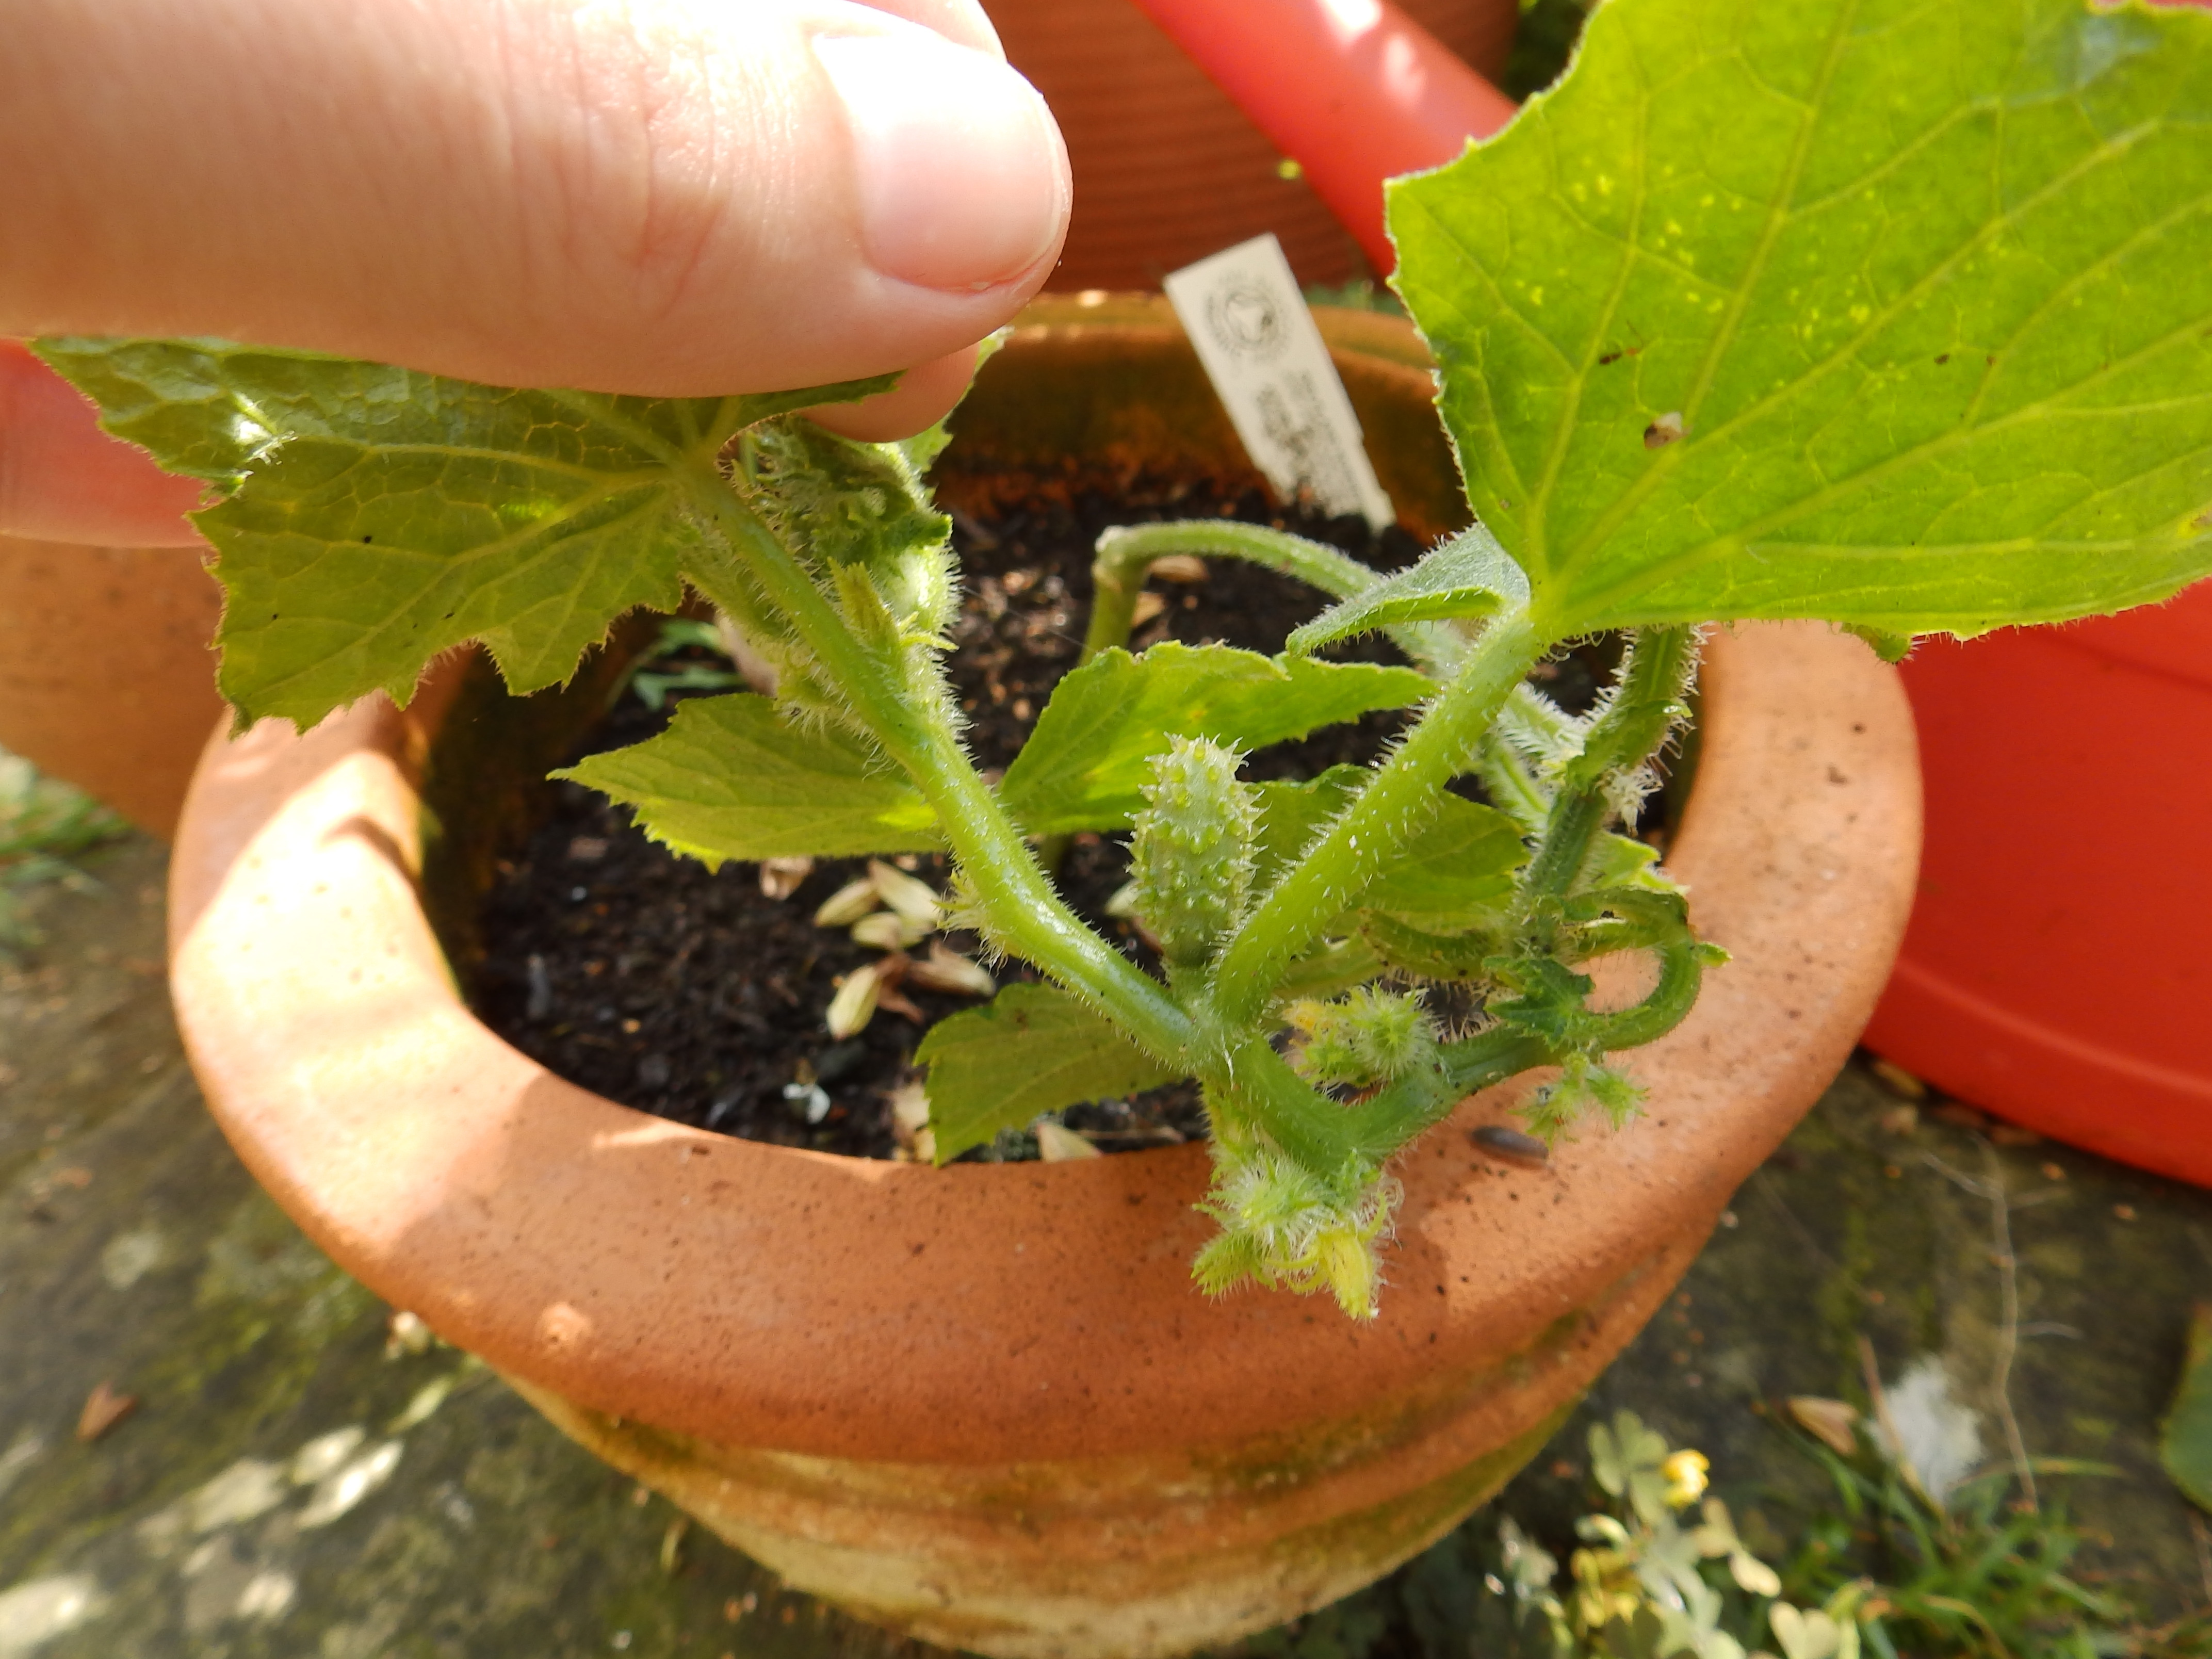
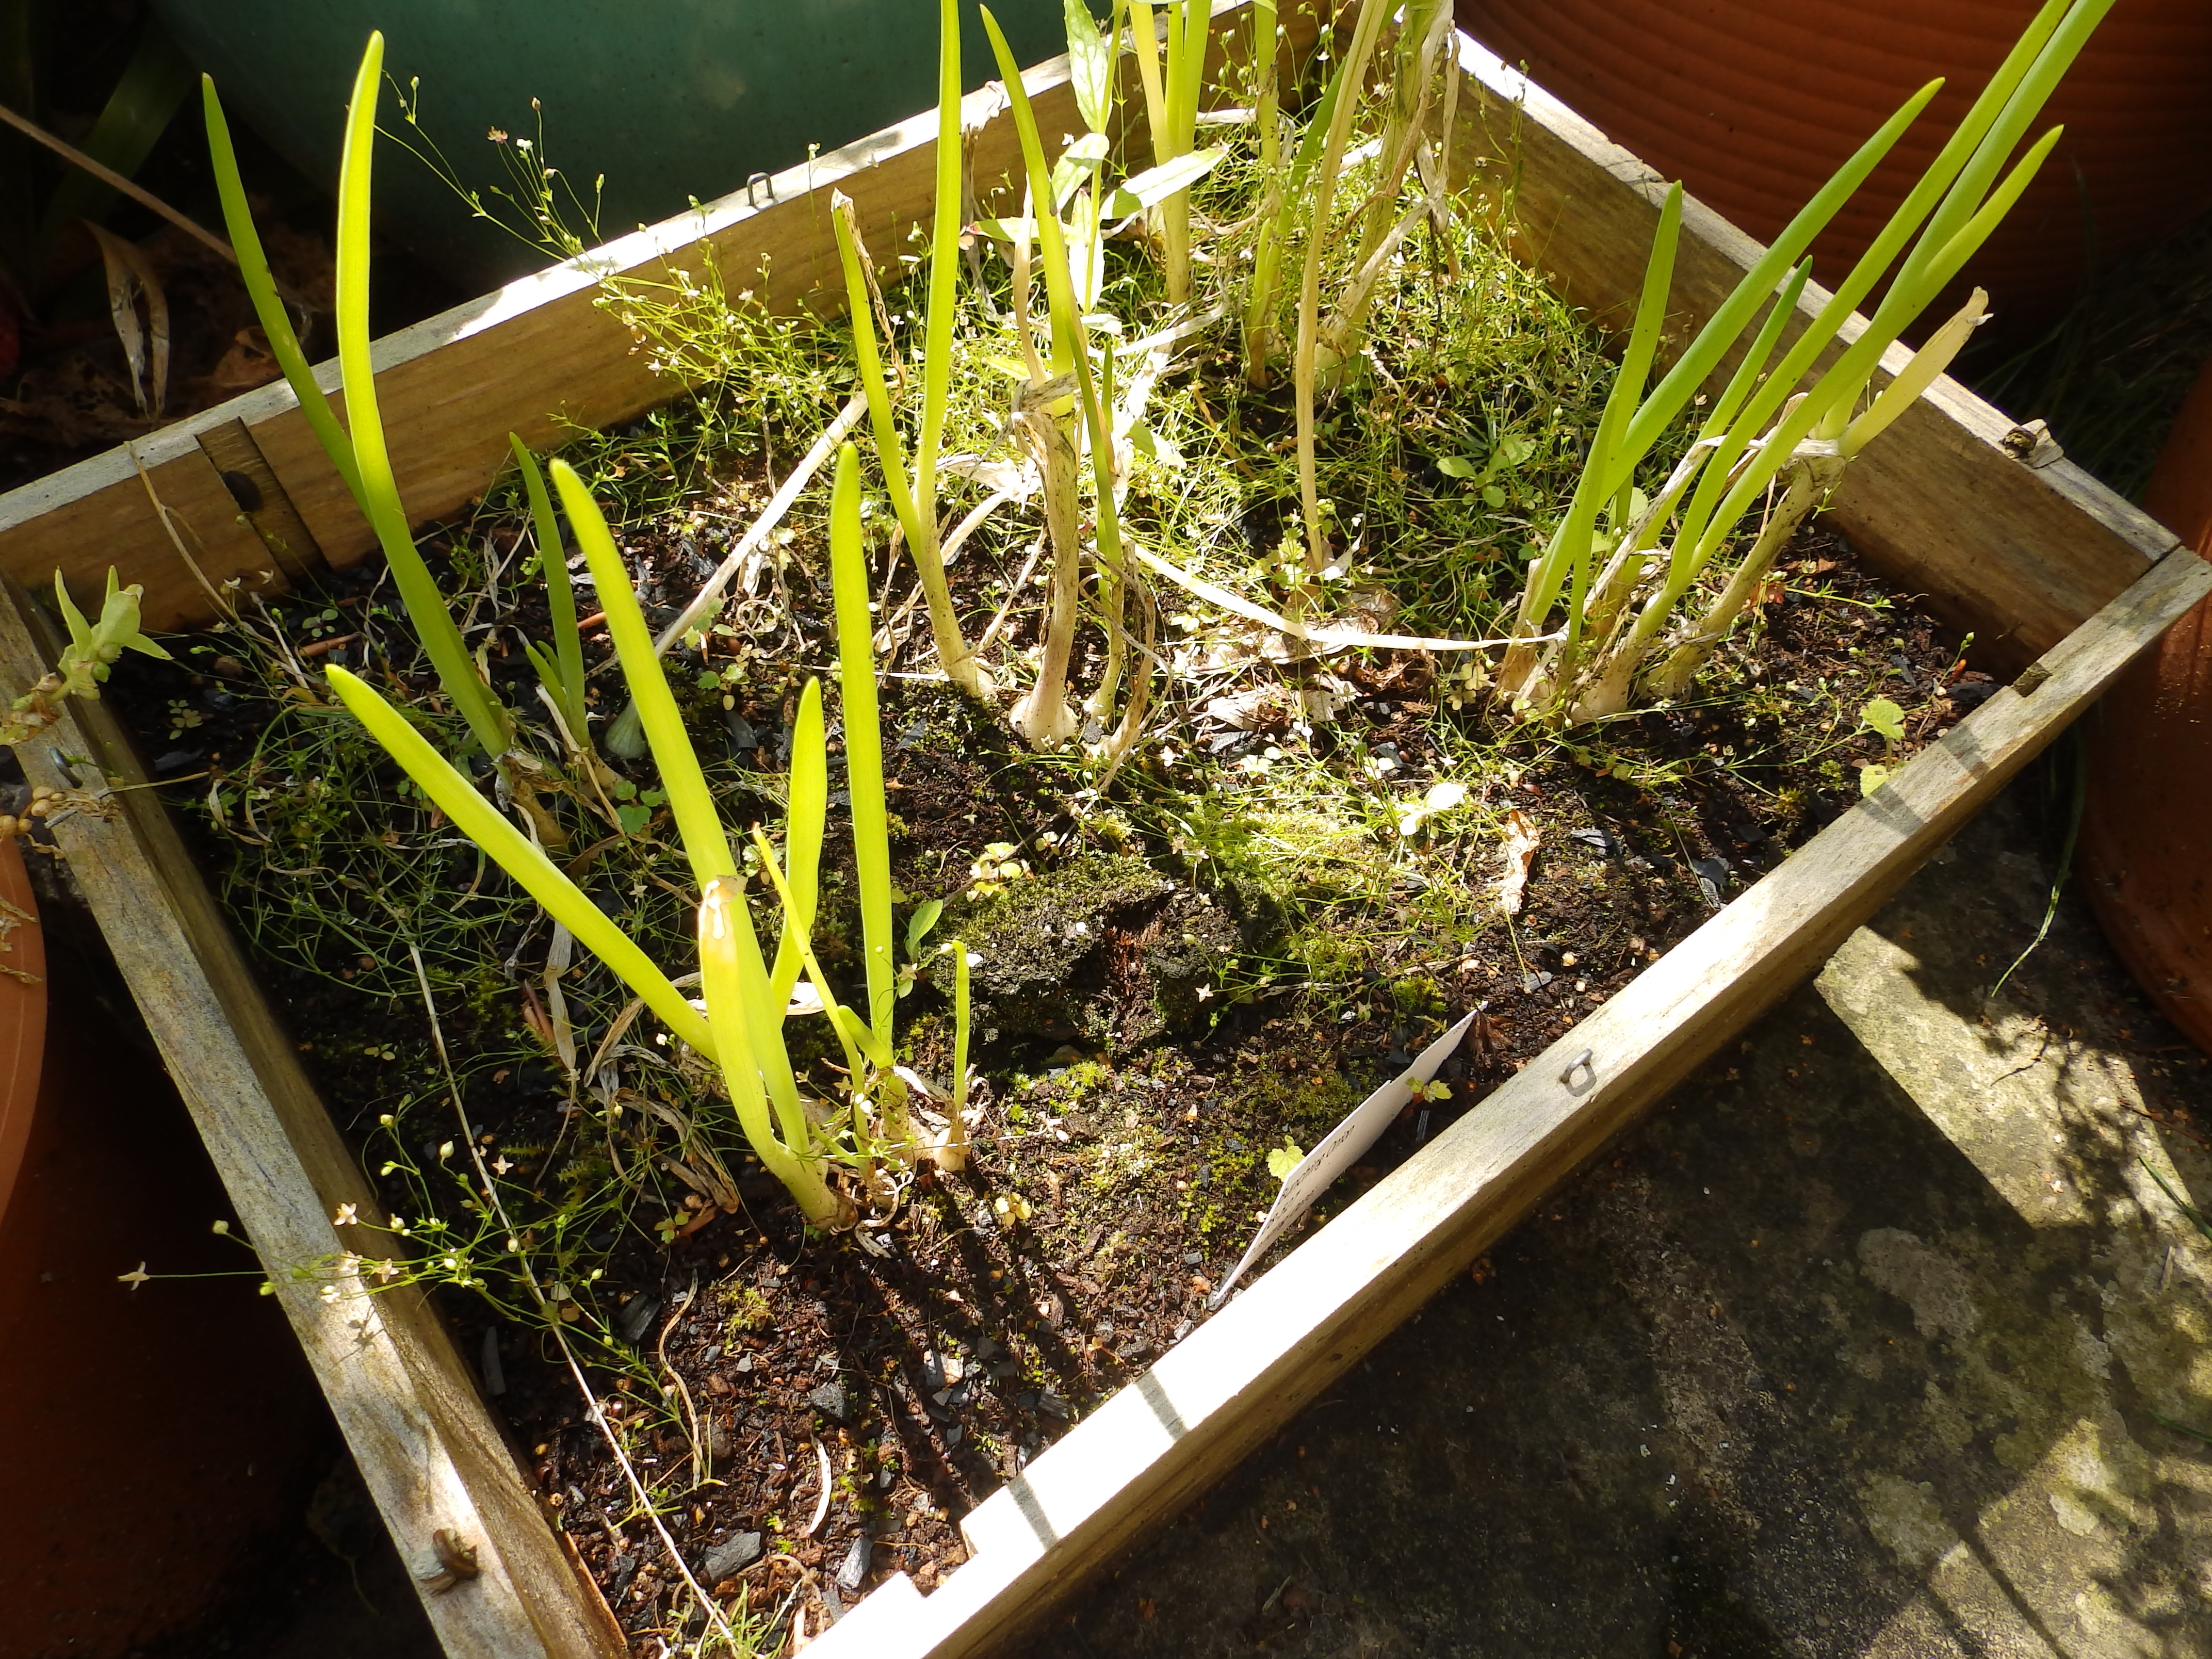
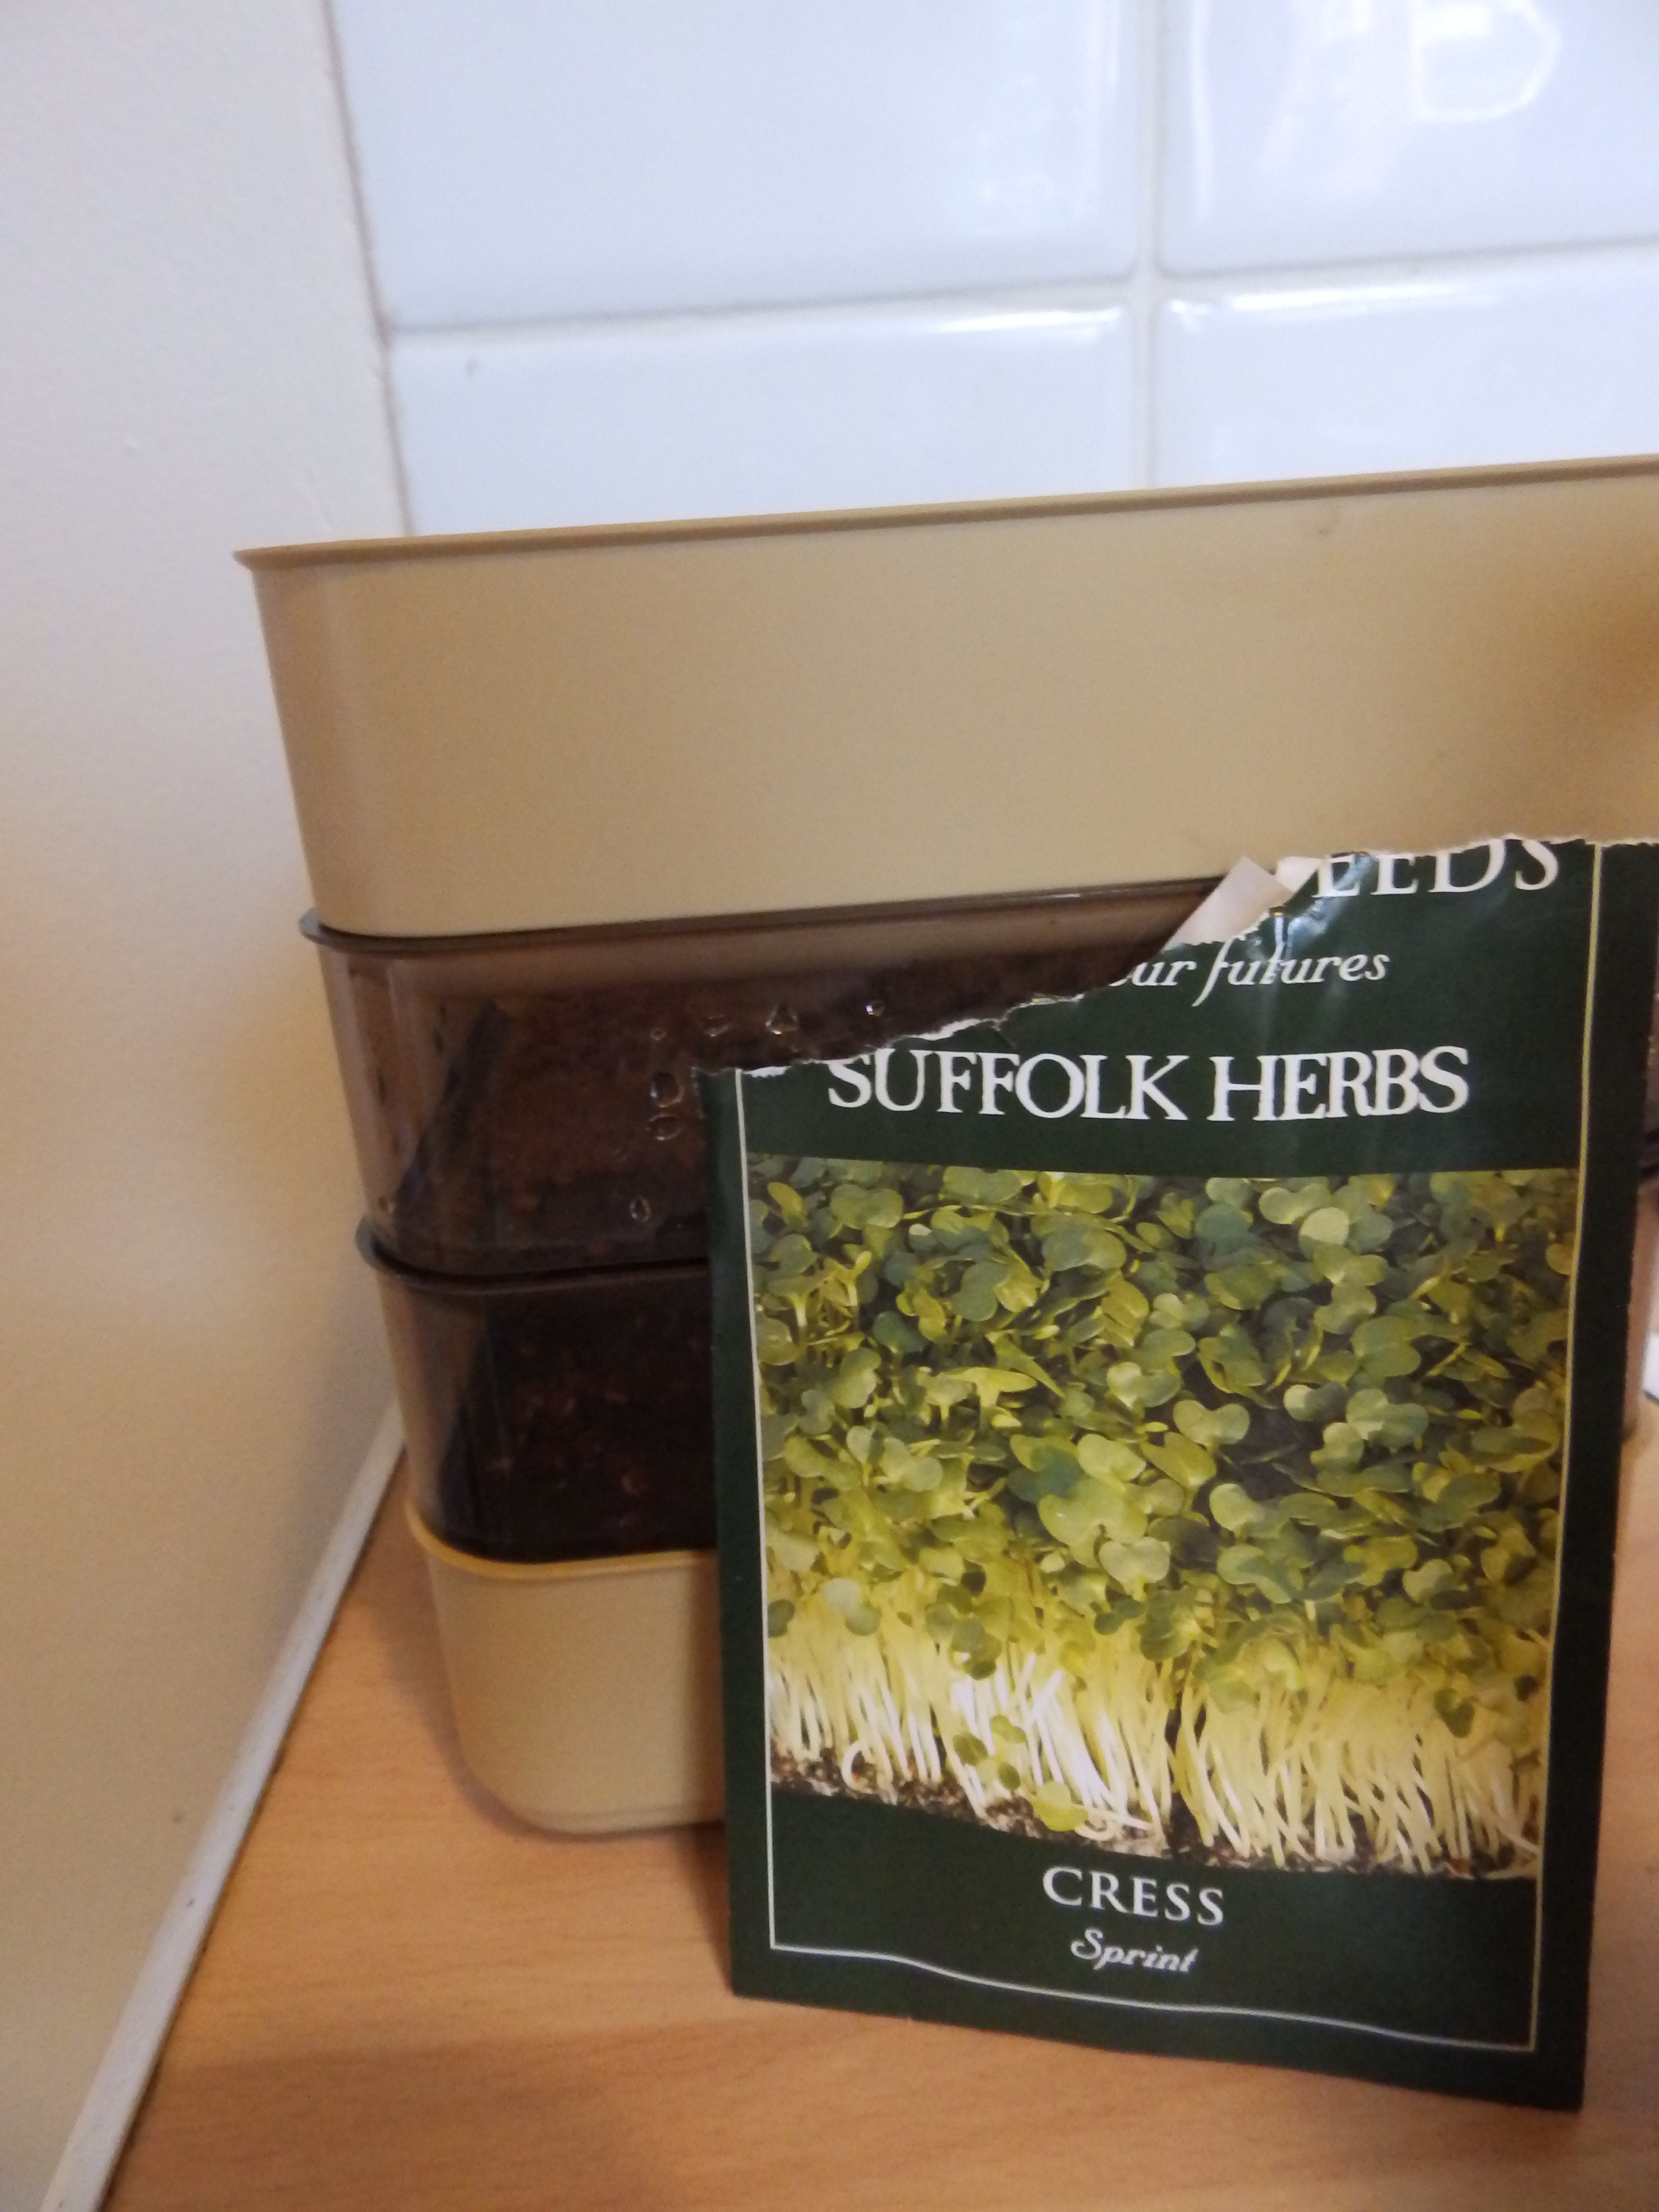
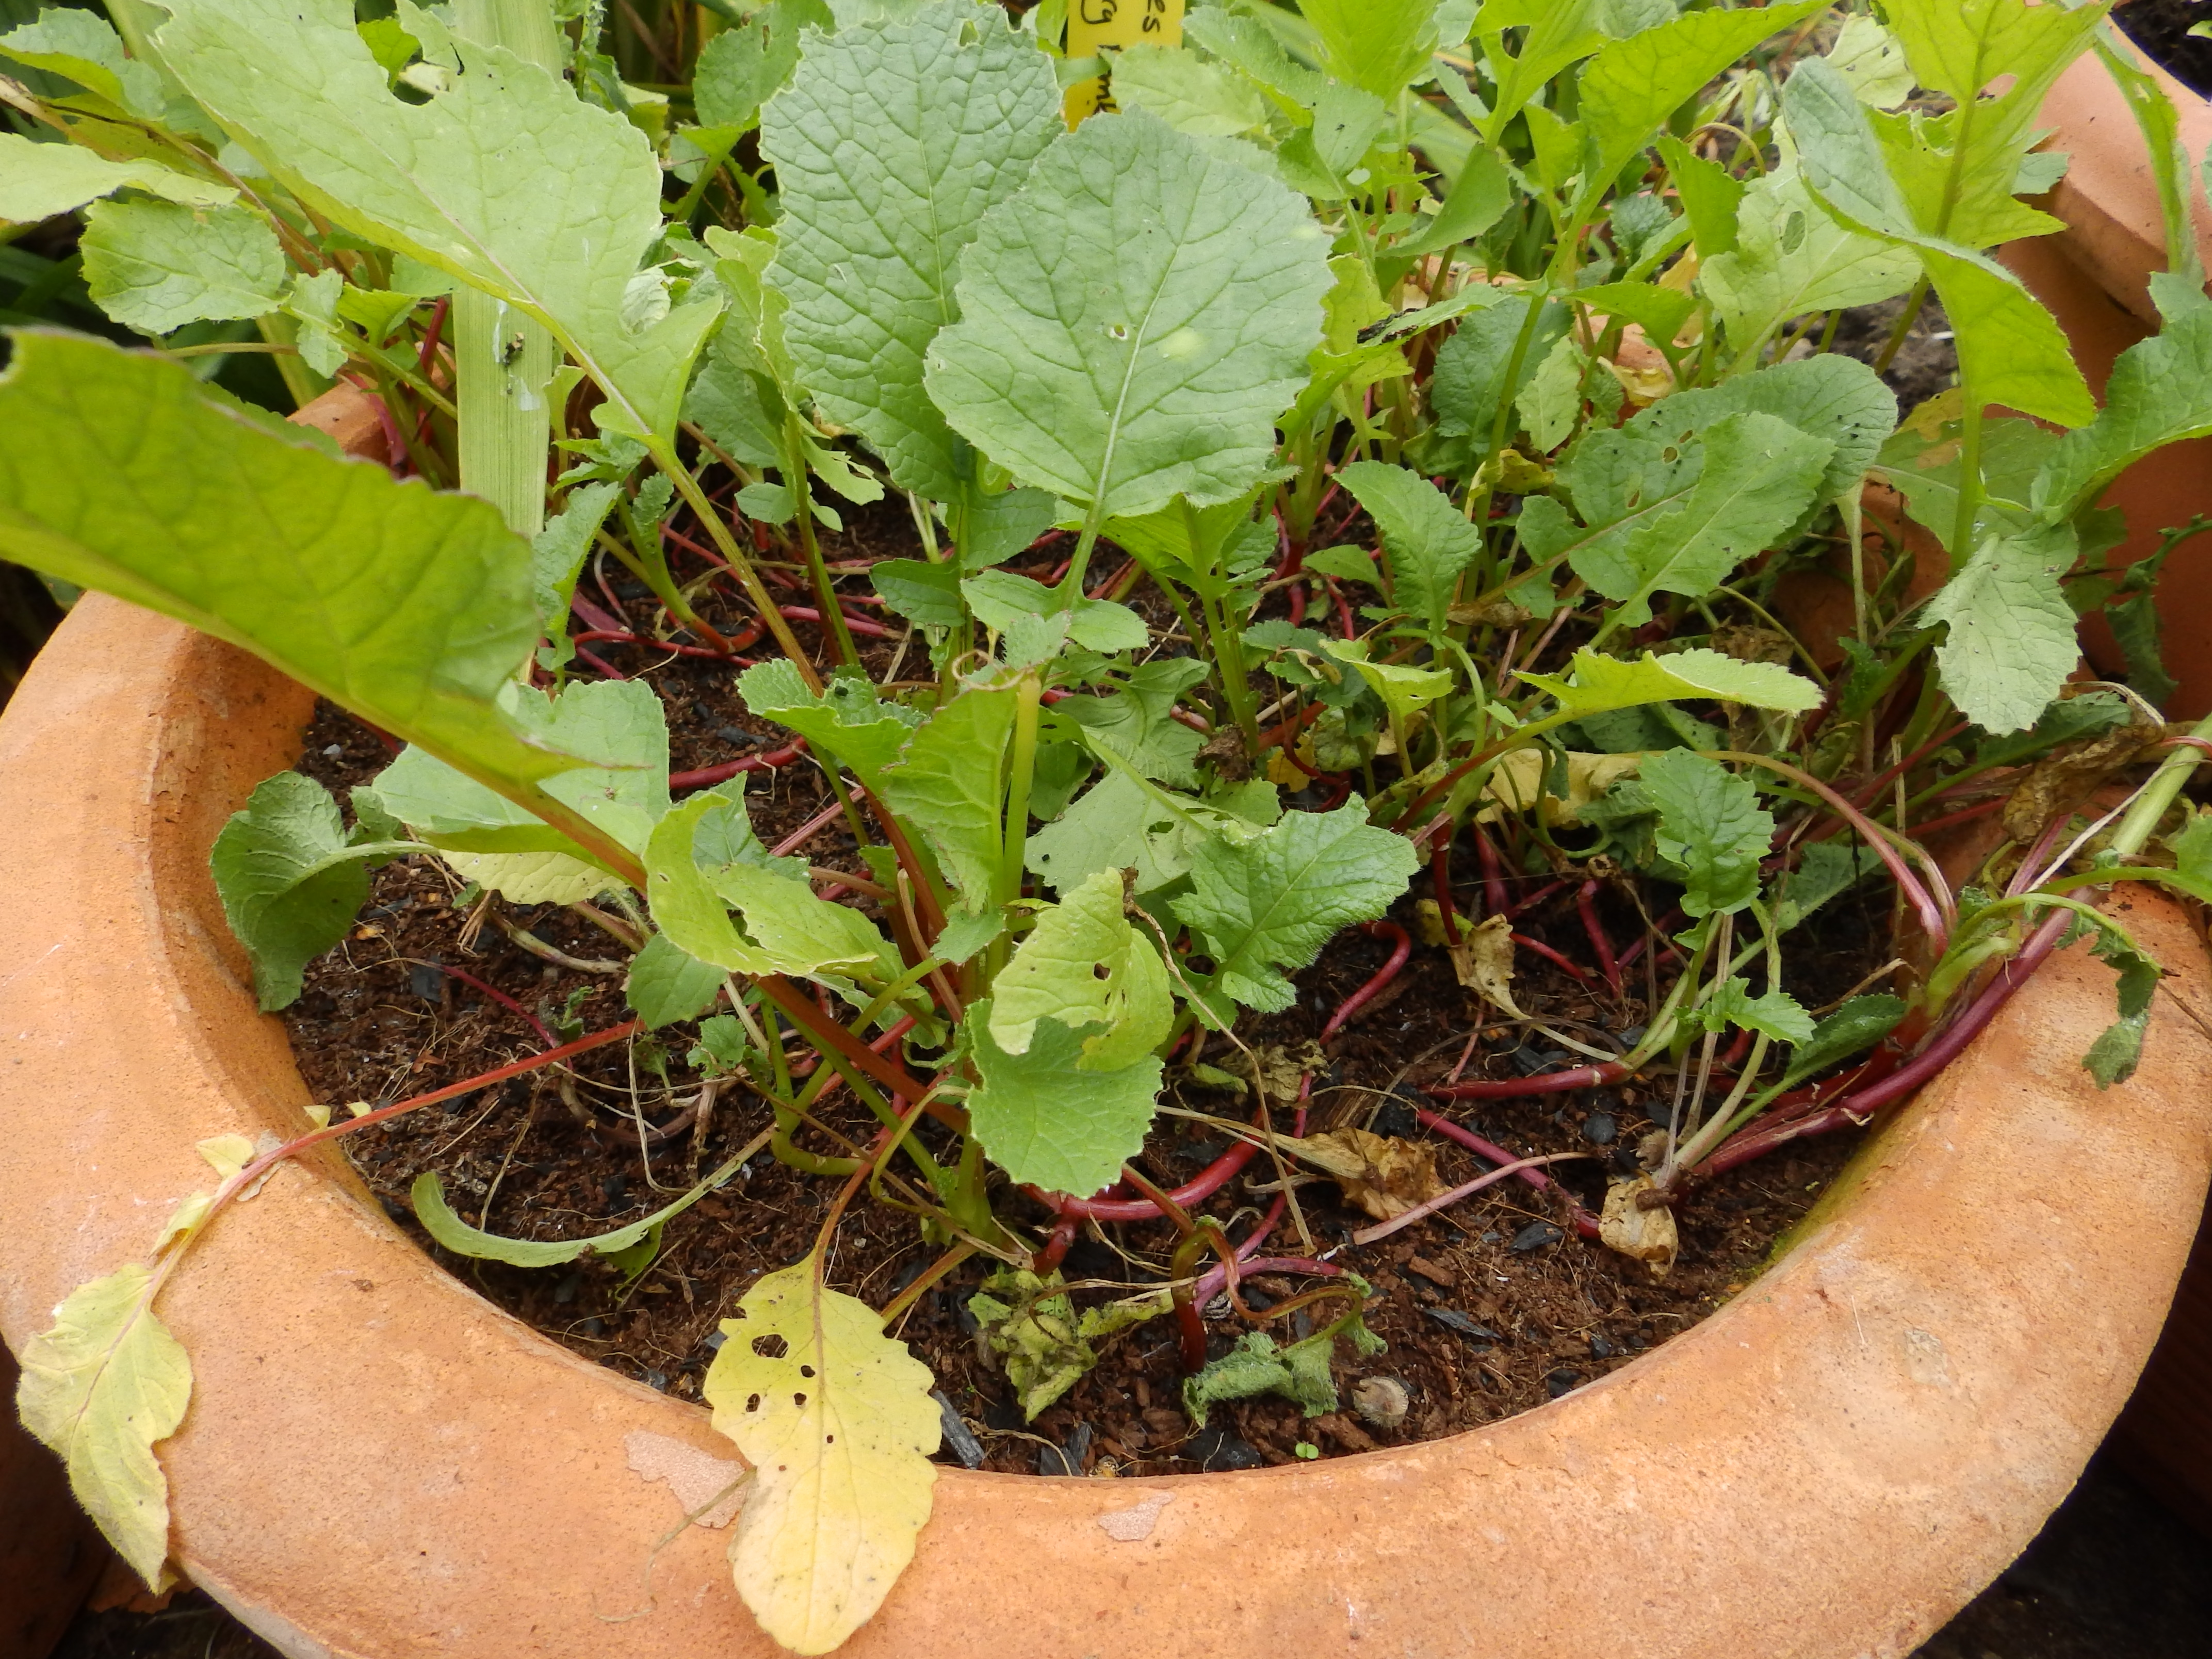
Today I planted my winter salad (purslane, land cress, rocket, corn salad and lettuces) along with some Chard and some extra herbs.

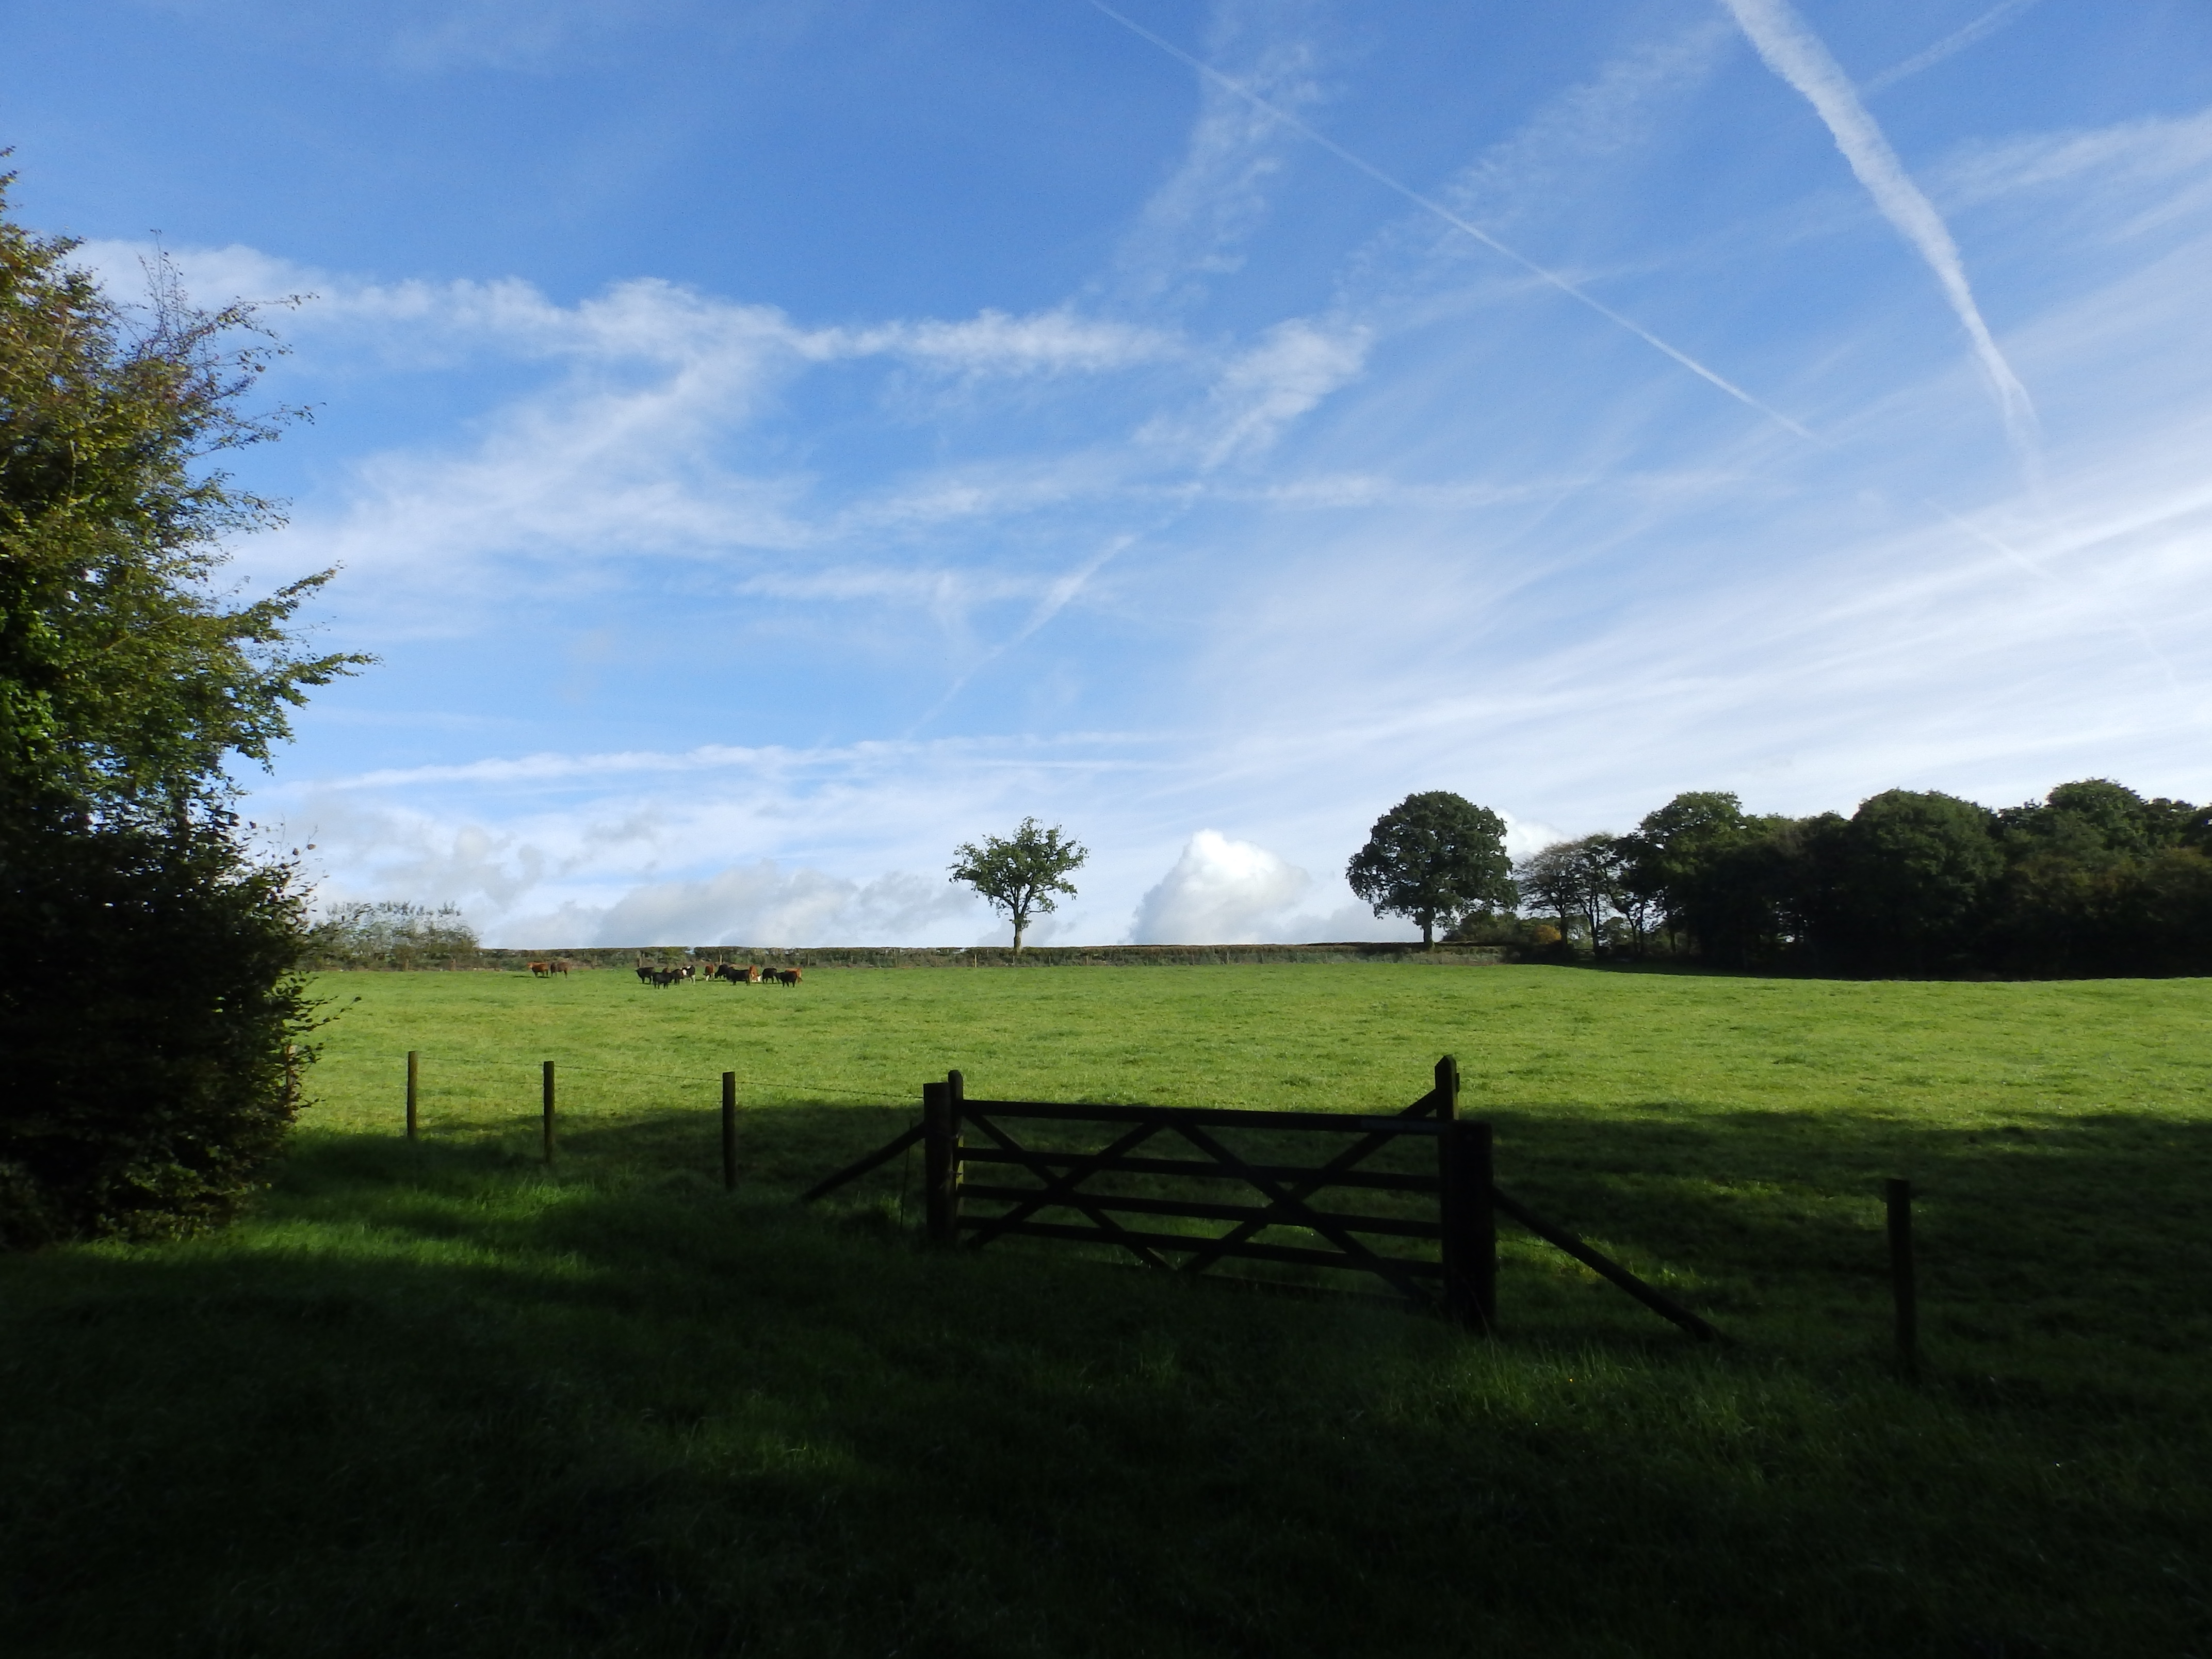
I am hopeful. Since I have much more space now I won’t have to squash my plants in so much and perhaps they will grow better.

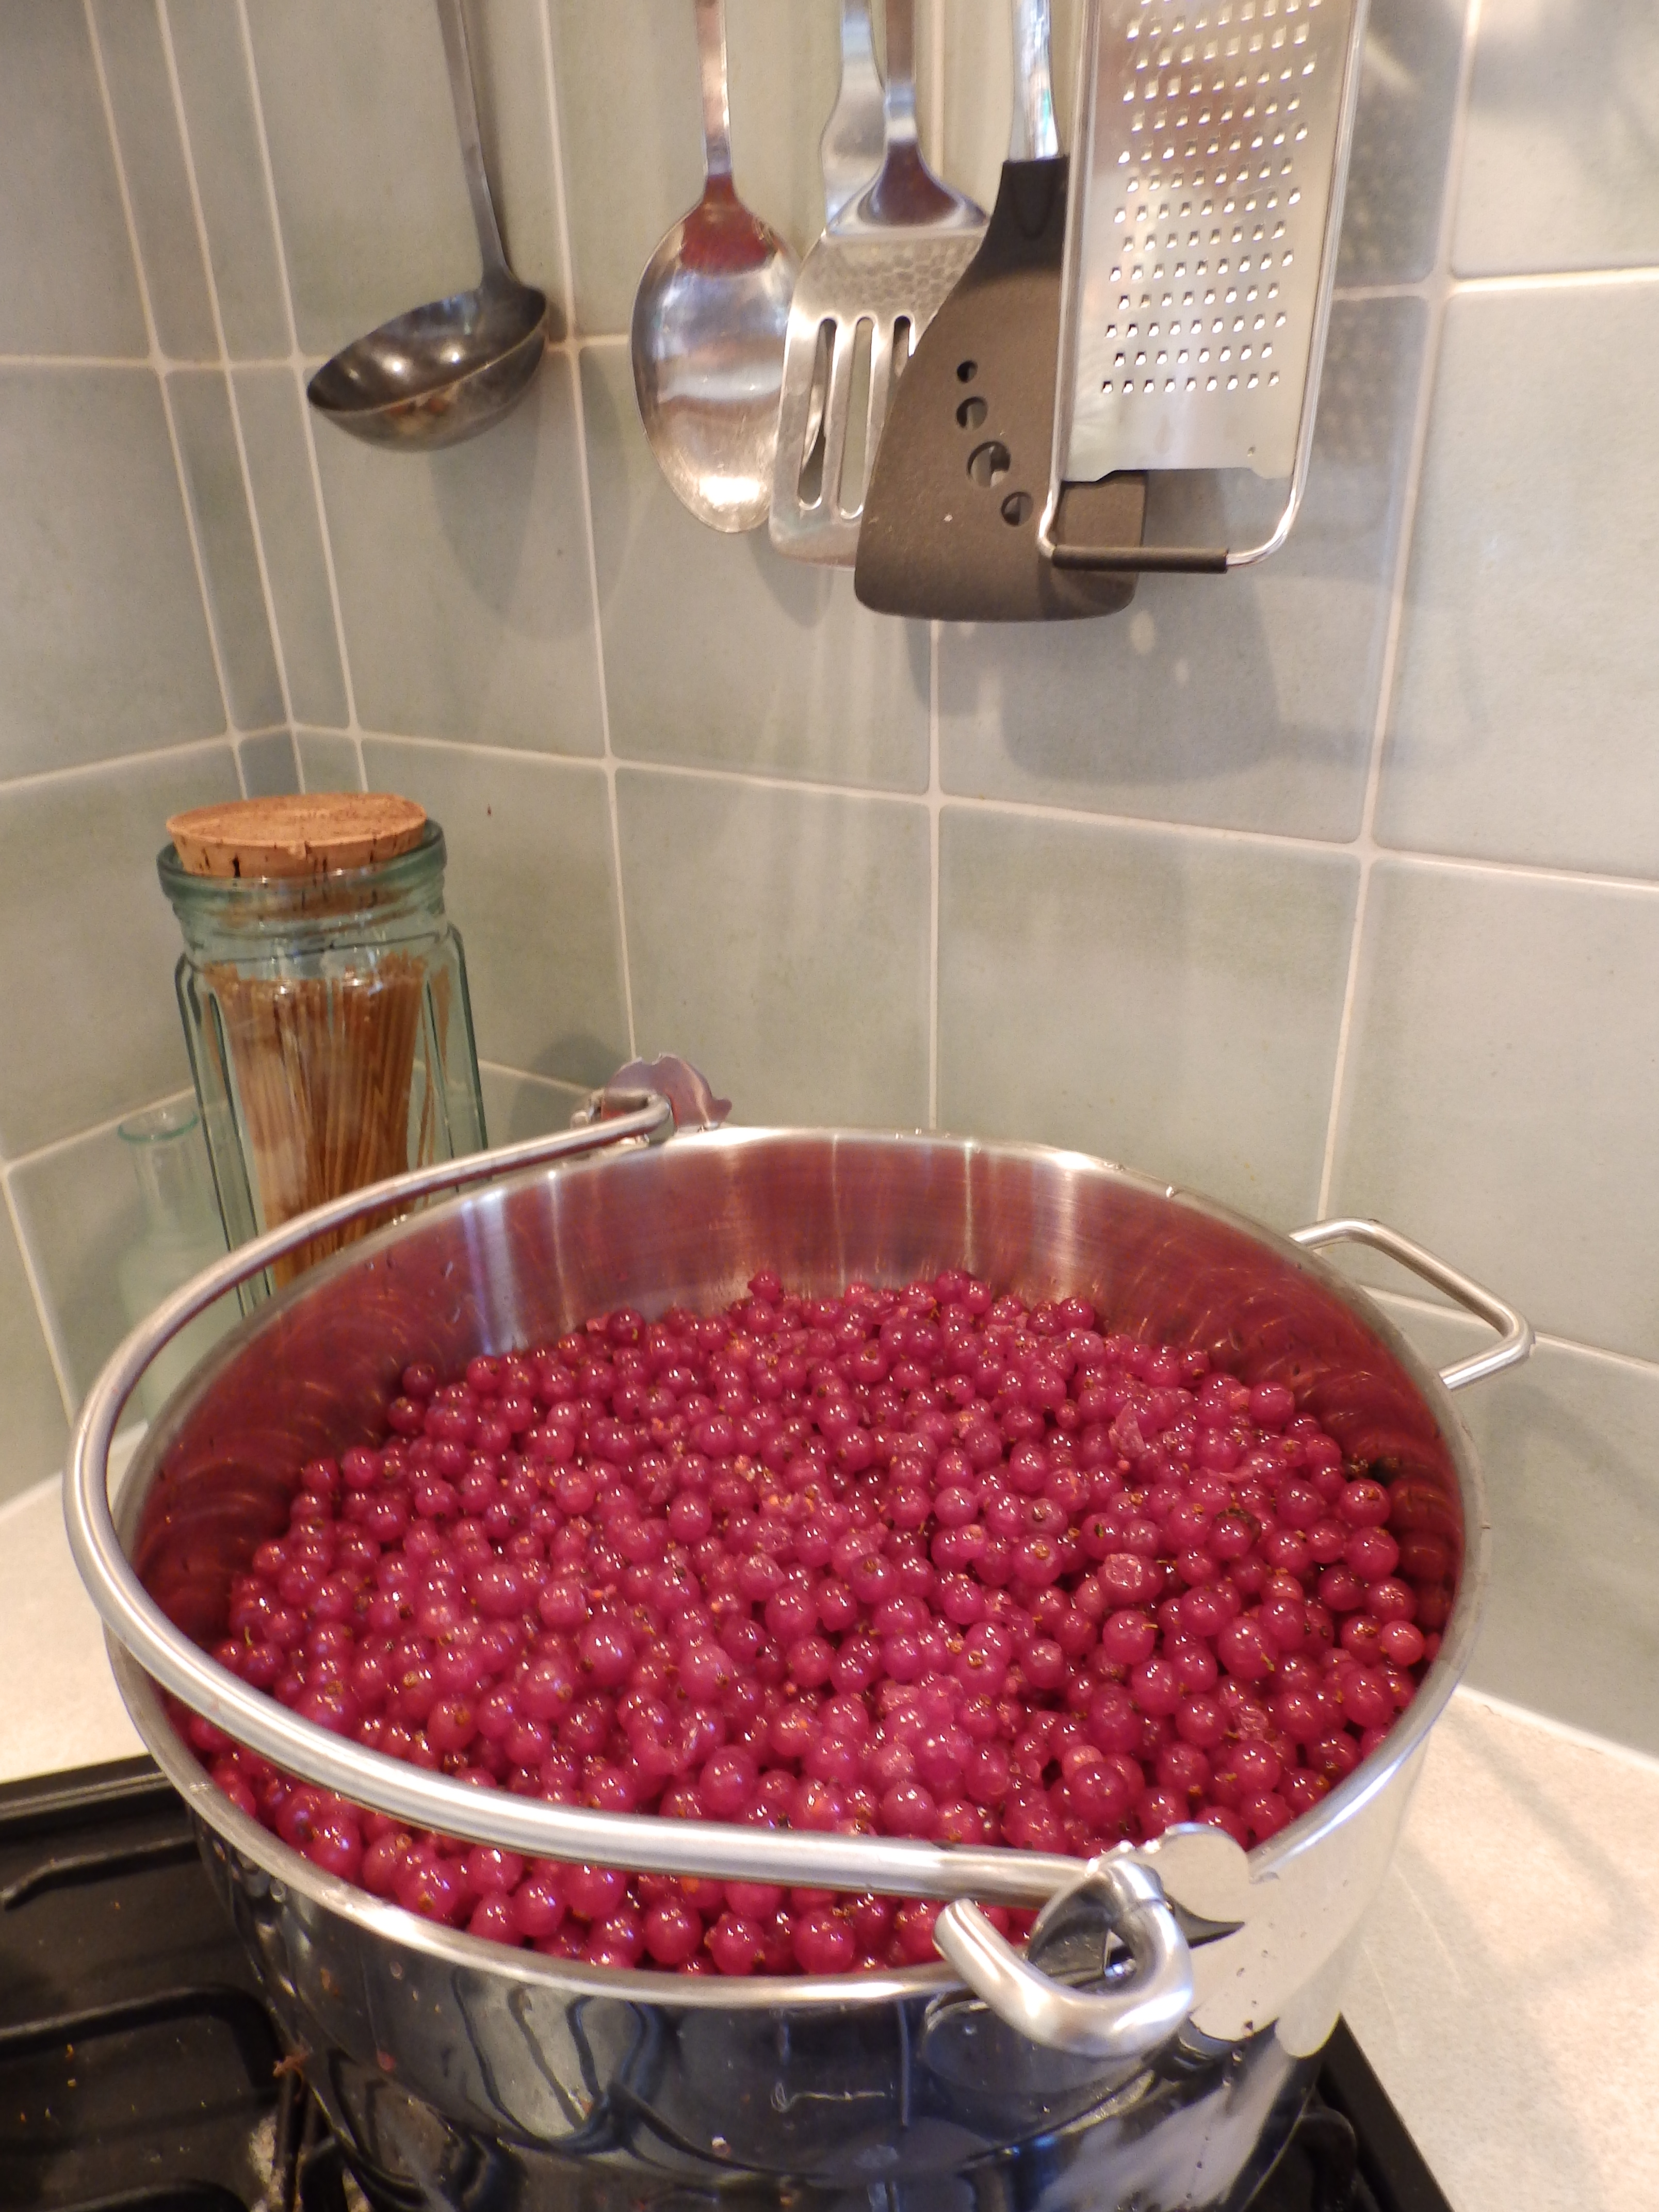
Mum and Dad bought me a bucket (not an exaggeration) of plumbs so I am busy destoning, freezing, stewing and giving them away as fast as I can. You’ll hear from me again soon.

Keep Gardening!

Rosemary and Beer Soda bread

Makes 1 loaf

Something delicious to eat with your summer soups and salads

Ingredients

225g wholemeal flour
225g plain flour
1½ teaspoons salt
2 teaspoons of bicarb of soda
45g butter
2 teaspoons of finely chopped rosemary
100 mls milk
225 mls beer

Method

  1. Preheat oven to 190 degrees; lightly flour a baking sheet
  2. Thoroughly combine the dry ingredients ensuring no lumps of bicarb remain.
  3. Rub in the butter
  4. Add the liquids and the rosemary to make a soft dough. Note the quantities of liquid will be subject to change depending on your flours.
  5. Shape the dough into a round and place it on the baking sheet, cut a deep cross in the top and bake for 40 mins until risen and brown.
  6. Cool slightly and serve

Beginning Again

Uncertainty has dissipated and I will be here for the foreseeable future. Time to get gardening.

Since my last entry it has become apparent that I will be staying in my current location for the foreseeable future and this has given me new enthusiasm for my little patch.

They do say that a bad workman always blames her tools but I do think that some of my pots were struggling because of the compost that they were filled with. Turning out the offending containers led me to discover sopping wet compost despite the fact it have been very dry here for the last week and I have been watering a sensible amount. Hopefully now they will do much better. 

I turfed out the lettuce that has been stagnant for the last few months along with its soggy compost and replaced it with new plants and new soil. I have planted two pots of lettuce since it is what I seem to eat most. I have also sewed some more spinach seeds, again in new compost which means they should do much better.

I have revamped my herb pot, finally pulling out the parsley which went to seed about two months ago. I don’t have any to replace it with and my coriander has sadly perished so those will be my next purchases. I did however plant some new mint and basil. I have planted some new chives in a separate pot and planted Delfland’s very attractive basil collection in my very attractive green pot.

I gave everything a good feed with potassium nitrate (1 teaspoon per gallon) including my rather impressive looking tomato plant. I was hoping that feeding my courgette might give it new courage in the face of its snail-perpetrated annihilation but I fear it may be too late since I could probably read a book through its one remaining leaf. 

I have a few left over plants from my latest delivery and am hoping I can keep them alive over the weekend so I can plant them in D&B’s garden for them while they are away. Here’s hoping my new enthusiasm also acts as snail repellent. Happy gardening. Ele

Welcome Back

Ele’s return to the garden after a stressful spring.

It has been a long time since you heard from me in sunny Norwich. Since concluding my third year of university things have been very much in flux and my future is slightly uncertain but somehow my plants, despite my general neglect, are mostly hanging in there.

My ever resilient herb pot still contains sage, oregano and some parsley which I am hoping to take seed from. If you only attempt growing one thing I would recommend a pot of mixed herbs. It is definitely the pot I have gotten most culinary use out of and in terms of value for money it has saved me a lot of money on fresh herbs which I love to cook with.

The new additions to my new patch have, however, been largely devoured by snails. “The little courgette plant that could” has somehow produced three (granted quite small) courgettes whilst possessing approximately five eighths of a leaf. How this has happened I don’t know but I am going to take them off and eat them soon, if only to give the poor thing chance to produce a few more leaves. My beans are also abundant despite intimate acquaintance with my slimy neighbours.  

I think I am having problems with my compost in some cases because the containers of onions and lettuces haven’t really done much. I think maybe fertiliser or something will fix it -something to bear in mind when I plant my next lot of plugs. The strawberry pot is also a little quiet on the progress front so maybe I won’t get anything from it this year. At least they can be kept over winter and, with feed, might do better next year.

The real success story is my tomato plant.  It seems to have thrived on my neglect and looks magnificent (if I do say so myself). It even has a few little green developing tomatoes on it. I am very excited to taste them. For reasons best known to themselves the snails have completely ignored it and I am thrilled. You will hear from me again soon. Happy gardening. Ele

Mediterranean Mixed vegetable tray bake with sausages

Serves 4

This recipe is perfect for an easy, healthy summer supper after a busy day.

Ingredients

  • 1 aubergine
  • 2 courgettes
  • 1 red pepper
  • 1 yellow pepper
  • 5 large tomatoes of various colours
  • 4 cloves of garlic
  • 15 mls olive oil
  • 2  teaspoons chopped rosemary
  • 2  teaspoons of sugar
  • A generous pinch of salt
  • Fresh-ground black pepper
  • 30 mls Balsamic vinegar
  • 8 good quality pork sausages
  • A small handful of fresh basil, chopped finely

Method

  1. Preheat oven to 180 degrees (fan assisted).
  2. Cut up the aubergine, peppers, tomatoes and courgettes into 2cm cubes and add them to a large roasting tin to make a layer roughly 3 chunks of veg deep. The size of the tray is important: too big and your vegetables will stew, too small and they will burn.
  3. Finely mince the garlic and sprinkle it on top along with the oil, vinegar, sugar, salt and black pepper.
  4. Roast for 30 minutes, stirring occasionally when you see the vegetables in the top layer begin to caramelize.
  5. After 30 minutes clear a space in the middle of the tray (the vegetables should be softening and oozing juice) and lay the sausages along with an extra drizzle of oil if necessary.
  6. Cook for a further 25 minutes until sausages are golden brown.
  7. To serve, set the sausages aside and mix the finely-chopped basil through the vegetables and season to taste. Pile the veg into individual bowls and lay your sausages on top. Garnish with any remaining basil and serve with lots of crusty buttered bread.

Sausage and mushroom pasta with spinach

August 2013

A fantastically comforting and delicious dish ready in just 20 minutes. Works just as well with veggie sausages too.  Serves 2

Ingredients

4 sausages, cooked and sliced into bite-sized chunks
200g dry pasta, spaghetti or tagliatelle is ideal
200g mushrooms, sliced
half a teaspoon of dried chilli flakes
2 cloves of garlic
a small glass of dry white wine
three tablespoons of crème fraîche
2 large handfuls of fresh spinach
a small bunch of parsley, finely chopped.
A small squeeze of lemon

Method

  1. Place a large saucepan of water on to boil.
  2. Fry your mushroom slices in a deep frying pan until tender, add the chilli garlic and a generous grind of pepper.
  3. Plunge your pasta into the boiling water and cook according to packet instructions.
  4. Add the wine to the mushrooms and cook for 3 minutes on a medium heat to evaporate the harsh alcohol.
  5. Reduce the heat and add the crème fraîche and sausages to the mushrooms.
  6. Drain the pasta and add the spinach, parsley and lemon juice to the sauce. Check the seasoning, adding salt and more pepper if necessary.
  7. Mix the sauce into the pasta and serve with a sprinkling of cheese.

Roasted Red Pepper and Tomato Soup with Thyme

September 2013

This delicious warming soup is full of goodness and bursting with flavour. Serves 6

Ingredients

500g tomatoes
3 orange red or yellow peppers
2 tablespoons of olive oil
1 large onion
2 carrots
25g of butter
I small bunch of thyme, leaves picked from stalks and finely chopped

Method

  1. Preheat your oven to 180 degrees.
  2. Place the tomatoes in a large pan and cook them gently until they burst and cook down into mush, this should take around 30 minutes.
  3. While the tomatoes are cooking, half the peppers, remove the seeds and place them face down in a roasting tin. Drizzle with oil and season with salt and pepper and place in the oven for 15 minutes or until the skins are blackened and coming away from the flesh. Remove from the oven and leave to cool slightly. Remove the skins and set aside.  
  4. Put the tomato mush through a moulie or, if you don’t have one. Push the tomato mush through a sieve to remove most of the seeds and skins and leave you with a delicious tomato liquid which you should put to one side.
  5. Finely chop the onion and grate the carrot and sweat them in a large pan with the butter.
  6. When the vegetables are becoming soft, add the peppers, tomato liquid and thyme.
  7. Simmer gently for 30 minutes. Season to taste and serve with a dollop of yoghurt and some basil or thyme leaves. 


Redcurrant Jelly

This is one of the easiest preserves to set given the high quantity of pectin in the redcurrants. You will need rather a lot of redcurrants to make a decent-seized batch however. In my experience, a pound of fruit makes roughly 2 jars of jelly at the end of the process.

Ingredients

Redcurrants
White sugar

You will also need clean jars

Method

  1. Pick over and wash the redcurrants making sure they are clean and bug free then place them in a large heavy based pan. A jam pan is ideal but if not just a nice big saucepan will do.
  2. Add a tablespoon of water to the pan and simmer the redcurrants gently until they are tender and bursting.
  3. Strain the redcurrants through a jelly bag without squeezing. This will take a few but the jelly will need no attention at this point so you can go off and do other things. If you don’t have a jelly bag you can either use a clean tea towel stretched and secured over a bowl, or a fine sieve.
  4.  Once you have collected the juice you need to measure it back into your large jam pan. For each pint of juice add a pound and a quarter of sugar.
  5. Bring the juice and sugar gradually to the boil stirring continuously until all the sugar is dissolved.
  6. Place your clean jars and their lids into a 100 degree oven to sterilise.
  7. While your jelly is cooking it will produce a foamy scum which will rise to the top. Skim this off with a large metal spoon.
  8. Simmer until setting point is reached. My preferred method of determining this is to drop a small amount of jelly on a plate and push it with a fingernail. If it has reached setting point the surface will wrinkle.
  9. When setting point is reached, use a ladle to transfer your jelly into your clean hot jars. Place the lids on and screw them on tightly using a tea towel to avoid burning your fingers.
  10. Leave your jelly to cool at room temperature; if you’re using jars with “safety buttons” you should notice that when the jelly is cool the buttons will have been pulled down by the vacuum you have formed by putting the lids on the hot jars. Your jelly should now last at least until Christmas and if you’ve made too much it makes a great Christmas present.

Toad in the Hole

September 2013

This is a truly comforting and classic dish, serve with lashings of gravy and your favourite vegetables. Serves 3

Ingredients

6 sausages
2 sprigs of rosemary
1 tablespoon of sunflower oil
150g plain flour
1 teaspoon of baking powder
Freshly ground black pepper
Half teaspoon salt
2 eggs
200 mils milk

Method

  1. Preheat your oven to 200 degrees
  2. Place your sausages in a high-sided baking tray along with 1 tablespoon of oil and the rosemary sprigs and place in the oven for about 25 minutes or until lightly browned. The size of your baking tray is important; it needs to fit your sausages with a little space between them. The one I used was 20cm by 20cm. It is also better if your baking tray is heavy-based since it will hold the heat better and ensure a better rise.
  3. While the sausages are cooking, make the batter. Sift together the flour salt and baking powder then add a good twist of freshly ground black pepper.
  4. Crack in the two eggs and mix thoroughly. Add the milk little by little, mixing constantly until you have a smooth thick batter.
  5. When the sausages are brown, remove the rosemary and quickly pour over the batter and return the pan to the oven. The batter should sizzle when added to the tray so take care not to get spattered with oil.
  6. Bake for 35 minutes or until browned, risen and crisp. Enjoy it with lashings of gravy and your favourite vegetables. 

Mysterious Diggings

Something is digging in my tubs.

My new plants seem to be settling in quite well. The radishes are starting to look a bit sad. I don’t hold out much hope for them to actually produce a crop but I will let them stay in their pot until I need it for something else. What has really occupied me recently is the series of small holes that have been starting to appear in my pots. I assume something is digging at them but whatever is doing it doesn’t appear to be interested in the plants. I will keep an eye out but I can’t think what it would be unless its the squirrel is hoarding things for winter.

The mustard I have planted in the boarder seems to be doing just fine. I was a little worried that it wouldn’t have enough nutrients but they seem to be doing just as well as those in the pots. My chilli plant is looking a bit scorched but I think it’s probably alright since it’s only on a few of the leaves.

Also, because its winter and things outside are growing so slowly I have decided to try sprouting some seeds inside for some faster gratification. The seeds I have are quite old though so we’ll see what kind of germination I get. Hopefully I will have some nice bean sprouts for my stir-fries to replace my missing oriental vegetables.

Incidentally, this is a picture of where I was this weekend (Devon). Such a beautiful place and so inspiring. Happy gardening, Ele.